Corners, Fig. 22, Step 12) subsill corner miter and splicing – EFCO 433 Series User Manual
Page 58: Includes offset and center-set glazing)
June 2012
PART NO. Y017
Page 58 of 90
Series 433 Triple Set Installation Instructions
SECTION VI: Subsill Fabrication and Installation
(Includes Offset and Center-Set Glazing)
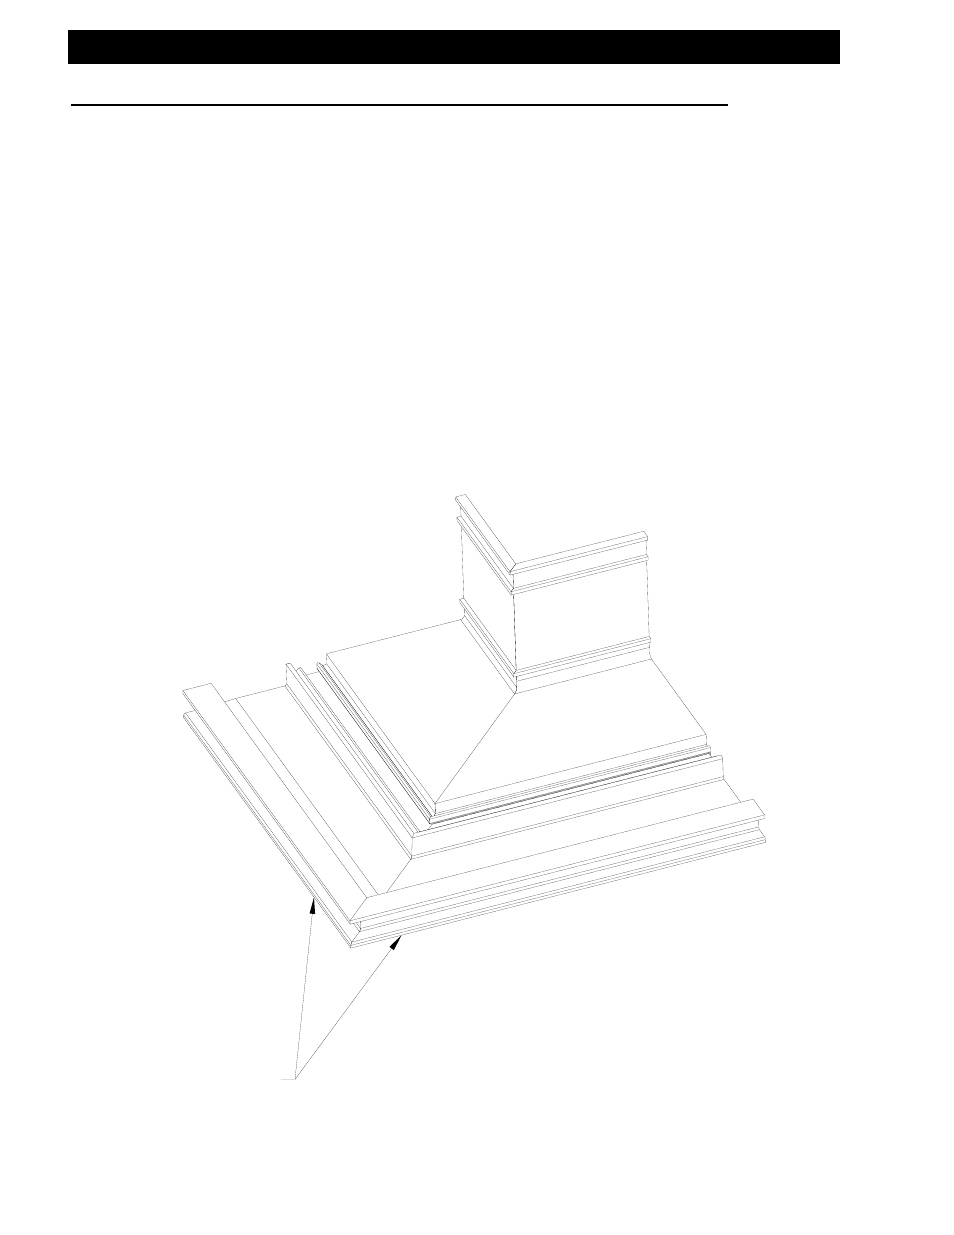
Step 12) Subsill Corner Miter and Splicing
When mitering the subsill for corner applications, cut the subsill material at the
appropriate angle required to form the correct corner. Install the subsill by following
the previous subsill installation instructions. Once the subsill is installed and a tight
miter joint is achieved, use the instructions on page 53 for creating a splice joint seal.
Follow the instructions for sealing a standard splice joint except there should be no gap
between the ends of the mitered subsills. Ensure that the bond breaker tape and
sealant used to create the seal are smooth, so they do not interfere with the anchor
legs on the sill and subsill. If a 90° SSG mullion is used, the bond breaker tape should
be 1-1/2" wide because the corner mullion is 1-3/4" wide.
[FIG. 22]
SUBSILL
2S44
2S44 Shown
4471 Similar