Dell PowerEdge 500SC User Manual
Page 20
Removing and Replacing the Lower 3.5-Inch Hard Drive
To remove the hard drive, perform the following steps:
1.
Turn off the system, including any external devices, and disconnect the system from its electrical outlet.
2.
Remove the
.
3.
Remove the
.
4.
Remove the
.
5.
Remove the three drive-mounting screws, two from the bottom and one from the left side (see
).
6.
Slide the hard drive out of the back of the drive cage.
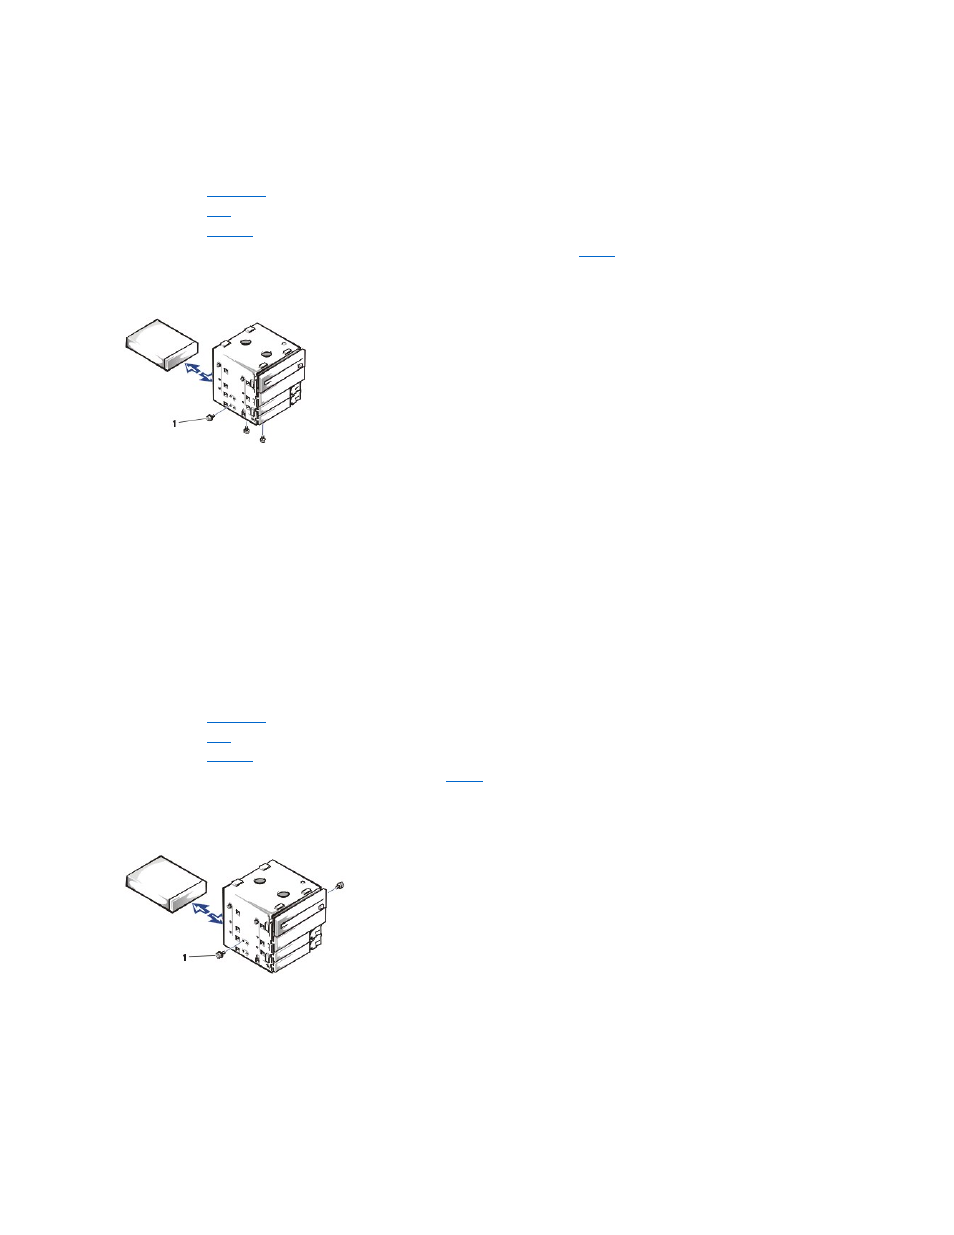
Figure 7. Lower 3.5-Inch Hard Drive Removal and Replacement
To replace the hard drive, perform the following steps:
1.
Slide the drive into the back opening of the bay over the two small grooves on the bottom of the bay.
2.
Secure the drive with three drive-mounting screws, two from the bottom and one from the left side.
3.
Reinstall the drive cage into the system.
4.
Replace the bezel.
5.
Replace the system cover.
6.
Plug your system and any external devices into their electrical outlets, and turn them on.
7.
See the drive documentation for instructions on installing any software required for hard drive operation.
Removing and Replacing the Upper 3.5-Inch Hard Drive
To remove the hard drive, perform the following steps:
1.
Turn off the system, including any external devices, and disconnect the system from its electrical outlet.
2.
Remove the
.
3.
Remove the
.
4.
Remove the
.
5.
Remove the two screws securing the drive to the drive cage (see
). Insert your screwdriver into the reticular slot on the right side of the drive
cage to access the screw securing the right side of the drive.
6.
Slide the hard drive out the back of the drive cage.
Figure 8. Upper 3.5-Inch Hard Drive Removal and Replacement
To replace the hard drive, perform the following steps:
1.
Slide the drive into the back opening of the bay over the two small grooves on the bottom of the bay.
2.
Secure the hard drive to the drive cage with two screws. To secure the screw on the right side of the drive, you must position the screw over the screw
hole through the back of the drive cage while inserting your screwdriver into the reticular slot on the right side of the drive cage.
3.
Reinstall the drive cage into the system.
4.
Replace the bezel.
1 Screws (3)
1 Screws (2)