Transmig vaf4 – Tweco VAF4 Transmig User Manual
Page 24
TRANSMIG VAF4
INSTALLATION, OPERATION AND SETUP
3-6
Manual 0-5231
Note
In Advanced Features Mode Trigger Mode and SCH1-SCH2 can't be changed. In Spot Mode Stitch
Mode is not available. Crater is only available in 4T Trigger Mode.
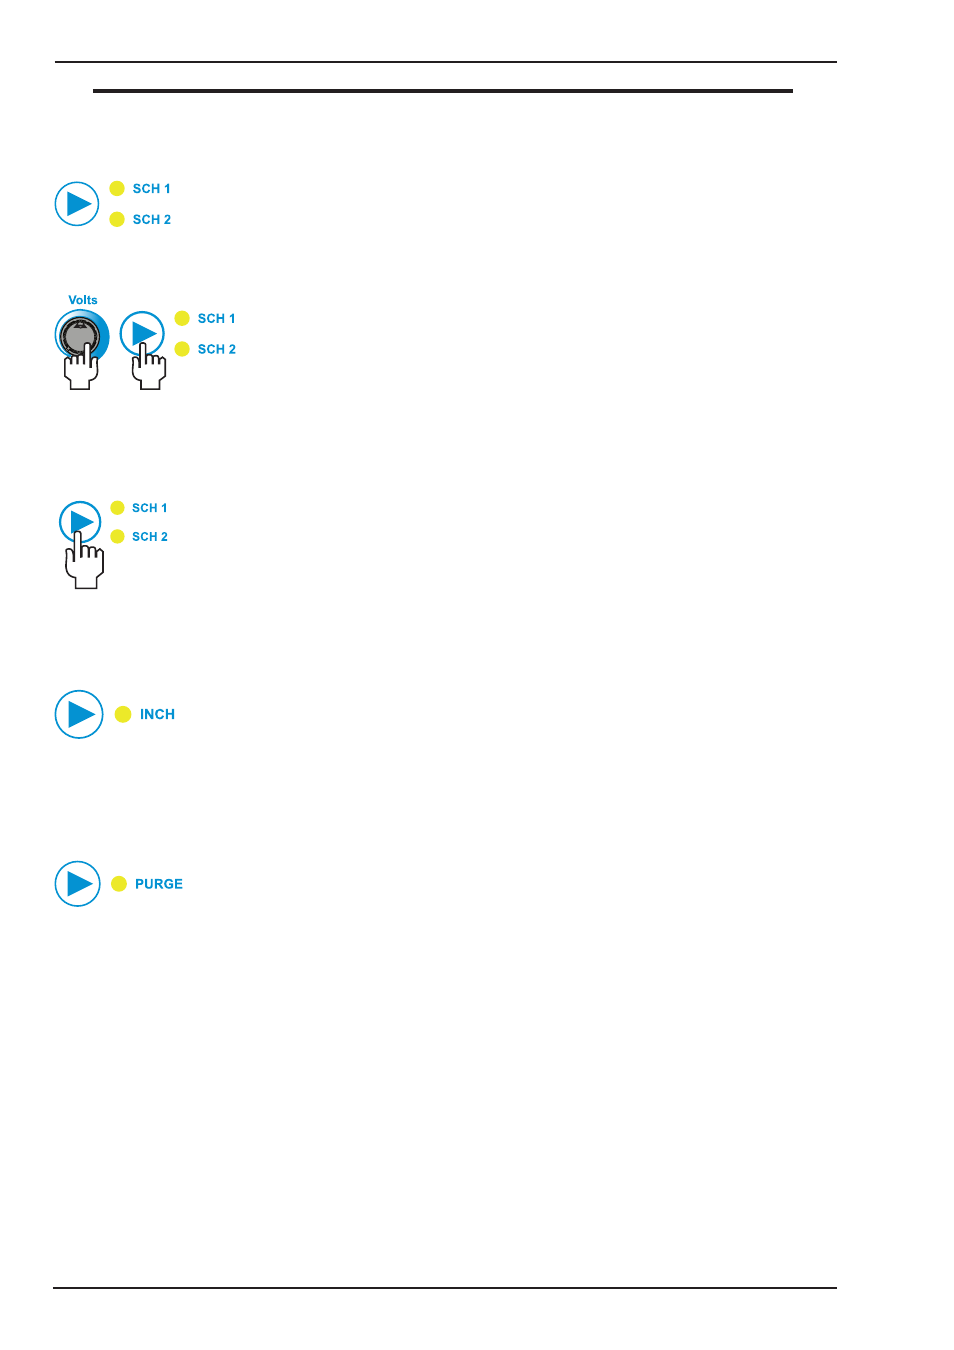
11. SCH 1-SCH 2 Button
This allows the user to save parameter settings in either Schedule 1 (SCH 1) or Schedule 2 (SCH 2) locations. Press
the button to select either SCH 1 or SCH 2. The red indicator will illuminate to identify which schedule is selected.
Right Knob
Adjust the wire speed and weld volts, along with parameters such as burnback, pre flow, post flow etc, to the
desired setting. Whilst holding the volts knob depressed at the same time press the SCH 1-SCH 2 button for 1.8
seconds to save the schedule. The SCH 1 or SCH 2 LED will flash 3 times to indicate the save has been successful.
Note that all adjustable parameters are saved with each schedule.
If the user wishes to load settings saved in either SCH 1 or SCH 2 locations, press and release the SCH 1-SCH
2 button to select either SCH 1 or SCH 2, the red indicator will illuminate to identify which Schedule is selected.
12. INCH Button
After turning the power ON, press this button and hold it to start cold feeding. Left display shows actual WFS and
right display shows INCH. If the user wishes to adjust WFS, turn left knob and left display shows preset WFS. 1
second later, it shows actual WFS. Release the button when it feeds the wire to the torch.
13. PURGE Button
This button is used to initiate gas line purge function to fill the gas line with the shielding gas from the connected
gas cylinder. Press and hold the button depressed to start gas purge function, at which time a countdown timer
will show in left display indicating the number of seconds remaining. You can stop the gas purge any time during
the 30 seconds by releasing the button.
14. MIG Torch Adaptor
The MIG Torch adaptor is the connection point for the MIG welding Torch. Connect the MIG Torch by pushing the
MIG Torch connector into the brass MIG Torch adaptor firmly and screwing the plastic MIG Torch nut clockwise
to secure in position. To remove the MIG Torch simply reverse these directions.