Transmig vaf4 – Tweco VAF4 Transmig User Manual
Page 22
TRANSMIG VAF4
INSTALLATION, OPERATION AND SETUP
3-4
Manual 0-5231
plication. The value may also be adjusted while a weld is in progress – if this occurs, the left display will briefly
switch to show the adjusted value as the knob is turned, and will automatically revert back to show the weld
current measurements when the knob is not being turned. Turn the left knob either clockwise to increase WFS or
counterclockwise to decrease WFS by increments of 0.1MPM. To increment in steps of 1 MPM whilst holding the
left knob depressed turn it either clockwise to increase WFS or counterclockwise to decrease WFS.
The Left digital meter display option can be changed either via the Advanced Features Menu (refer to Subsection
3.08)
OR
By simply depressing the Left Amps control knob for 3 seconds whilst welding, then by releasing the knob and
then holding it depressed for a further 3 seconds will increment to the next available display option that is shown
on the left digital display. i.e. Amps
WFS
---- (blank).
Press Left Knob (Amps) and Right Knob (Volts) for 1.2 seconds to enter or exit from the advanced programming
mode. Please refer to Subsection 3.08 for Advanced Features Details.
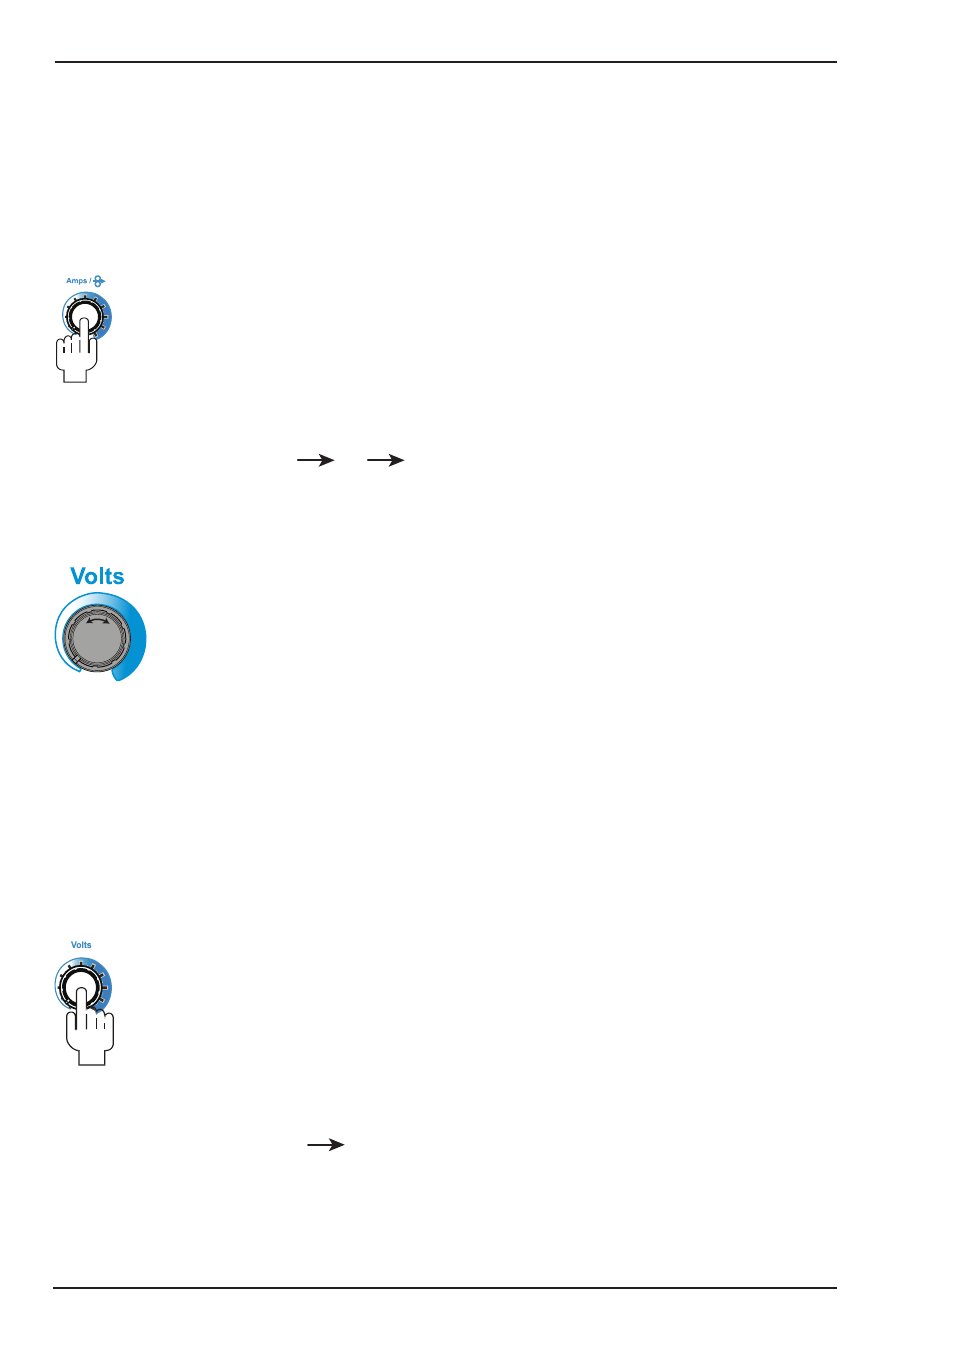
7. Right Knob
Right Knob
The control knob adjusts the output voltage of the power source. The welding voltage is increased by turning the
knob clockwise or decreased by turning the knob counter-clockwise. The value may also be adjusted while a weld
is in progress – if this occurs, the right display will briefly switch to show the adjusted value as the knob is turned,
and will automatically revert back to show the weld voltage measurements when the knob is not being turned.
Turn the right knob either clockwise to increase voltage or counterclockwise to decrease voltage by increments
of 0.1V. To increment in steps of 1V whilst holding the right knob depressed turn it either clockwise to increase
WFS or counterclockwise to decrease WFS.
The Right digital meter display option can be changed either via the Advanced Features Menu (refer to Subsection
3.08)
OR
By simply depressing the Right Amps control knob for 3 seconds whilst welding, then by releasing the knob and
then holding it depressed for a further 3 seconds will increment to the next available display option that is shown
on the right digital display. i.e. VARC
---- (blank).
Press Left Knob (Amps) and Right Knob (Volts) for 1.2 seconds to enter or exit from the advanced programming
mode. In advanced programming mode, turning the knob clockwise to increase and counter-clockwise to decrease
the value on right display. Please refer to Subsection 3.08 for Advanced Features Details.