Startup and troubleshooting, System startup – Banner PresencePLUS Pro—PRO Camera User Manual
Page 25
P/N 68368 rev. B
19
01/04
Installation Manual
Startup and Troubleshooting
Banner Engineering Corp. • Minneapolis, MN USA
www.bannerengineering.com • Tel: 763.544.3164
Startup and Troubleshooting
This section explains how to verify connections, start the PresencePLUS Pro program, and troubleshoot possible
problems.
System Startup
1) Verify cable connections.
- The camera and controller are connected to the camera cable.
- The controller is connected to a PC with an Ethernet crossover cable or serial cable.
- The monitor (if one is being used) is connected to the video port on the controller.
2) Verify electrical connections.
- +V is connected to Pin 1 (10–30V dc).
- –V is connected to Pin 2 (dc common).
- The trigger device is connected to Pin 3 (Trigger In).
- Any additional connections are made as required.
3) Verify lighting.
If lighting is powered by the controller, the strobe wire is connected to Pin 4 (Strobe Out).
4) Verify PC configuration.
- Ethernet connection: IP address of PC is 192.168.0.2
- Serial connection: A dial-up network has been established, and the network is a
point-to-point protocol (PPP).
5) Power up the system.
Verify that the error light turns OFF (during power-up, all controller LEDs illuminate for 15 to 20 seconds). After
the error light turns OFF, verify that the camera LED is flashing.
6) Launch the software.
- Click Start > PresencePLUS Pro to start PresencePLUS Pro.
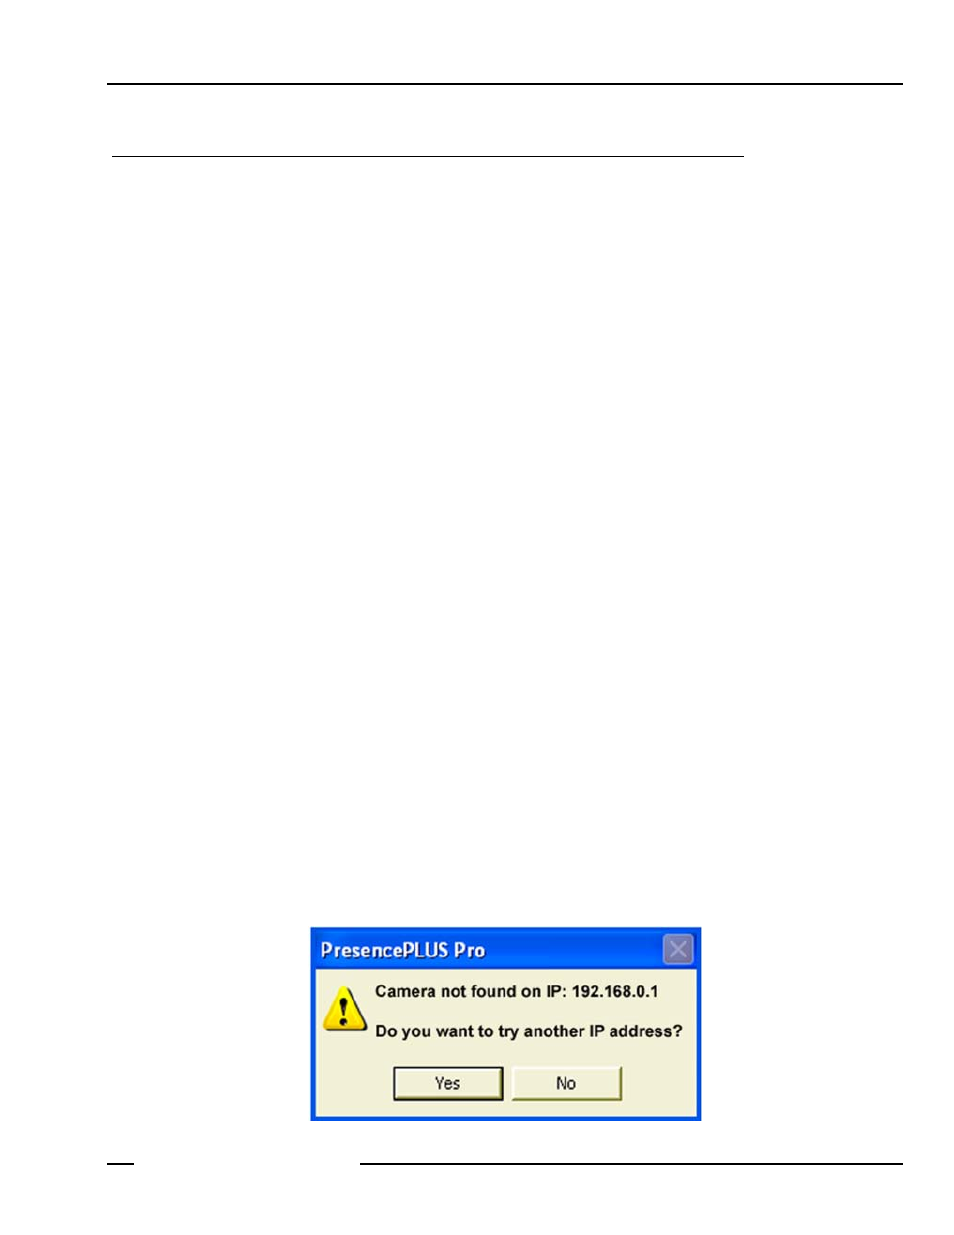
- If PresencePLUS Pro has a different IP address than the default address (192.168.0.1),
or if it is connected through a serial connection, the message shown below will appear.
- Click Yes to access the
(which follows on page 20).
----------------------------------------------------------------------------------------
--------------------------------------------------------------