1756-eweb installation – Rockwell Automation 1768-EWEB EtherNet/IP Web Server Module User Manual User Manual
Page 17
Publication ENET-UM527E-EN-P - October 2006
Getting Started 17
1756-EWEB Installation
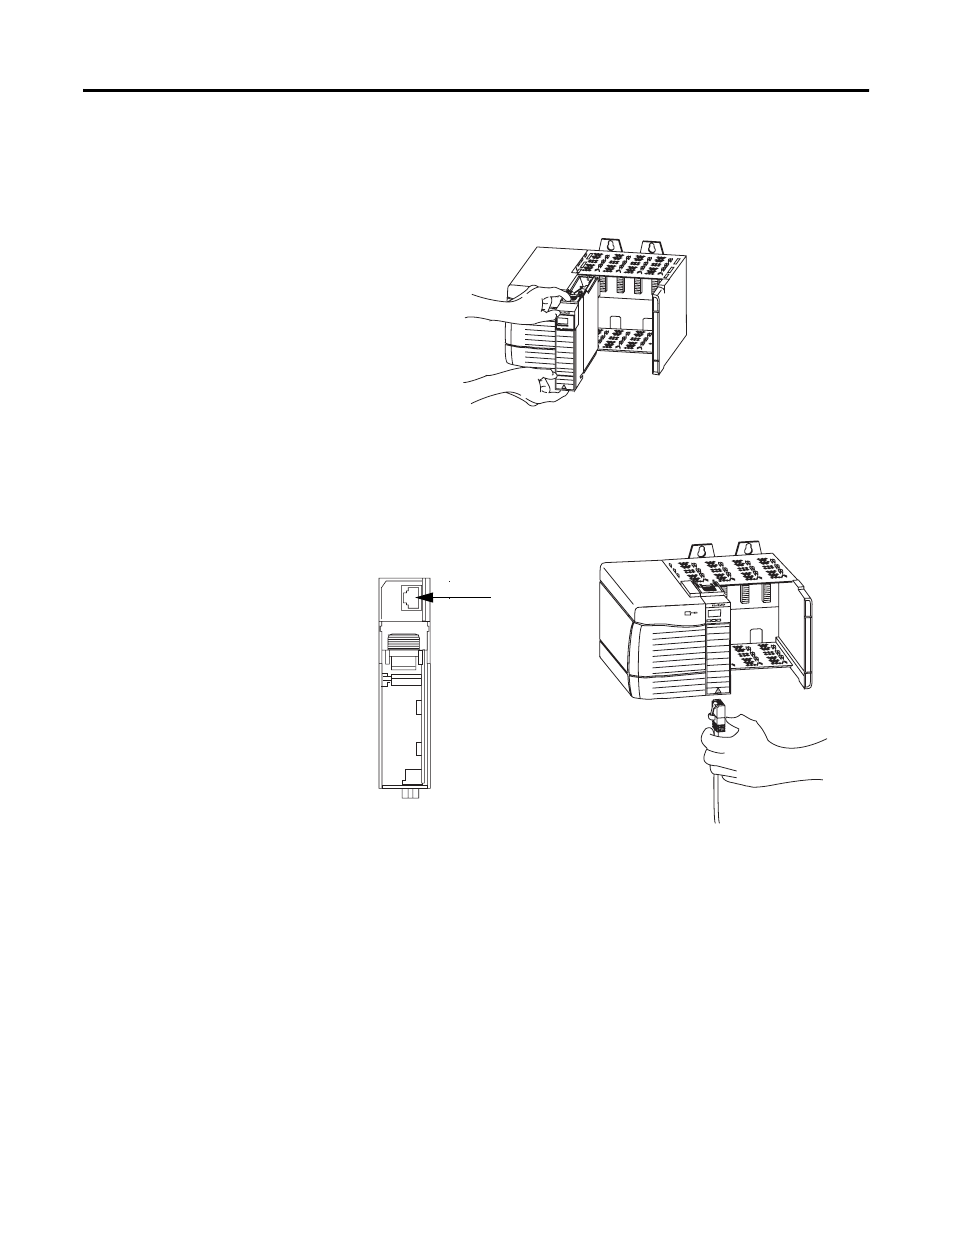
To install a ControlLogix Enhanced Web Server Module (1756-EWEB),
follow these steps.
1. Align the module with a slot in the 1756 chassis.
2. Slide the module back into the chassis until it snaps into place.
3. Connect the module to the network.
The RJ-45 connector is on the bottom, front of the module.
4. Obtain an IP address.
For more information, see chapter 2.
By default, the web server module is DHCP enabled. If you
connect the web server module to a network that has a DHCP
server, that server will assign a dynamic IP address to the web
server module and the four-digit display on the front of the web
server module will display each of the four numbers of the IP
address.
If your network does not have a DHCP server, use one of the
methods described in chapter 2 to assign an IP address to the
web server module.
RJ-45 EtherNet/IP
Connector
Connect the cable here.
1756-EWEB, Bottom