Rockwell Automation 2711E-ND1 PanelBuilder 1400E Configurator Software Getting Started User Manual
Page 78
5–5
Creating Buttons and Importing Graphics
Publication 2711E-818 – January 1998
Adding Button Text
This button’s function is to call up the Report screen. You must add
text to the button to indicate to the operator that it will call up this
screen. When you add text to a button you create an object label.
To add text to the button:
1. Choose Text in the Objects menu or
from the toolbox. Or,
press
CTRL+T.
The pointer changes to an I-beam.
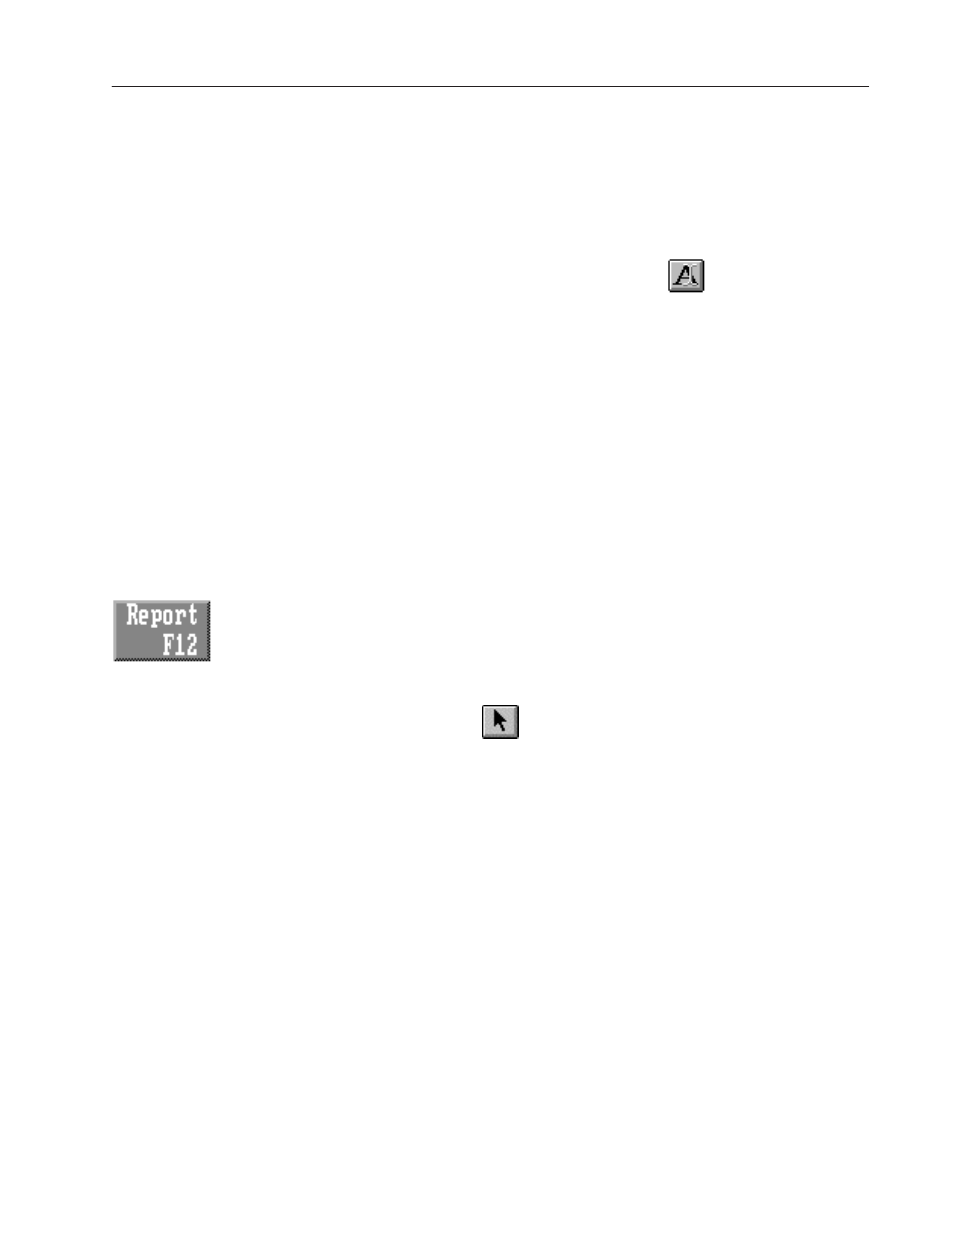
2. Position the I-beam in the left side of the button. Click the left
mouse button. Now, type
Report
.
Tip: If you didn’t position the text far enough to the left, you
may not be able to fit all the characters into the button. To fit all
the text in the button:
•
click the text object with the right mouse button to select it
•
move the text object to the left
•
click the text again with the right mouse button to enter text
mode
•
type the remaining text
3. If your application is for a keypad terminal, you should indicate
which function key the user must press to call up the screen.
Position the I-beam on the bottom of the button, click, and
type
F12
.
4. When you’re finished, exit Text mode. You can do this by
choosing
in the toolbox, clicking the right mouse button, or
double-clicking in an empty spot on the screen. Or, press
ESC
twice.
Note: If the text’s rectangle overlaps the shadow on the button’s
border, change the text’s fill style to hollow:
•
Select the text
•
choose Fill Style from the Format menu
•
select Hollow
"
"