Rockwell Automation 2711E-ND1 PanelBuilder 1400E Configurator Software Getting Started User Manual
Page 76
5–3
Creating Buttons and Importing Graphics
Publication 2711E-818 – January 1998
Tip: You can reverse any changes you make in a screen. Choose Undo
from the Edit menu,
from the toolbar, or press
CTRL+Z.
If you decide that you want to reverse the undo, you can do so. Choose
Redo from the Edit menu,
from the toolbar, or press
CTRL+Y
.
Resizing the Button
To keep the new button’s appearance consistent with the existing
buttons, resize it.
Tip: Before you size the button, select an existing button. The status
bar shows its width and height. You must resize the new button to
this size.
To resize the Goto Screen button:
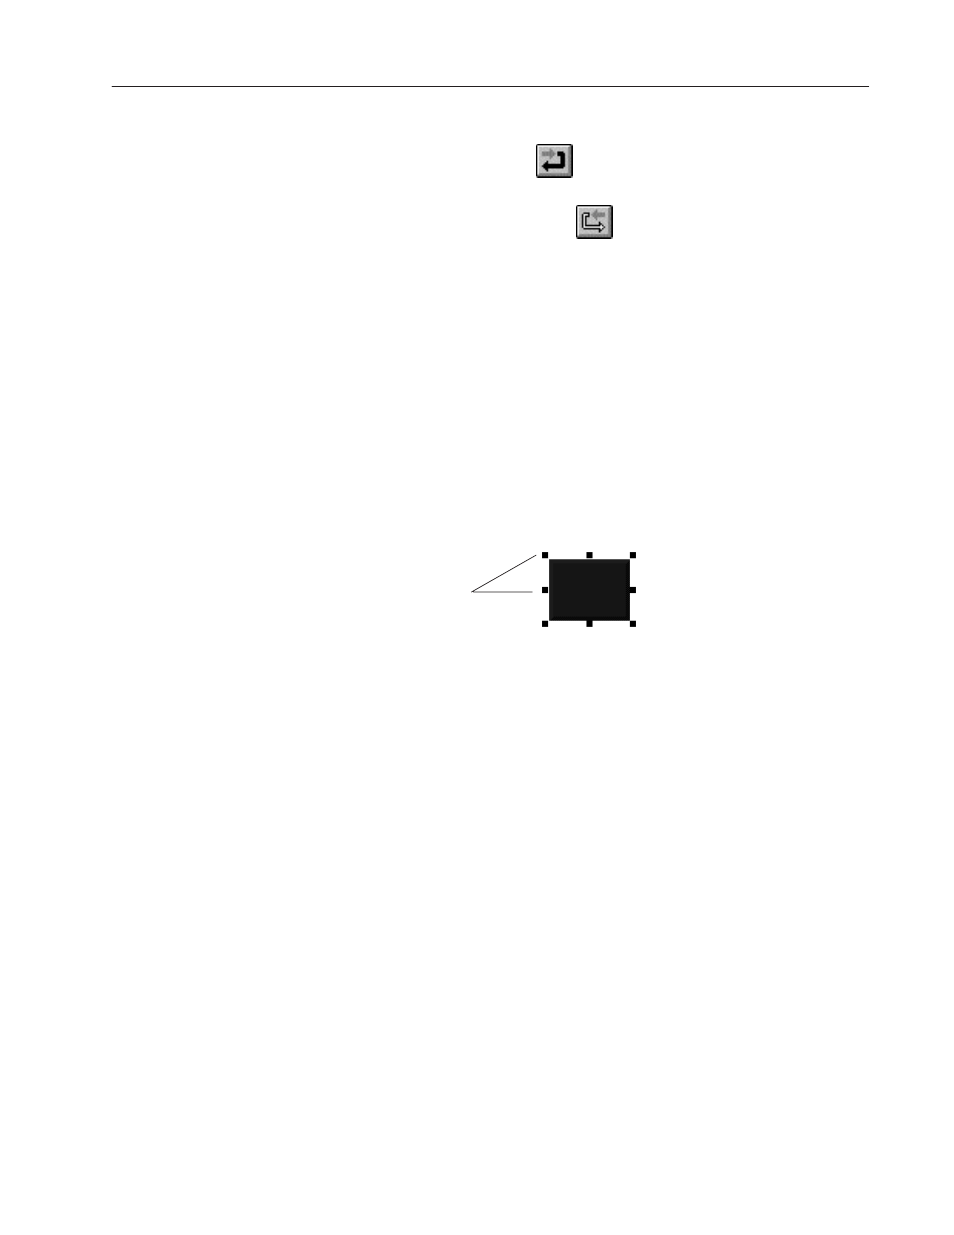
1. Position the pointer on the button and click the left mouse button.
Handles appear on the button, indicating that it is selected.
Handles
2. Position the pointer over the upper middle handle. You’ll notice
that the pointer changes to a bi-directional arrow.
3. Press the left mouse button. While holding down the left mouse
button, drag the pointer downwards.
The outline of the button follows the movement of the pointer. If
you’re working in a 1200e touch screen application, the outline
will move by touch cell boundaries only. When the status bar
indicates that the button is the same size as the existing buttons
(Height 40), release the mouse button.
If your application is for a keypad terminal, resize the button
horizontally until its width is approximately 64 pixels.
"
"