12 manual relay control menu – SATEC C192PF8-RPR User Manual
Page 43
Chapter 4 Setup Menus
38
data display mode (see Section 5.1), and reset of counters from the Status Information
Menu (see Section 6.1) without entering the reset menu.
2.
If you select the d.Snc entry, take into consideration the following:
a) If the power demand period is specified in minutes (see Section 4.1, Basic Setup
Options), this action provides synchronization of the instrument’s internal timer. If
the time expired from the beginning of the current demand interval is more then 30
seconds, the new demand interval starts immediately, otherwise synchronization is
delayed until the next demand interval.
b) The synchronization is made at the moment delayed by exactly 5 seconds from the
time you first pressed while you hold the key.
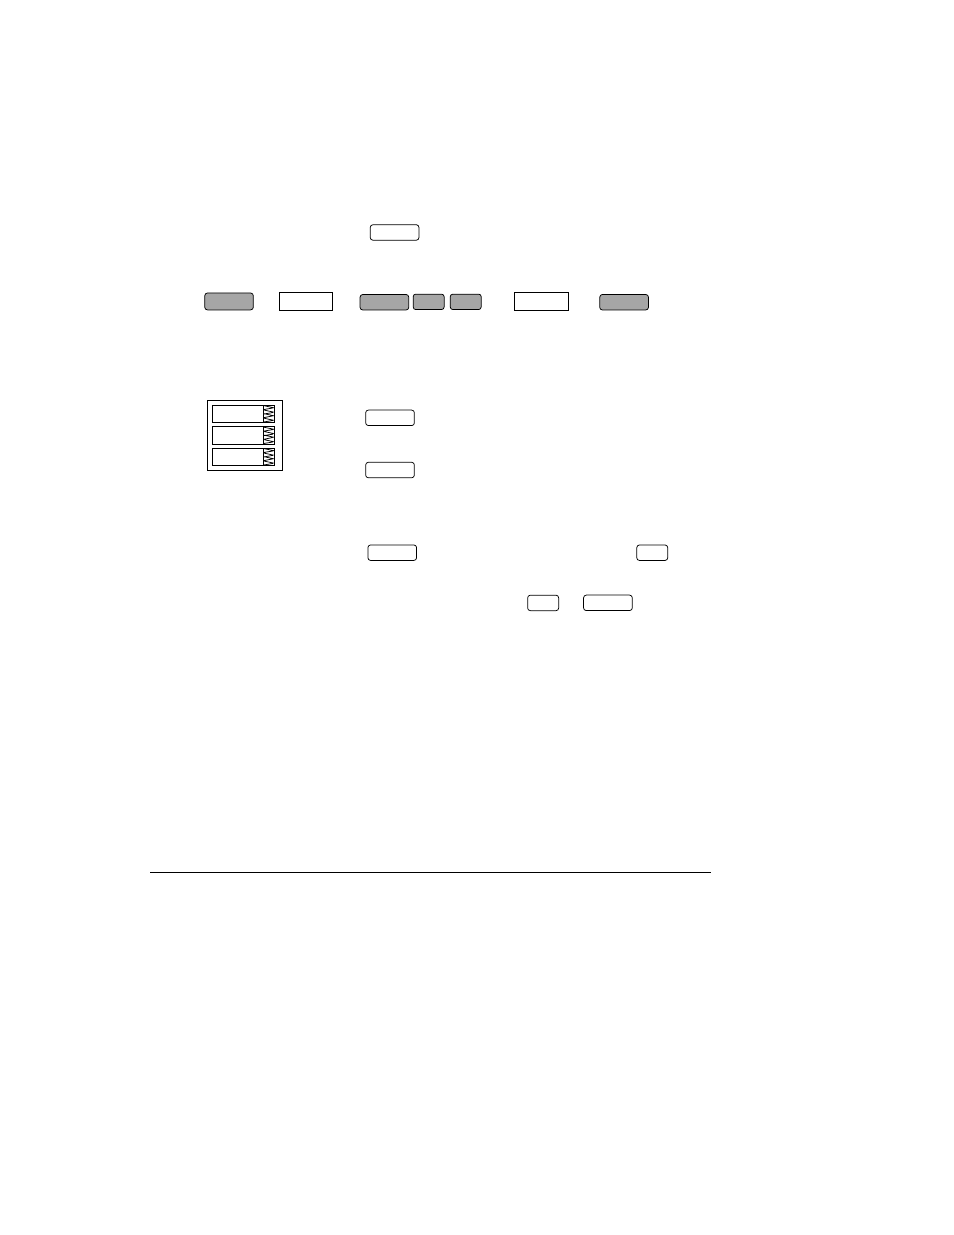
4.12 Manual Relay Control Menu
This menu allows you to manually activate (force operated) or de-activate (force
released) a relay if it is not allocated for pulsing and not controlled by the PFC.
When a relay is controlled by the alarm setpoint, this command will override the
setpoint alarm conditions until the relay is returned to normal operation.
To select a relay:
Press to activate the middle window, and then use
the up/down arrow keys to scroll to the desired relay.
To change the relay status:
Press to activate the lower window.
Use the up/down arrow keys to set the desired option.
Select nor for normal (setpoint-controlled) relay operation,
select OPEr to activate a relay, or rELS to de-activate a
relay.
Press to store your new setting or press to
leave your previous setting unchanged.
To quit the setup menu:
From the middle window, press or .
NOTE
You will not be able to override the relay operation mode if a relay has been allocated for
pulsing or is controlled by the PFC.
ENTER
rELc
OPEr
rEL.1
SELECT
CHG
rELc
ENTER
ENTER
SELECT
SELECT
ENTER
ENTER
ESC
ESC