Installation, Mounting the rough-in, Drd semi-recessed installation kit – ETC Unison DRd Semi-Recessed Installation Kit User Manual
Page 4
E T C I n s t a l l a t i o n G u i d e
DRd Semi-Recessed Installation Kit
DRd Semi-Recessed Installation Kit Installation Guide
Page 4 of 8
Electronic Theatre Controls, Inc.
Installation
Mounting the Rough-in
The wall frame and blocking must be strong enough to hold the Semi-Recessed installation kit and the
DRd rack enclosure fully populated with modules, conduit and wire.
Store the cover in a safe location for installation during final installation.
Step 1:
Determine where your rack will be installed. It is
recommended that you install the rack at least
36” (915mm) off the floor surface to ensure clear
view of the user interface.
Step 2:
Prepare and construct framing / blocking to the
rough opening dimensions specified in
Step 3:
Align the enclosure between the framed studs,
ensuring it is level (flush is not required) to the
surface.
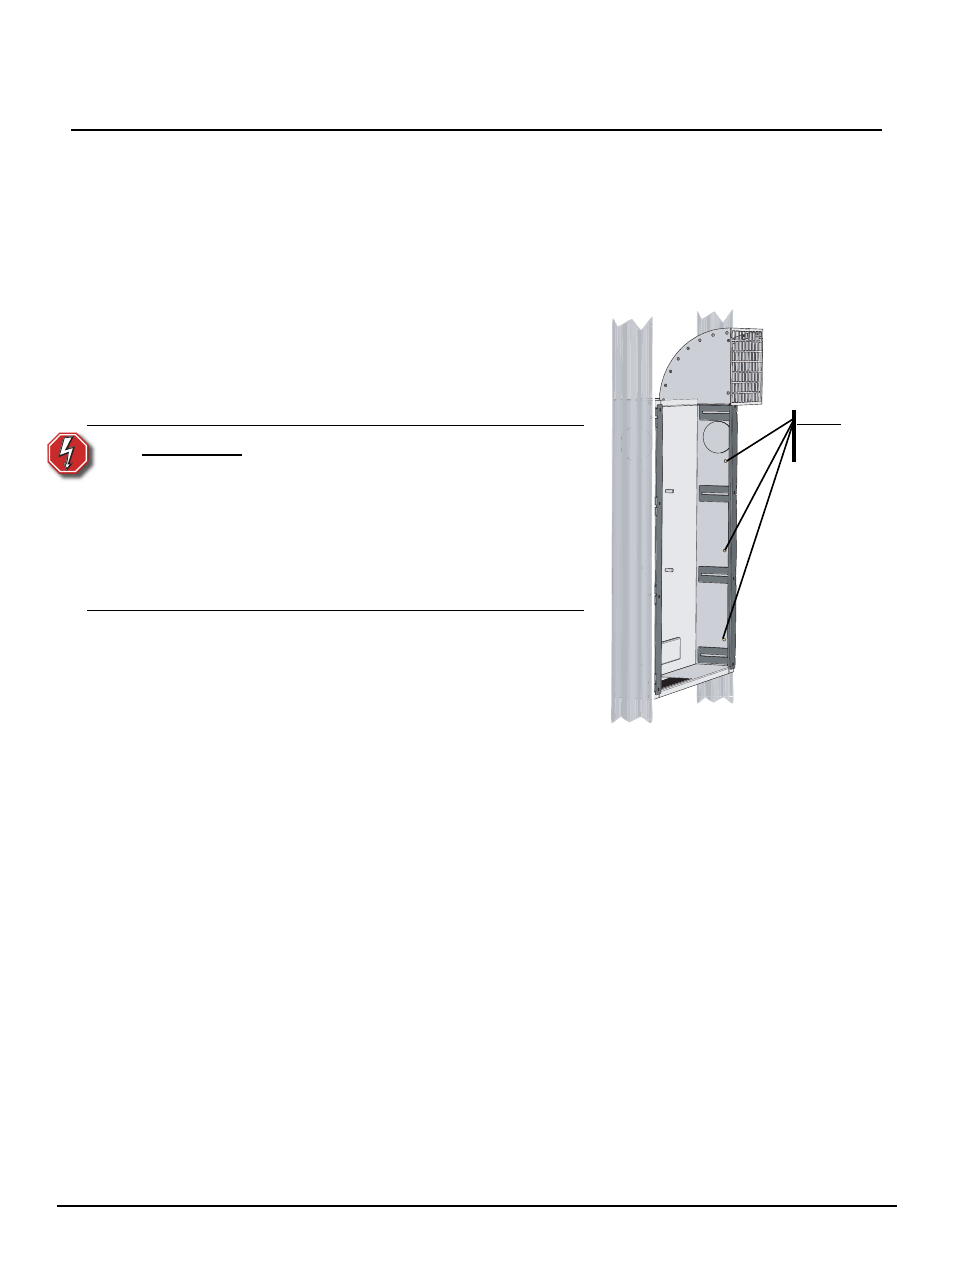
Step 4:
Locate the three screw holes provided on each
side of the enclosure and secure the rough-in
enclosure to the wall studs using 1/4” hardware
(lag bolts recommended but not provided).
Step 5:
Adjust or Remove the extension rails depending on the type of construction framing used
for this installation.
• For installations utilizing 2”x4” construction, the extension rails are not required and
should be removed. Remove the 10-32 nuts (four per side) that secure the rails to
the enclosure.
• For installations utilizing 2”x6” construction, adjust the extension rails to be flush
with the drywall or finished surface. Loosen the 10-32 nuts that secure the rails and
adjust the rail to the required depth, then re-tighten the 10-32 nuts.
W A R N I N G :
Once installed, this product may be in contact
with a wall surface in the room behind it.
This could subject a person to electrical
shock as well as damage the DRd if objects
could be installed, nailed to, or screwed
into the opposite wall surface.
If this risk exists, install a suitable barrier
between the recessed enclosure and the
opposite wall surface.
Step 4:
secure
each side