Apple Logic (1.1) User Manual
Page 63
Chapter 6
Audio Regions
63
Stereo Recording
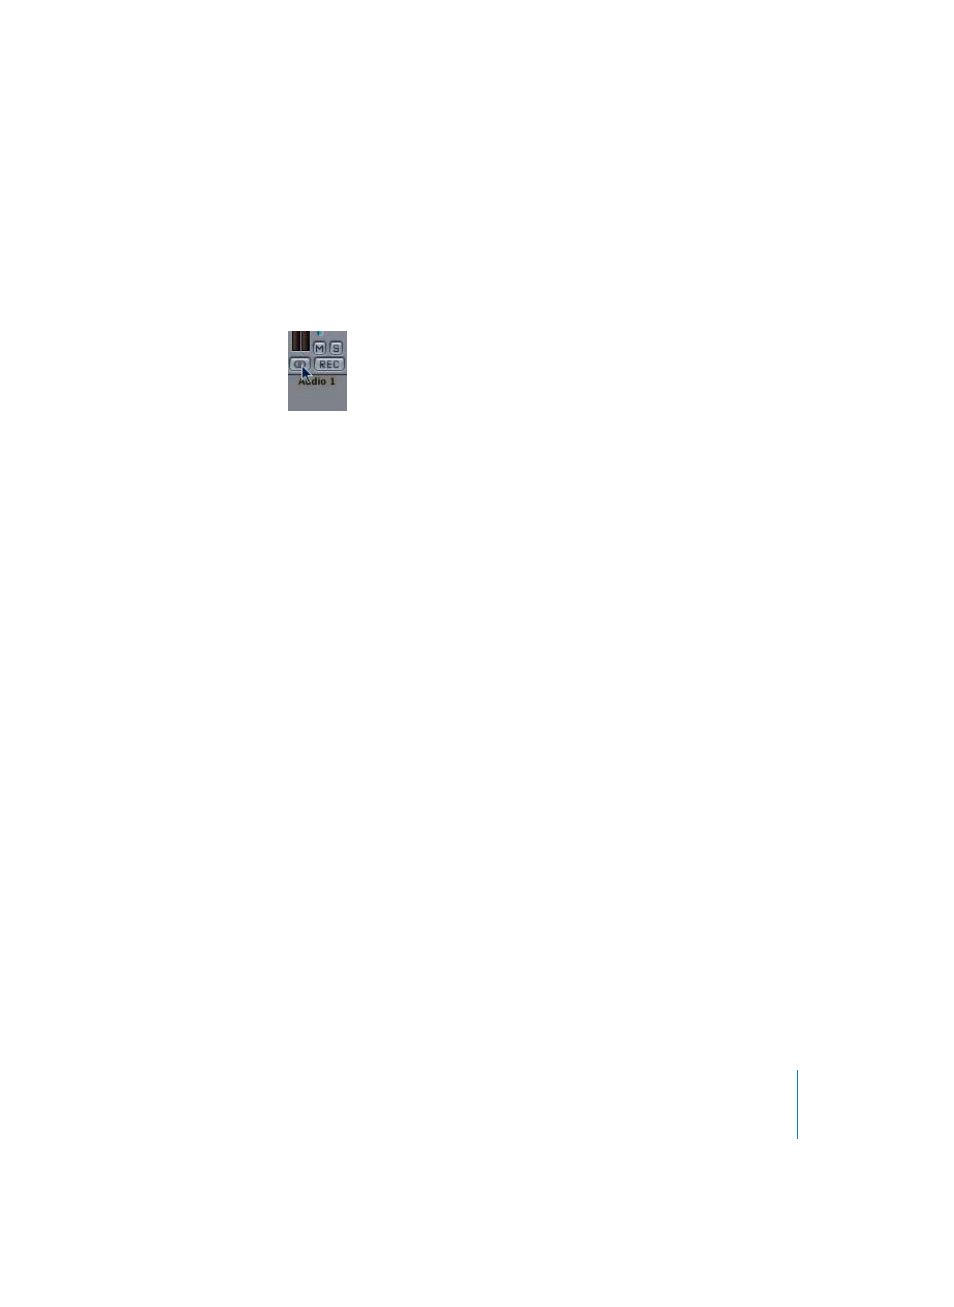
To make a stereo recording, you must first configure the selected track’s Arrange
window channel strip as stereo. The symbol on the button indicates the current status
as follows: A single circle—mono. A pair of interlocked circles—stereo.
The level meter will also divide into two discrete meters, when a channel strip is set for
stereo operation.
Levels
As soon as you arm an audio track, you will hear any signal being sent to the audio
inputs of your system. The audio track’s channel strip in the Track Mixer controls the
level of the monitored signal—what you’re hearing.
Important:
The fader always controls the playback level, not the recording level.
Recording levels must be set externally—on your mixer, or at the original sound source.
Care must be taken when setting input levels, as digital audio will “clip” when
overloaded. Clipping results in a particularly harsh, metallic distortion, so unless you
have a penchant for heavier musical styles, we don’t recommend overloading the
inputs!
Starting to Record
Start recording by pressing the Record button on the Transport window, or by pressing
* on the numeric keypad. You will notice that a waveform is drawn, in realtime, in the
Arrange window during recording.
Keep an eye on the level meter on the audio faders. In the event that the clip indicator
(top, red LED) is illuminated, you will need to make the recording again, using a lower
level. To avoid constantly watching the level meter, the overload indicator remains lit
until it is clicked. If your recording level was too high, ensure that you click on the
overload indicator to reset it.
Once you’ve finished recording, press Stop on the Transport Bar or by pressing 0 on the
numeric keypad.
Congratulations, you’ve recorded your first audio file.