Installation instruc tio ns – Poison Spyder JK BRAWLER ROCKERS User Manual
Page 2
INSTALLATION INSTRUC
TIO
NS
©2010 POISON SPYDER CUSTOMS, INC. • 951-849-5911 • WWW.POISONSPYDER.COM
Poison Spyder Customs • JK BRAWLER ROCKERS INSTALLATION
Page 2
INSTALL PREPARATION:
1. Park vehicle on a level surface and set the
emergency brake. You will want to wear eye
protection beyond this point in time.
2. If your Wrangler is a Rubicon edition or it
is equipped with rocker protection or steps,
they will now need to be removed. Factory
installed rocker protection is held on by:
a. 2-Door: four (4) nuts in the pinch weld
flange (Figure 1) and two (2) bolts that
go into the bottom of the tub (Figure 2).
b. 4-Door: six (6) nuts in the pinch weld
flange (Figure 1) and three (3) bolts that
go into the bottom of the tub (Figure 2).
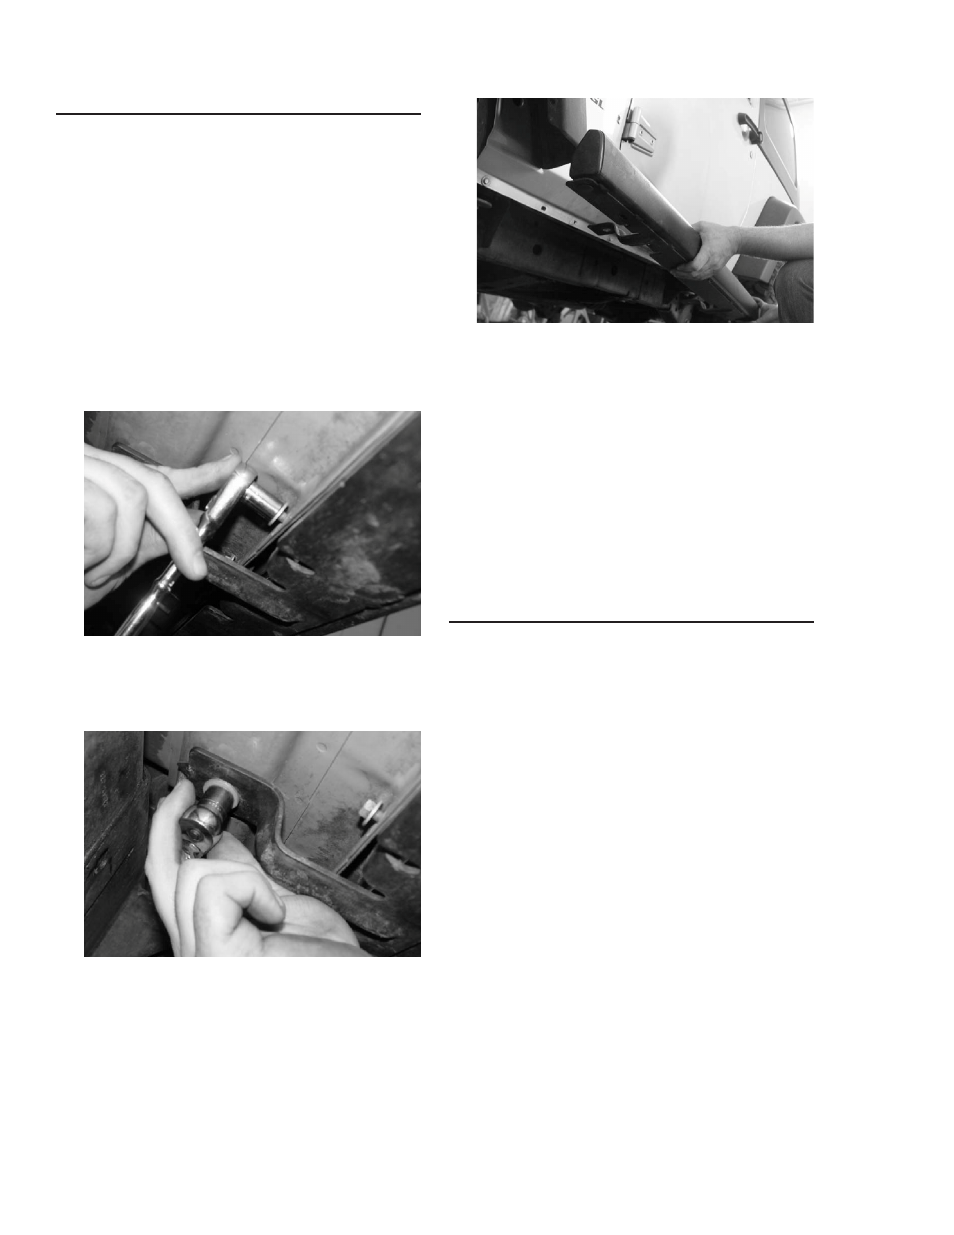
FIGURE 1
Using the 1/4” drive ratchet, 10mm socket
and the 13mm socket remove the hardware
that fastens the rocker protection to the Jeep.
FIGURE 2
Remove the factory rocker protection from
the Jeep by gently pulling it away from the
tub.
FIGURE 3
3. Apply masking tape onto the front and
rear fender flares, and on the Jeep’s body
tub sheetmetal where the Body Armor Upper
Pieces will attach. You will want to make sure
you apply the tape from the bottom of the
flare up at least ten (10) inches. This step will
help eliminate scratches during installation.
4. Apply several pieces of tape (about three
inch sections) to the back of the Body Armor
Upper Pieces. This step will help eliminate
scratches during installation.
INSTALLATION PROCEDURE
NOTE: Some of the following photos depict the
installation of a different product, Poison Spyder
JK Body Armor. For these steps, however,
installation is identical to the Body Armor Upper
Pieces in the Brawler Rocker kit.
1. Start with the drivers side. Open the
door(s) and hold the Body Armor Upper
Piece up and position it on the tub. Make
sure the gap around the door is equal front
to back and the body armor is level to the
bottom of the door. See figure 4. Use the
bar clamps to clamp the Body Armor Upper
Piece into place (with the door open you can
clamp through the door opening).