Installation instruc tio ns – Poison Spyder JK ROCKER KNOCKERS Frame-Mount User Manual
Page 3
INSTALLATION INSTRUC
TIO
NS
Poison Spyder Customs • JK ROCKER KNOCKERS FRAME-MOUNT
Page 3
©2014 POISON SPYDER CUSTOMS, INC. • 951-849-5911 • WWW.POISONSPYDER.COM
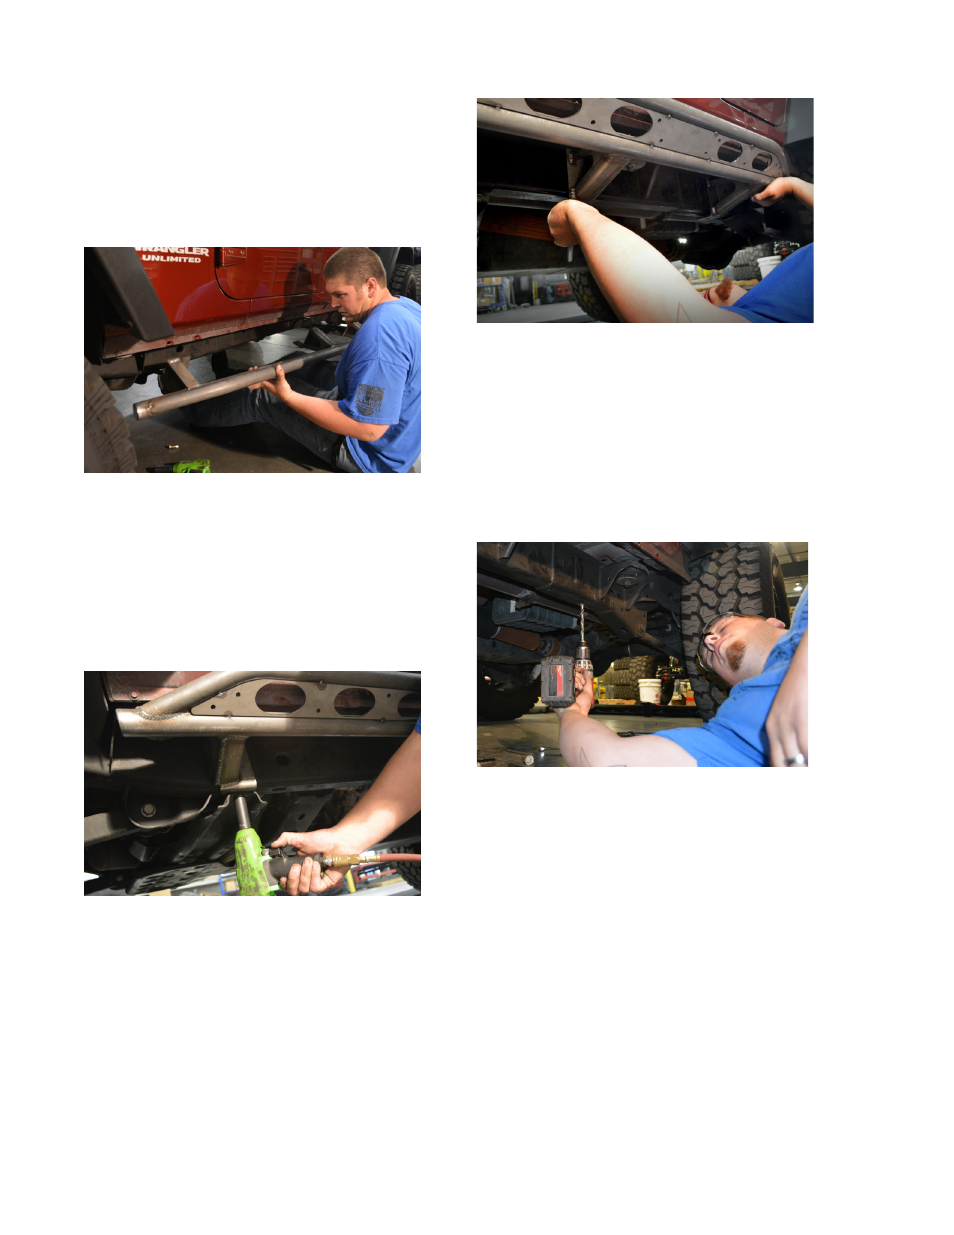
2.
Install the drivers’ side Rocker Knocker™
by sliding the mounting flange of the forward
outrigger in between the bottom of the
frame rail and the transmission skid plate
crossmember (auto trans models). Again,
on Jeeps with manual transmissions this
crossmember is not present.
FIGURE 5
3.
Either re-use the OE transmission skid
crossmember bolt (if auto trans) or use
one of the supplied M12-1.5 X 40MM Hex
Head Cap Screws with lock washer and flat
washer, to secure the Rocker Knocker to the
Jeep’s frame rail. Make sure the rearward
two outriggers are snug to the side of the
Jeep’s frame rail as you tighten this bolt.
FIGURE 6
4.
Use a pen or transfer punch to mark the
centers of the bolt holes for the two rearward
crossmembers. You will want to push the
Rocker Knocker™ snugly up against the
bottom and sides of the frame rail, and also
against the adjacent body mount brackets,
while marking the holes.
FIGURE 7
5.
Remove the Rocker Knocker™, then drill
each of the two marked hole locations to a
finish hole size of 29/64”. You will want to
start with a small pilot hole of 3/16” or so,
and step up the hole size at least one size
before reaching the final hole size of 29/64”.
Be careful to hold the drill very straight and
steady on the final pass, as the hole will be
threaded in the next step.
FIGURE 8
6.
Use a 1/2-20 tap to thread each of the two
new holes. If you are unfamiliar with the
proper use of a threading tap, we suggest
seeking the help of a friend who is familiar
with their use, or researching online for
proper procedures of using a threading tap.