Installation instruc tio ns – Poison Spyder TJ DEFENDERS User Manual
Page 6
INSTALLATION INSTRUC
TIO
NS
Poison Spyder Customs • TJ/LJ-YJ-CJ DEFENDERS INSTALLATION
Page 6
©2011 POISON SPYDER CUSTOMS, INC. • 951-849-5911 • WWW.POISONSPYDER.COM
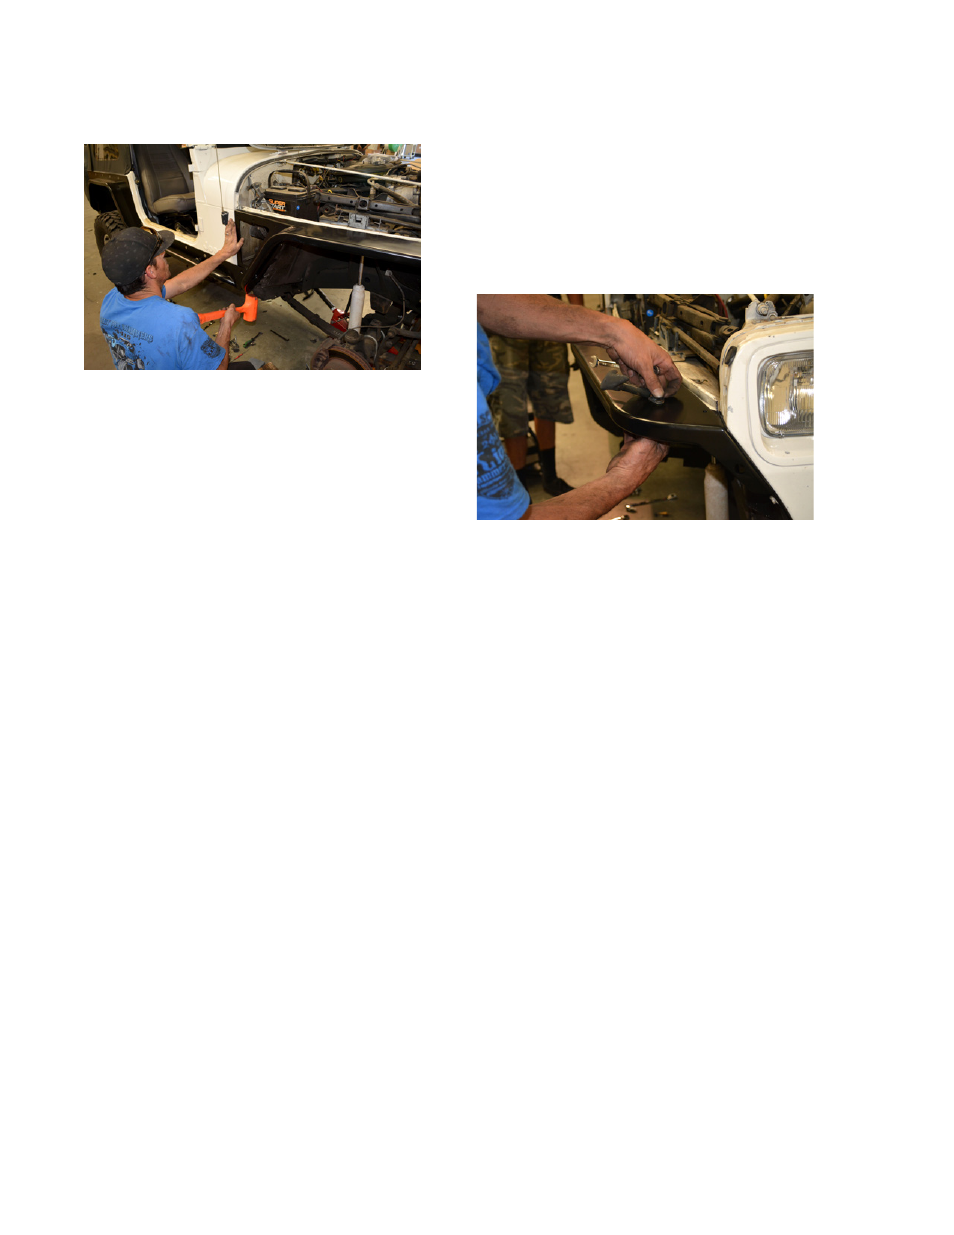
hardware attaching the DeFenders™ to the
firewall and grille.
FIGURE 21
26. Loosely install two (TJ/LJ) or three (YJ-
CJ) each of the provided 5/16-18 X 1 SS
button head cap screws, 5/16-18 nylon
insert lock nuts, and 5/16 fender washers,
where the inner wheel well mounting tabs
on the DeFenders™ meet the inner wheel
well. It may be necessary to enlarge or drill
new holes in the inner wheel well. Also,
depending on how much of the inner wheel
well you managed to leave when cutting,
there may be a vertical gap between the
edge of the wheel well and the inside wall of
the DeFender. If desired, the installer may
fashion a sheetmetal or rubber strip to span
this gap to keep mud from splashing past the
inner wheel well. Otherwise it may simply
be left open to promote airflow through the
engine bay.
27. Make sure the top edge of the inner
fender is snug against the inner edge of the
DeFender™ and firmly clamped in place,
and drill all ten inner fender mounting holes,
using the holes in the DeFender™ as your
drill guide. (Note: on some models the
forward-most of these holes might not be
used, depending on the amount of material
removed in the cutting steps). Use the
provided 1/4” hardware to attach the inner
fender to the DeFender™. On CJ/YJ, use
the provided 3/8” hardware to bolt the inside
of the DeFender™ to the stock inner fender.
28. (TJ/LJ ONLY) Install the provided Battery
Tray Bracket in the same position as the
removed OE bracket, using the OE hardware.
Reinstall the battery tray and battery, re-
connect the battery.
29. Install the Side Inserts using the provided
5/16-18 X 3/4 SS button head cap screws.
Note that the Side Inserts come with pre-
installed nuts. The insert is designed to
be placed on the inside surface of the
DeFender™, with the pre-installed nuts
facing toward the center of the Jeep.
30. Re-install the hood latches to the top of the
DeFenders™.
FIGURE 22
NOTE: It is recommended to relocate turn
signals in accordance with your local laws. If
you wish to convert to high intensity 3/4” round
LED turn signals, the DeFenders™ have a small
hole located near the front where it meets the
grille, especially for this use. Note that this lamp
requires some wiring skill to install, may also
require a special “flasher” module, and will only
function as either a running light or turn signal
(but not as both)
CONGRATULATIONS! You have completed
your installation of Poison Spyder DeFenders™!