Installation instruc tio ns – Poison Spyder LJ TRAIL CAGE KIT User Manual
Page 3
INSTALLATION INSTRUC
TIO
NS
Poison Spyder Customs • TJ-LJ TRAIL CAGE KIT INSTALL
Page 3
©2010 POISON SPYDER CUSTOMS, INC. • 951-849-5911 • WWW.POISONSPYDER.COM
FIGURE 4
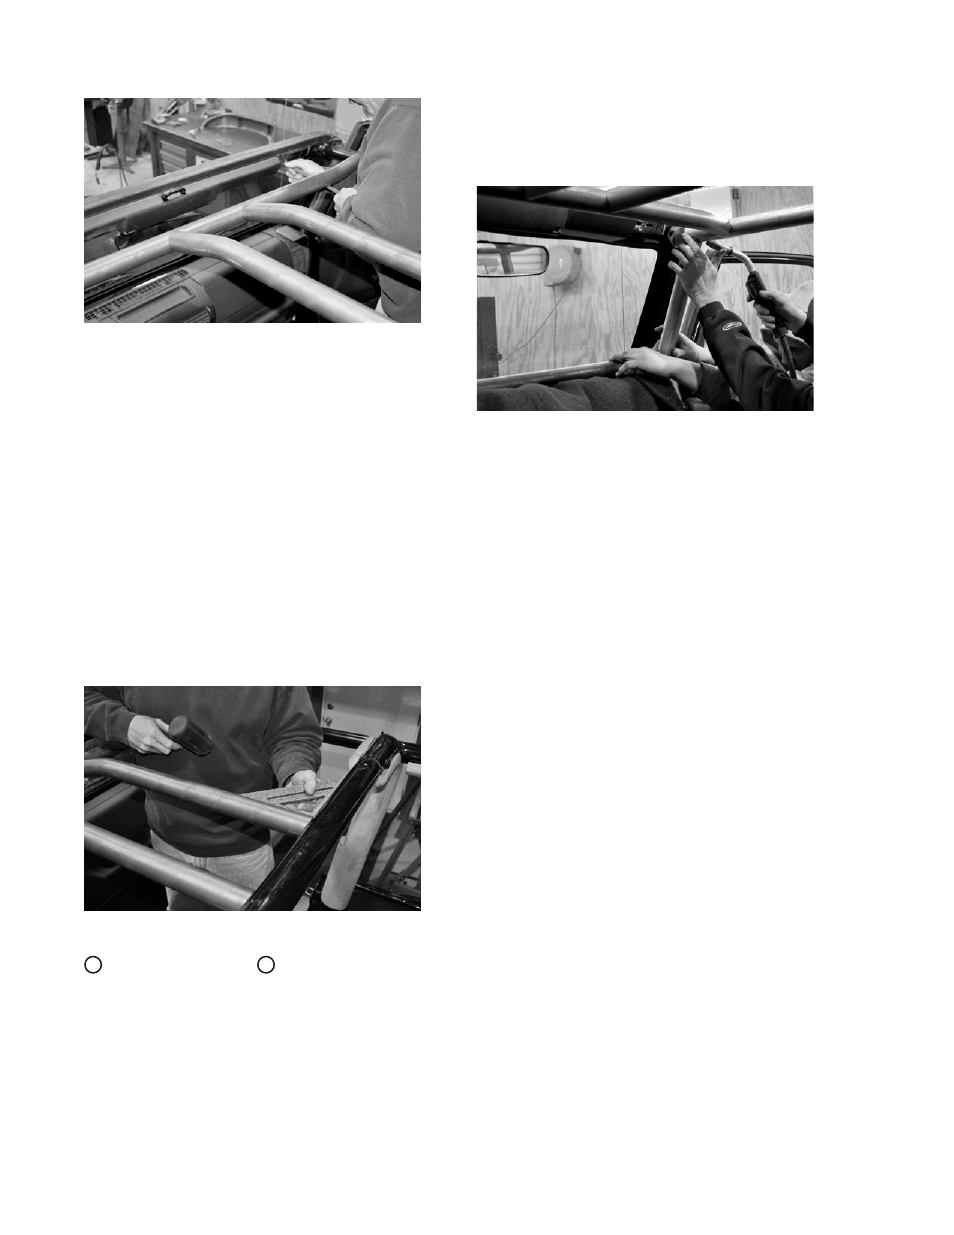
Next, hold the two Forward Stringers in
place between the A-Crossbar and the
main hoop of the factory cage. Use the
laser-etched marks to properly locate the
tube junctions along the A-Crossbar. Use a
square to ensure that the Forward Stringers
are perpendicular to the main hoop of the
factory cage. Use the Forward Stringers to
locate the A-Crossbar the proper distance
forward from the main hoop of the factory roll
cage. Use a measuring tape to confirm that
the A-Crossbar is the same distance from
the windshield at each end. While holding
everything in place correctly located, tack
the A-Crossbar and Forward Stringers into
place.
FIGURE 4
8. Install the Upper A-Pillar Tubes L&R
7
and the Dash Bar
9
at the same time.
Have a friend help with holding the three
pieces in place. Start by holding the Upper
A-Pillar Tubes in place between the Lower
A-Pillar and the OE windshield support bar
or PSC Header Bar. Next, hold the two
Dash Bar in place horizontally between the
C-Hoop and the lower ends of the Main Side
Upper A-Pillar Tubes. Use the laser-etched
assembly marks as guides to properly locate
the tube junctions. While holding them
in place correctly located, tack the Upper
a-Pillar Tubes and Dash Bar into place.
FIGURE 5
9. Fully test-fit all equipment that is located
within, near or around the cage or any
portion of the cage. This includes soft tops,
doors, seats, etc. Test each component for
both fit and operation. It is EXTREMELY
IMPORTANT that you verify proper fitment
of all components at this time. If any tube
placement needs to be adjusted, it is a
simple matter of grinding the small tack
welds to make any adjustments. Making
these adjustments will be impossible once
the cage is fully welded.
10. Finish-weld each joint in the cage. Before
you begin, you may wish to place welding
blankets or some other suitable protection
for your Jeep’s interior. You will need to tilt
the windshield forward to fully access each
seam that must be welded.
11. Paint or powder-coat your cage to protect
it from rust. If painting it yourself, use a good
quality self-etching primer on the bare steel
of your cage prior to painting in the color of
your choice. It is recommended to remove
the entire cage for painting in order to cover
the hard-to-reach parts of the cage.
Congratulations, you have completed the
installation of your Poison Spyder Trail Cage Kit!