Installation instruc tio ns – Poison Spyder LJ TRAIL CAGE KIT User Manual
Page 2
INSTALLATION INSTRUC
TIO
NS
Poison Spyder Customs • TJ-LJ TRAIL CAGE KIT INSTALL
Page 2
©2010 POISON SPYDER CUSTOMS, INC. • 951-849-5911 • WWW.POISONSPYDER.COM
prior to tacking and finish-welding. Also, each
step should be extrapolated for both sides,
where any procedure is to be duplicated on both
sides of the cage.
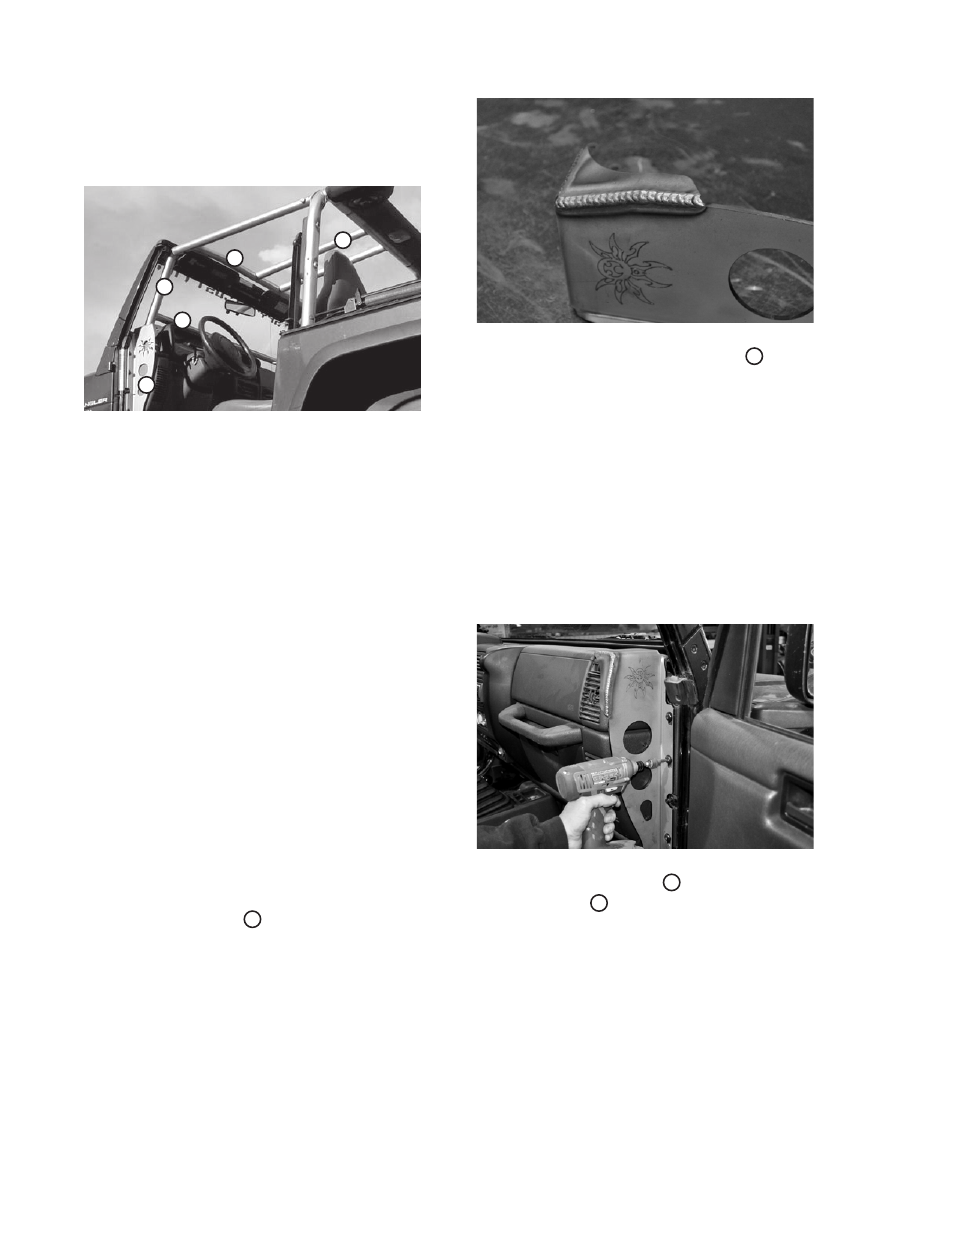
11
10
9
4
7
FIGURE 1
1. Park vehicle on a level surface and set the
emergency brake. You will want to wear eye
protection beyond this point.
2. Clean ALL bare metal pieces provided in the
kit, using a clean rag and brake cleaner. This
will ensure an easier, cleaner installation and
better welds later in the installation.
3. Grind or sand the paint from the locations
on the factor roll cage where the pieces
of the Trail Cage will be welded in. This
includes the forward edge of the main hoop,
at the center where the Forward Stringers
attach. It also includes the underside of each
windshield support bar near the windshield,
where the Upper A-Pillar Tubes will attach (if
not using the optional Header Bar Kit).
4. If you are installing the optional heavy duty
Header Bar Kit, remove the OE windshield
support bars and install the Poison Spyder
Header Bars according to the instructions
that came with that kit.
5. Weld the gusset seam on each of the
Lower A-Pillars L&R
4
. This seam was left
un-welded so that you may weld it to match
the weld style of the rest of your cage. For
instance, if you are TIG welding your cage,
you would likely prefer to have your own TIG
weld in such a highly visible spot as this.
FIGURE 2
6. Install the Lower A-Pillars L&R
4
. Bolt
each Lower A-Pillar into place using the three
Torx bolts you removed during Step 5 of the
Factory Cage Removal process. Use the
supplied 1/2-13 Gr8 hex head cap screws,
washer plates and lock nuts to secure the
bottom foot of each Lower A-Pillar to the
existing hole in the floorboard of the Jeep.
Note that once installed, the Lower A-Pillars
will NOT be oriented perpendicular to the
Jeep. They will angle slightly inward. Be
sure to test-fit the doors for proper closing,
before proceeding.
FIGURE 3
7. Install the A-Crossbar
10
and the Forward
Stringers L&R
11
at the same time. Have a
friend help with holding the three pieces in
place. Start by holding the A-Crossbar in
place between the two windshield support
bars (or Poison Spyder Header Bars, if
used), toward the front of the Jeep.