Installation instruc tio ns – Poison Spyder JK BRAWLER LITE FRONT BUMPER User Manual
Page 3
INSTALLATION INSTRUC
TIO
NS
©2013 POISON SPYDER CUSTOMS, INC. • 951-849-5911 • WWW.POISONSPYDER.COM
Poison Spyder Customs • JK BRAWLER LITE FRONT BUMPER
Page 3
IMPORTANT: If installing the optional Skid Plate,
refer at this point to the instructions that came
with the Brawler Lite Skid Plate, and proceed
with those steps. Return to these instructions
and proceed with the next step, below, once the
Skid Plate installation instructions have been
completed.
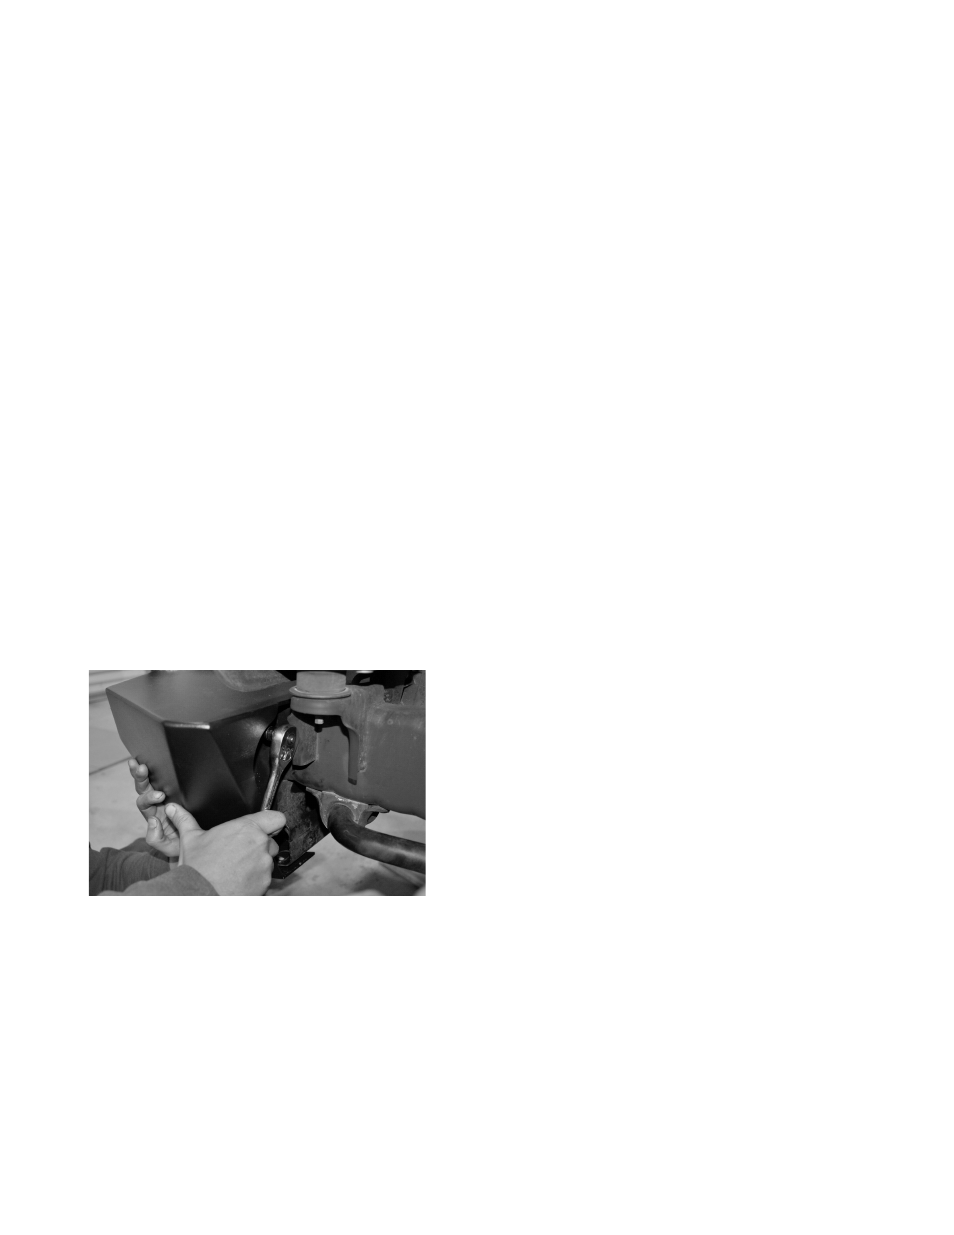
7. Install the Bumper onto the frame. There
are eight (8) threaded studs located on the
inside/backside of the bumper, which will
correspond with the bumper mounting holes
on the frame. It may be a tight fit due to
slight manufacturing variances from Jeep to
Jeep, but the bumper will fit with some gentle
persuasion. You may need to use a rubber
mallet or soft dead-blow hammer to tap the
bumper into place. Be careful not to mar your
paint or powdercoat finish.
8. Locate the 1/2-13 nylon insert lock nuts and
1/2” flat washers that came with your bumper
(usually these are shipped threaded onto the
studs). Install a flat washer and lock nut onto
each of the eight bumper mounting studs at
the outside and inside of the frame rail on
either side of the Jeep. Snug these with
the 3/4” deep socket, extension and ratchet.
Torque these nuts to 70 ft.-lbs.
FIGURE 10
9. If you installed the OE fog lamps into the
Brawler Lite bumper, plug the harness
connectors back into the sockets in the back
of each lamp. Use the OE wire harness
push-in retainers to secure the harness to the
three (3) provided holes on a flange at the
inside rear of the Brawler Lite bumper. You
may have to locate them by feel as the area
is hard to see once the bumper is installed.
Congratulations, you have completed the
installation of your Poison Spyder JK Brawler Lite
Front Bumper!