Detail settings, Position, 14 stamp/composition - header/footer – Konica Minolta BIZHUB 223 User Manual
Page 135: Detail settings -27 position -27, Stamp/composition - header/footer -27, P. 7-27, Ion] (p. 7-27), P. 7-27)
bizhub 423/363/283/223
7-27
7.4
Print - Application (Public, Personal, or Group User Box)
7
Detail Settings
Press [Detail Settings] to specify the density, character size, and other items.
Position
In the Stamp Repeat setting screen, press [Position] to determine the print position of the stamp, for example,
by angling the stamp or leaving a space.
Configure the following settings.
-
Setting an angle of the stamp repeat within the area (+45 degrees/0 degrees/45 degrees)
-
Inserting a space between stamp repeats
-
Reordering printing order of stamp repeat
-
Deleting the stamp repeat or space
7.4.14
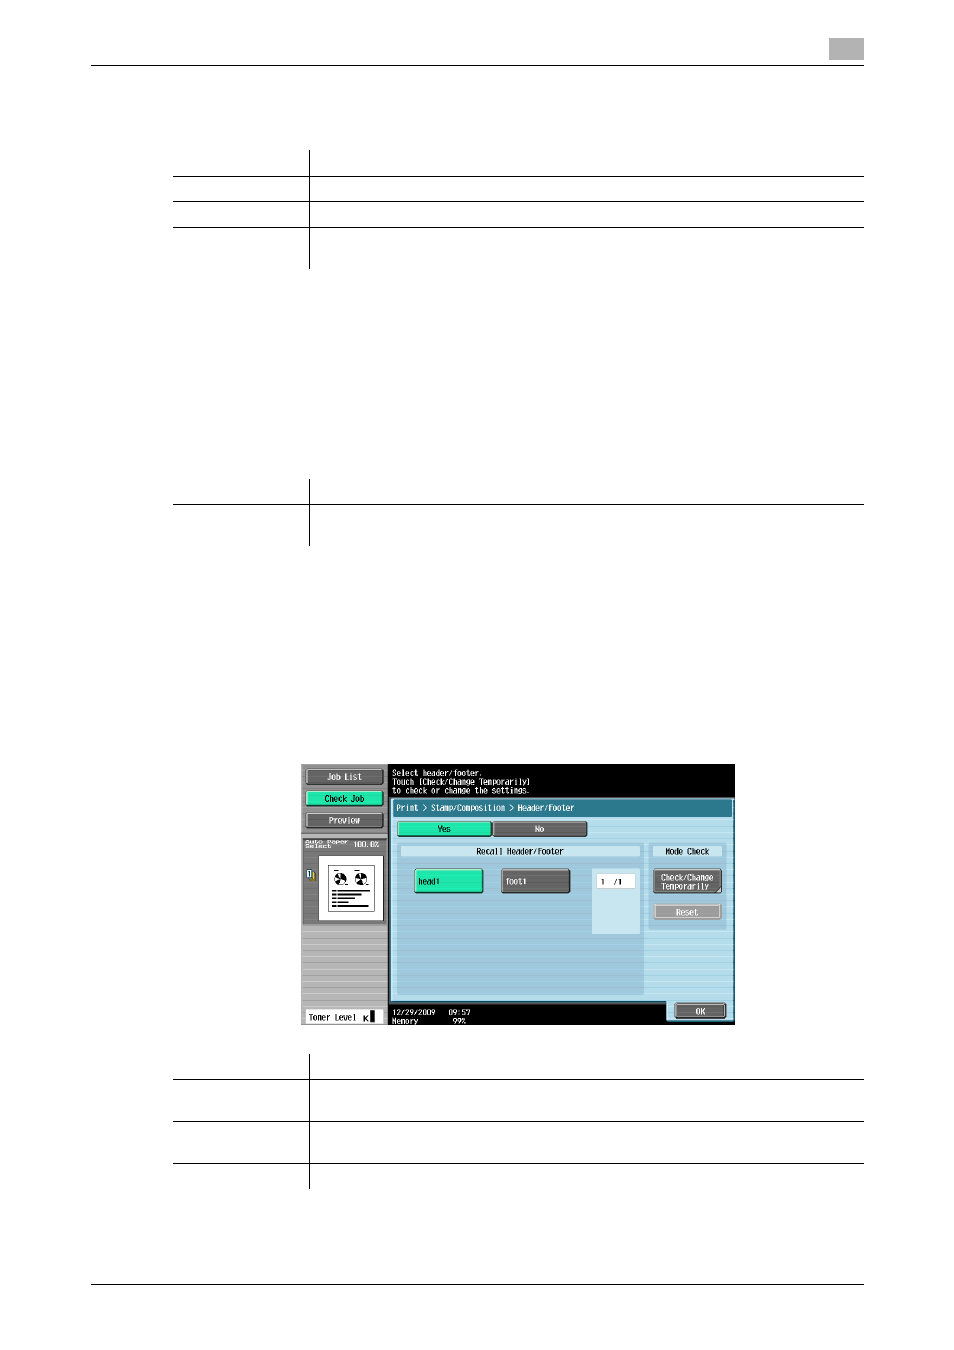
Stamp/Composition - Header/Footer
Configure settings to insert the header or footer. To insert the header or footer, you must register their con-
tents in Administrator Settings in advance. Press Check/Change Temporarily to temporarily change and print
the contents of the registered header and footer.
d
Reference
For details on how to register the header or footer, refer to the [User's Guide Network Scan/Fax/Network Fax
Operations].
Item
Description
[Density]
Select the density from the light, standard, or dark.
[Text Size]
Select the printing text size from Minimal, Standard, or Large.
[Pattern Over-
write]
Select pattern printing from [Front (Overwrite)], [Transparent], or [Back].
Item
Description
[Change Pos./De-
lete]
Select Stamp Repeat to be changed, and press [Change Position]/[Insert
Space]/[Delete] to specify.
Item
Description
[Recall Head-
er/Footer]
Select the desired ones from the registered headers and footers.
[Check/Change
Temporarily]
Press this button to check or change the selected header or footer. For details, refer
to page 7-28.
[Reset]
Press this button to cancel the use of the temporarily changed header or footer.