Lyntec RPC User Manual
Page 43
139-0498-01.43
43
Appendix A
6
Con
fi
gure the digital I/O port.
Note: If the Emergency Shutoff feature is selected, the
fi rst
position in the Onboard
fi eld
(on
the Controller) is automatically assigned to that.
A.
R
ename each contact closure as
desired
B
.
Click the M (merge) button at the right side of the
fi
rst of the
two ports used. The name bo
x
and M button in the second port should turn gr
ay
and the Action
selections should default to Momentary NO
. (normally open)
C.
Ensure that both of the Action selections for both ports are set to Momentary NO
.
D
.
Click the “Sa
ve
Changes” button
at the top of the Onboard I/O bo
x.
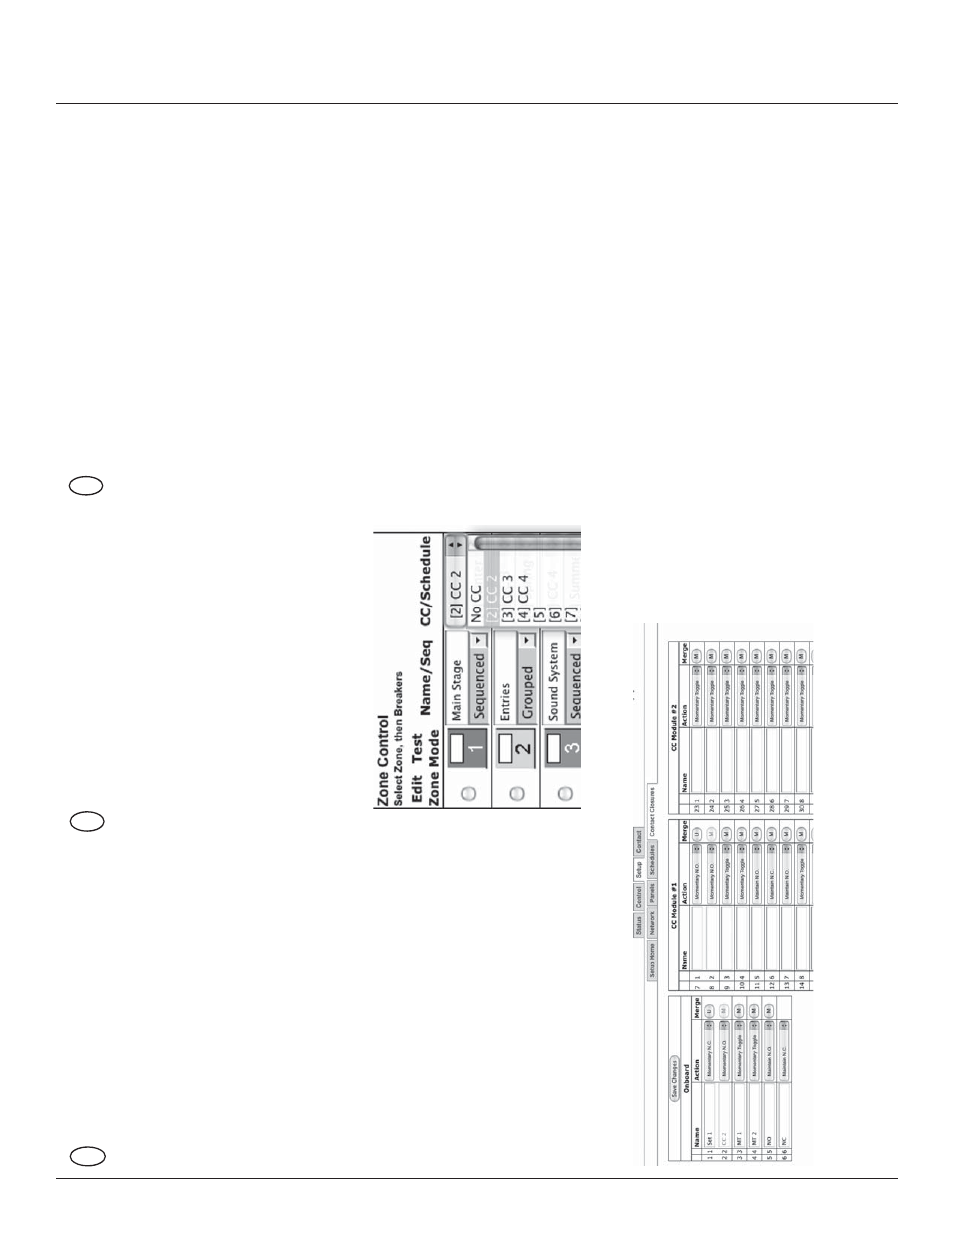
7
Assign the contact closure to a z
one
in the “P
anel” (SETUP
==>P
ANELS)
screen:
A.
In the Z
ONE CONTROL bo
x under
“CC/Schedule”
, choose which
contact closure to assign to an
y
zone using the drop down bo
x.
B
.
Enable the z
one by selecting
Sequenced or Grouped oper
ation
under “Name/Seq”
.
C. Sa
ve
changes.
8
V
erify proper oper
ation of y
our
S
witch Set:
A.
Press the ON switch. Break
ers in
the selected z
one should immedi-
ately begin actuating.
B
.
The ON indicator should
fl ash
steadily until all of the break
ers
are in the on state.
C.
When the z
one has completed,
the ON indicator should remain constantly lit.
D
.
Press the OFF switch. Break
ers in
the selected z
one should immedi-
ately begin actuating.
E.
The ON indicator should
fl ash
steadily until all of the break
ers
are in the off state.
F.
When the z
one has completed,
the ON indicator should remain constantly dark. Note: When using two illuminate pushbut
-
tons the OFF indicator will remain constantly lit when the z
one has
completed. (OFF indicator will extinguish immediately when ON is pressed again.)