Chapter three--quick start guide – Lyntec RPC User Manual
Page 10
139-0498-01.10
Chapter Three--Quick Start Guide
10
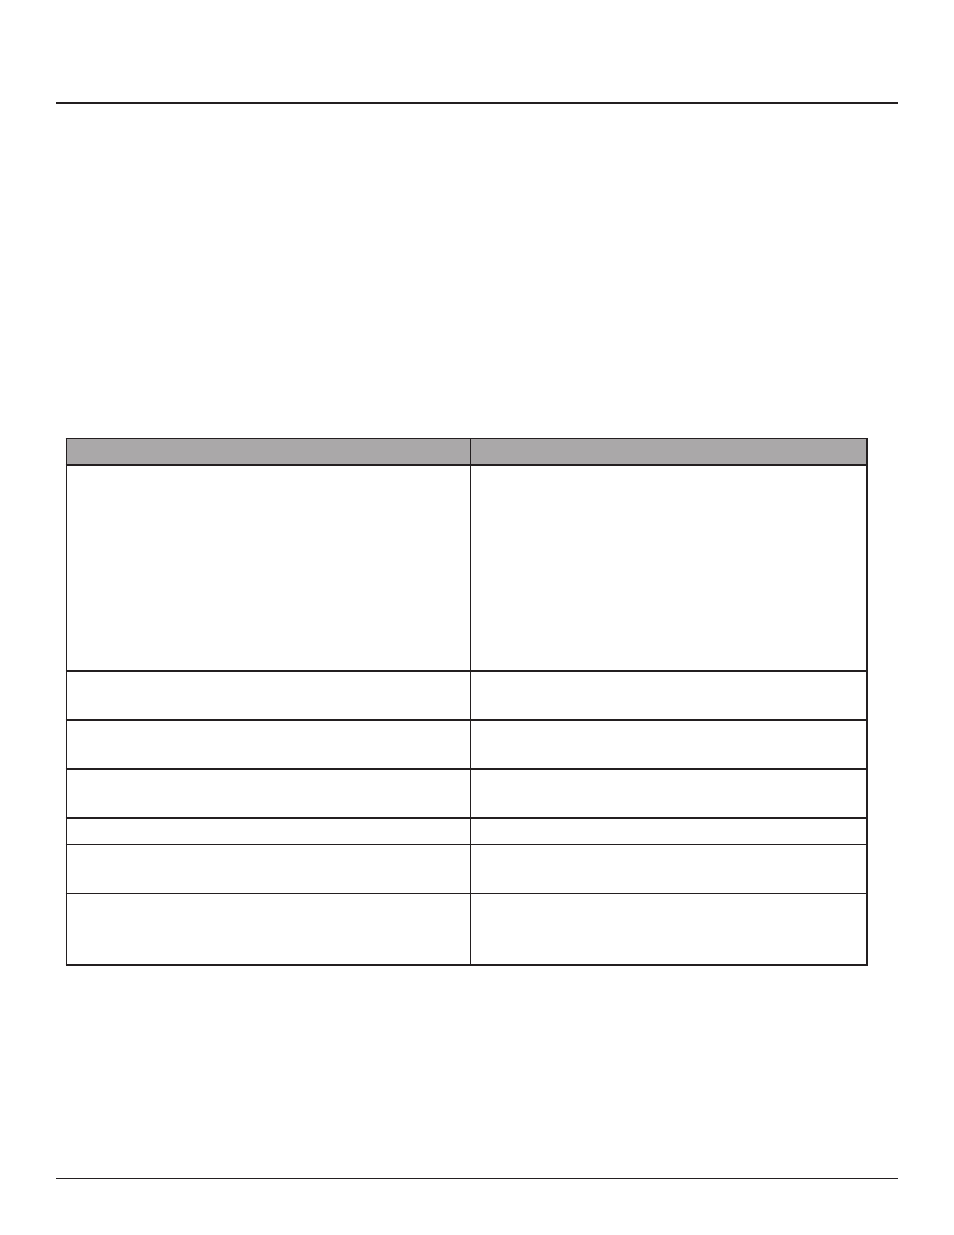
Steps
Reference
1. Install all the RPC components according to
their instruction bulletins. Typical components
include, but are not limited to, the following:
• circuit
breakers
• controller
• control
bus
• power
supply
• voltage
transducer
•
slave address selectors
See appropriate instruction bulletins.
Chapter 4--Wiring
2. Wire all RPC components according to their
instruction bulletins.
See appropriate instruction bulletins.
3. Connect the controller to a computer or
network for panel setup.
Chapter 4--Wiring
4. Access the web page by entering the IP address
or NetBIOS name into web browser.
Chapter 5--Control Setup
5. Complete the panel setup.
Chapter 5--Control Setup
6. Connect the controller to a secondary
controller or add contact closures if necessary.
Chapter 4--Wiring
Chapter 5--Control Setup
7. If your RPC system does not operate as
expected, verify that everything is installed and
programmed correctly.
Appendix A--Troubleshooting
Chapter Three--Quick Start Guide
INTRODUCTION
This chapter is a quick reference listing the steps necessary to
install the RPC system. The steps in this chapter are provided as
an installation checklist. For complete installation instructions,
refer the chapter listed.