2 installing a dimm -20, 7 installing a dimm -20, 2 installing a dimm – Acer ALTOS 1100E User Manual
Page 66
Altos 1100E Series User’s Guide
2-20
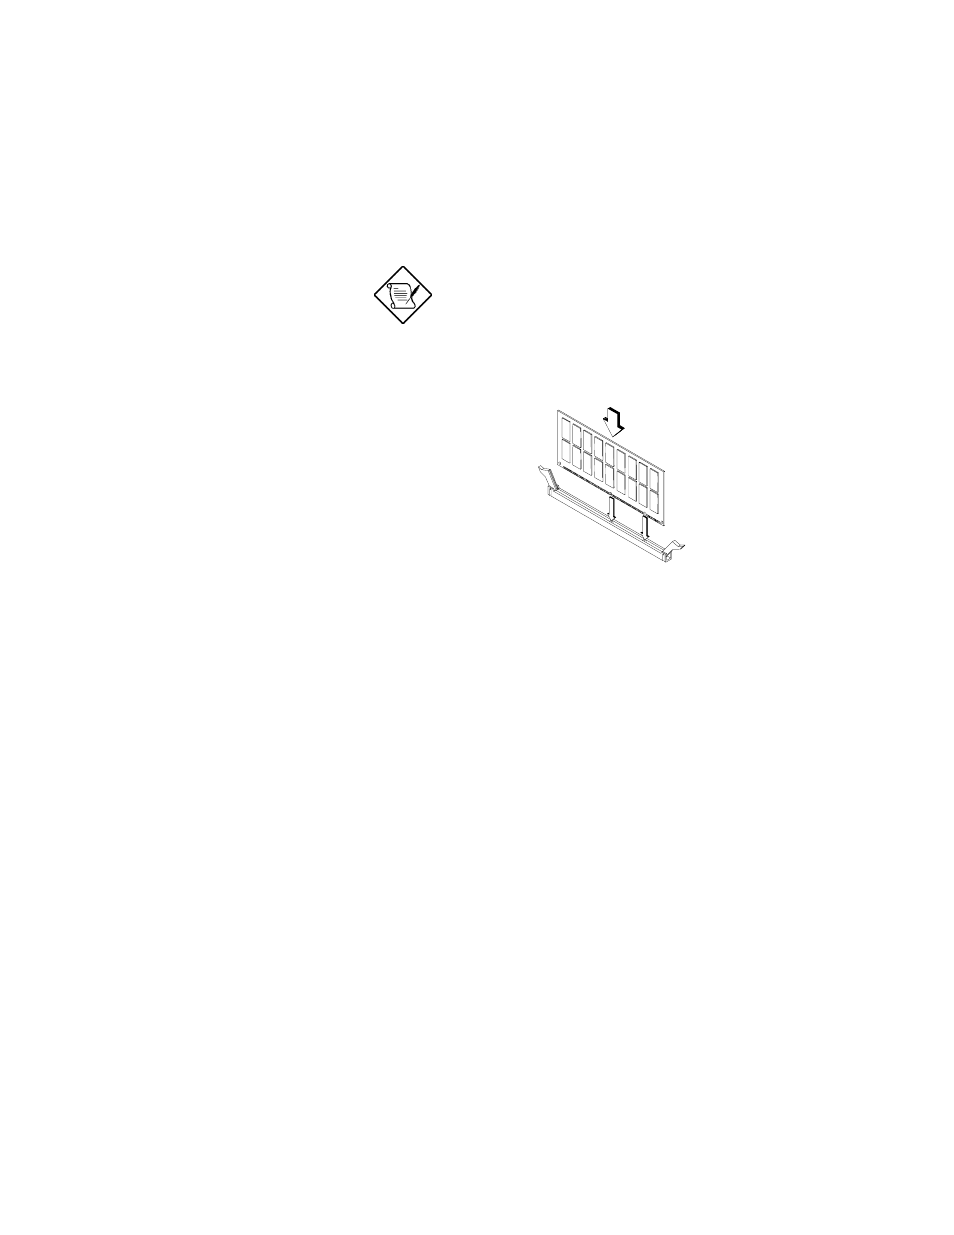
2.11.2 Installing a DIMM
To install a DIMM, align it with the socket and press it down until the holding clips
secure the DIMM in place.
The DIMM socket is slotted to ensure proper
installation. If you slip in a DIMM but it does
not completely fit, you may have inserted it
the wrong way. Reverse the orientation of
the DIMM.
Figure 2-7 Installing a DIMM
See also other documents in the category Acer Projectors:
- H5350 (53 pages)
- P1266i (126 pages)
- P1266i (16 pages)
- PH530 (41 pages)
- PD724W (59 pages)
- P1165P (66 pages)
- PD 321 (1 page)
- XD1270 (47 pages)
- XD1150 (45 pages)
- P5206 (22 pages)
- X1140A (9 pages)
- U5200 (52 pages)
- S5201M (2 pages)
- PD525P (56 pages)
- PROJECTOR P7205 (62 pages)
- PD723P (2 pages)
- X1230K (2 pages)
- PW730 (46 pages)
- X1261N (2 pages)
- P3150 Series (53 pages)
- P7280I (61 pages)
- P7270 (2 pages)
- X1260 (2 pages)
- P5271n (70 pages)
- P5271 Series (2 pages)
- P5271i (69 pages)
- P5281 (2 pages)
- X1160P (53 pages)
- X1160 (52 pages)
- S5201 (65 pages)
- S5200 (59 pages)
- S5200 (2 pages)
- DNX0708 (2 pages)
- X1230S (56 pages)
- PD 323 (2 pages)
- H7530D Series (58 pages)
- S5200 (2 pages)
- Projector (35 pages)
- PD117D series (47 pages)
- P3250 (2 pages)
- RS232 (2 pages)
- S1200 (2 pages)
- H5360 (2 pages)
- H5360 (57 pages)