HP Designjet Z6200 Photo Printer User Manual
Page 50
12.
Carefully insert the loop-shaping core.
NOTE:
Make sure that you insert the loop-shaping core. The take-up reel will not function
correctly without it. The loop-shaping core must have end caps. Make sure that the end caps
extend over the edges of the paper.
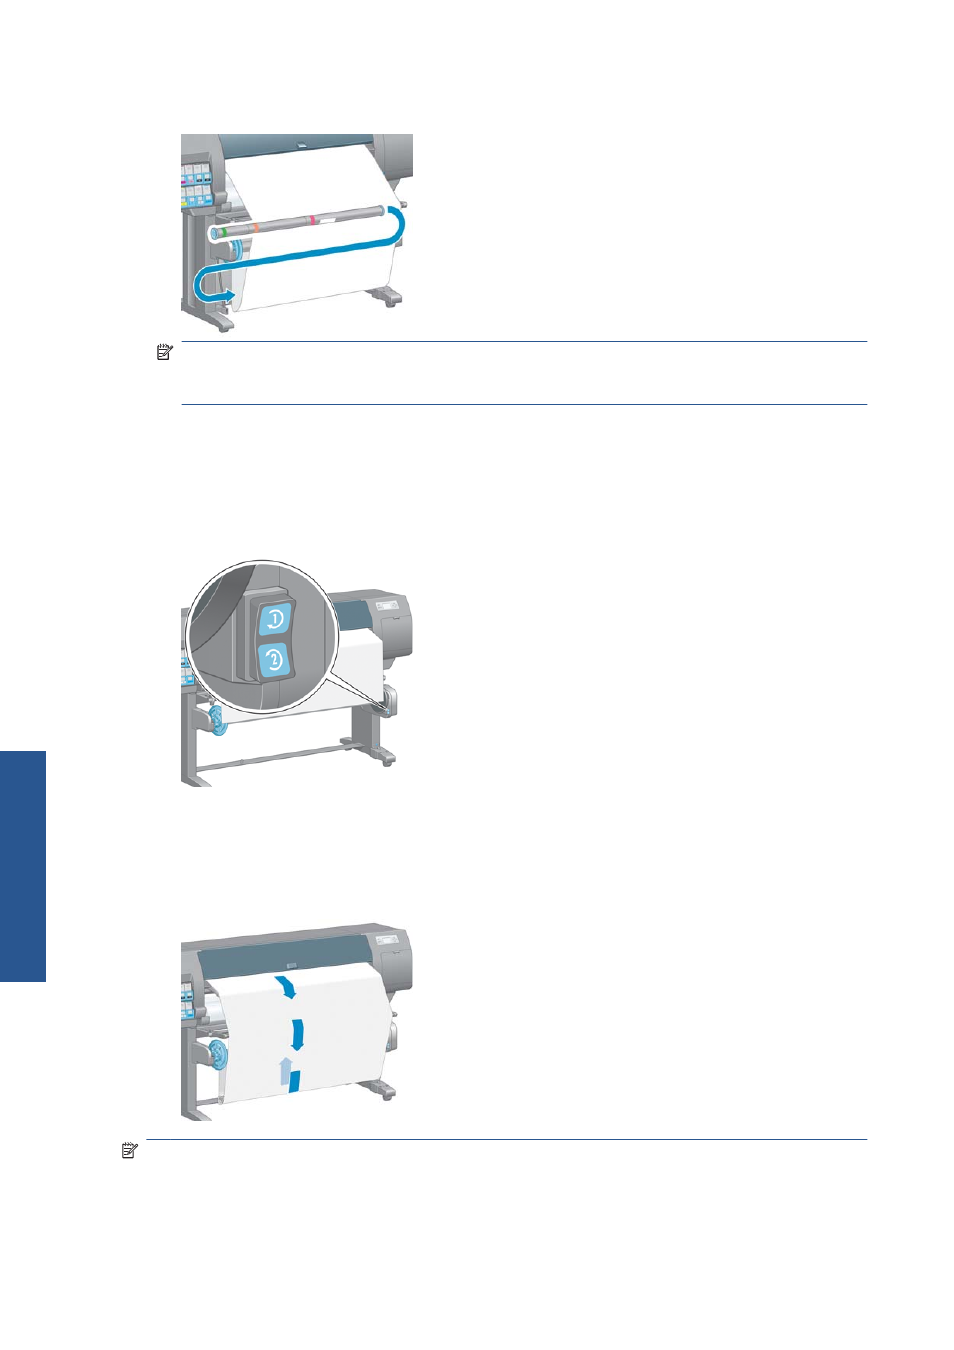
13.
Use the wind-direction switch on the take-up reel motor to select the winding direction. Setting 1
winds the paper so that the printed image faces in. Setting 2 winds the paper so that the printed
image faces out.
The front panel shows you to the correct setting based on the winding-direction decision you made
in step 7.
14.
Press the
OK
key on the front panel. The Take-up reel has been successfully installed
message appears.
15.
The following image shows how the printer looks when it is operating. As paper is fed from the
printer, it drops down in a loop and then up into the take-up reel spindle.
NOTE:
While the take-up reel is operating, make sure that the take-up reel sensors are not blocked.
NOTE:
The automatic paper-cutter is disabled when the take-up reel is in use.
42
Chapter 4 Handle the paper
ENWW
H
a
ndle the paper