Adjusting the flash exposure compensation, Mode – Canon PowerShot G16 User Manual
Page 86
86
1
2
3
4
5
6
7
8
9
10
Cover
Before Use
Common Camera
Operations
Advanced Guide
Camera Basics
Auto Mode /
Hybrid Auto Mode
Other Shooting
Modes
Tv, Av, M, C1,
and C2 Mode
Playback Mode
Wi-Fi Functions
Setting Menu
Accessories
Appendix
Index
Basic Guide
P Mode
•
In [
Z] mode, mount the camera on a tripod or take other measures
to keep it still and prevent camera shake. Additionally, you should
set [IS Mode] to [Off] when using a tripod or other means to secure
the camera (
•
In [
Z] mode, even after the flash fires, ensure that the main subject
does not move until the shutter sound is finished playing.
[!] Off
For shooting without the flash.
•
If a blinking [ ] icon is displayed when you press the shutter button
halfway in low-light conditions, mount the camera on a tripod or take
other measures to keep it still.
Still Images
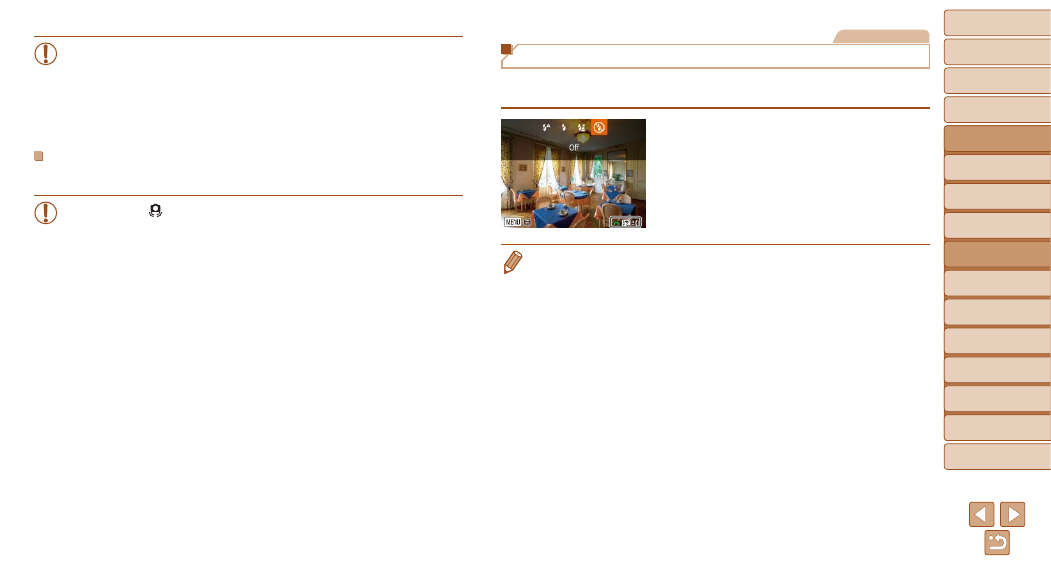
Adjusting the Flash Exposure Compensation
Just as with regular exposure compensation (
), you can adjust the
flash exposure from –2 to +2 stops, in 1/3-stop increments.
z
z
Raise the flash, press the <
r> button and
immediately turn the <
z> dial to choose
the compensation level, and then press
the <
m> button.
z
z
The correction level you specified is now
displayed.
•
When there is a risk of overexposure, the camera automatically adjusts the
shutter speed or aperture value during the flash shots to reduce washed-
out highlights and shoot at optimal exposure. However, you can deactivate
automatic adjustment of the shutter speed and aperture value by accessing
MENU (
4] tab ► [Flash Control] ► [Safety FE] ►
[Off].
•
You can also configure the flash exposure compensation by choosing [
X] in
) and choosing
[
4] tab ► [Flash Control] ► [Flash Exp. Comp].
•
You can also access the [Built-in Flash Settings] MENU screen (
) as
follows (except when an optional external flash is mounted).
-
Press and hold the <
r> button for at least one second.
-
When the flash is up, press the <
r> button and immediately press the
<
n> button.