Sensor adjustment tab – Brother TD-2120N User Manual
Page 43
Printer Setting Tool
37
3
4 Serialize Mode
Select whether or not to serialize from the last
number printed.
Available settings: [Cont From Last], [From
Starting#]
5 Save Printer Print Log
Select whether nor not to save the printer’s
print log. If [Disable] is selected, [Tools] -
[Save Print Log in File] cannot be performed.
Available settings: [Enable], [Disable]
6 Print Data after Printing
Select whether or not print data is erased
automatically after it is printed.
Available settings: [Erase All Print Data],
[Keep Print Data]
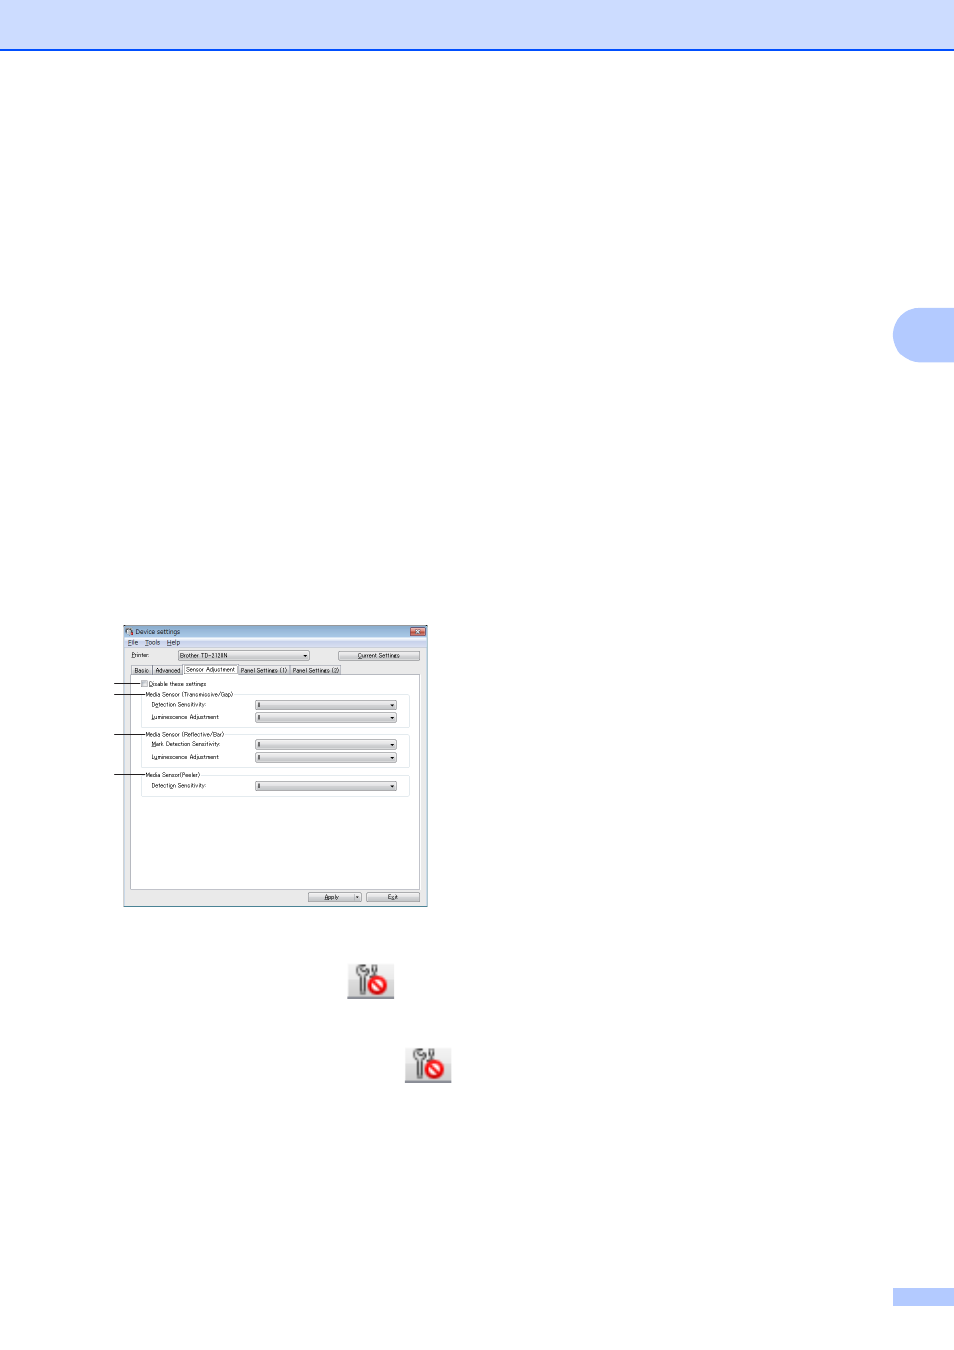
Sensor Adjustment Tab
3
If RD Rolls are being used, it is unnecessary
to adjust the sensors.
1 Disable these settings
When this check box is clicked,
appears
in the tab, and the settings can no longer be
specified or changed.
In addition, the settings in a tab where
appears will not be applied to the printer even
if [Apply] is clicked. To apply the specified or
changed settings to the printer, be sure to clear
the check box.
2 Media Sensor (Transmissive/Gap)
The following transmissive/gap sensor
parameters can be adjusted.
[Detection Sensitivity]
Adjust the precision of the sensor that detects
the gaps (spacing) for die-cut labels.
Available settings: -2–+2
[Luminescence Adjustment]
Adjust the amount of light emitted by the
transmissive/gap sensor.
Available settings: -2–+2
3 Media Sensor (Reflective/Bar)
The following reflective/black mark sensor
parameters can be adjusted.
[Mark Detection Sensitivity]
Adjust the precision of the sensor that detects
the black marks.
Available settings: -2–+2
[Luminescence Adjustment]
Adjust the amount of light emitted by the
reflective/black mark sensor.
Available settings: -2–+2
4 Media Sensor (Peeler) (TD-2120N/2130N
only)
This appears only if TD-2120N/2130N is
selected for [Printer]. Specify the settings
when the label peeler (optional) is used.
Adjust the precision of the sensor that detects
whether the label has been peeled.
Available settings: -2–+2
1
2
3
4