Jenway 3540 User Manual
Page 29
3.43 Time
Setting
To adjust the time (see warning in paragraph 3.40) Press the down arrow to highlight
the Time option in the Clock Set Up screen. Then press the Enter key to move the
highlight to the current time setting. A data entry box will appear in the centre of the
screen. The box consists of three pairs of digits separated by colons, from the left
these represent hours, minutes and seconds.
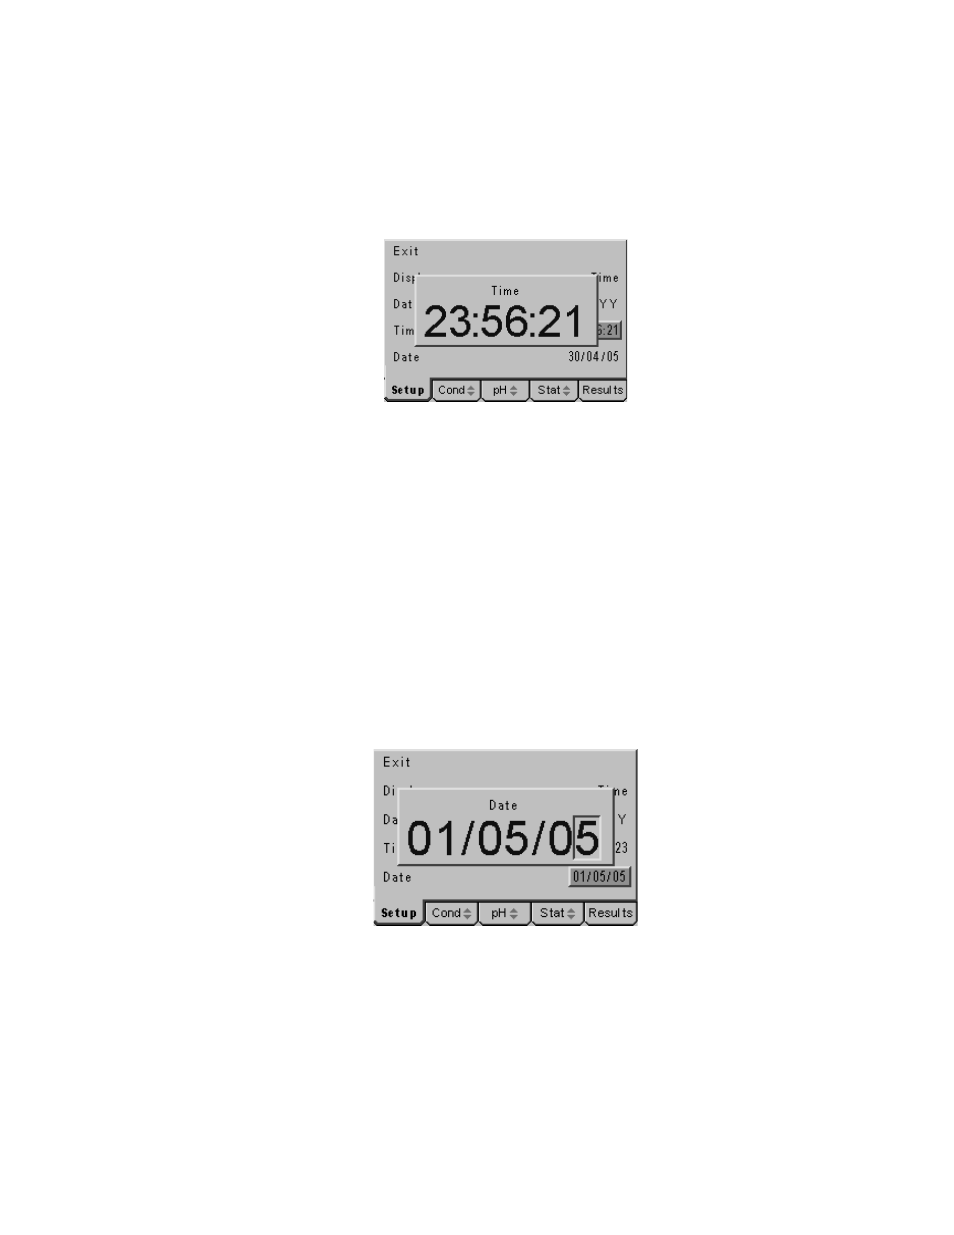
Data entry box for adjusting the time setting
The box around the least significant of the seconds’ digits will be flashing, press the
right or left arrow keys to move this to the hours digits and adjust each digit in turn
with the up or down arrow keys to display the current hour of the day. Then press the
right or left arrow key to set the minutes to the current time with the up or down arrow
keys. Finally repeat the process with the seconds digits allowing time to press the
Enter key to confirm the setting. Use the Escape key to return to other menu levels or
continue with setting the other Clock Set Up options as below.
3.44 Date
Setting
To adjust the date (see warning in paragraph 3.40) Press the down arrow to highlight
the Date option in the Clock Set Up screen. Then press the Enter key to move the
highlight to the current Date setting. A data entry box will appear in the centre of the
screen. The box consists of three pairs of digits separated by /, these represent the
date in the format selected. The box around the least significant of the years’ digits
will be flashing, adjust each digit in turn with the up or down arrow keys to display the
current year.
Data entry box for adjusting the date setting
Then press the right or left arrow key to set the month (or day depending on format
selected) to the correct value with the up or down arrow keys. Finally repeat the
process with the day (or month depending on format selected) then press the Enter
key to confirm the setting. Use the Escape key to return to other menu levels or the
main measurement screen.