Jenway 3540 User Manual
Page 24
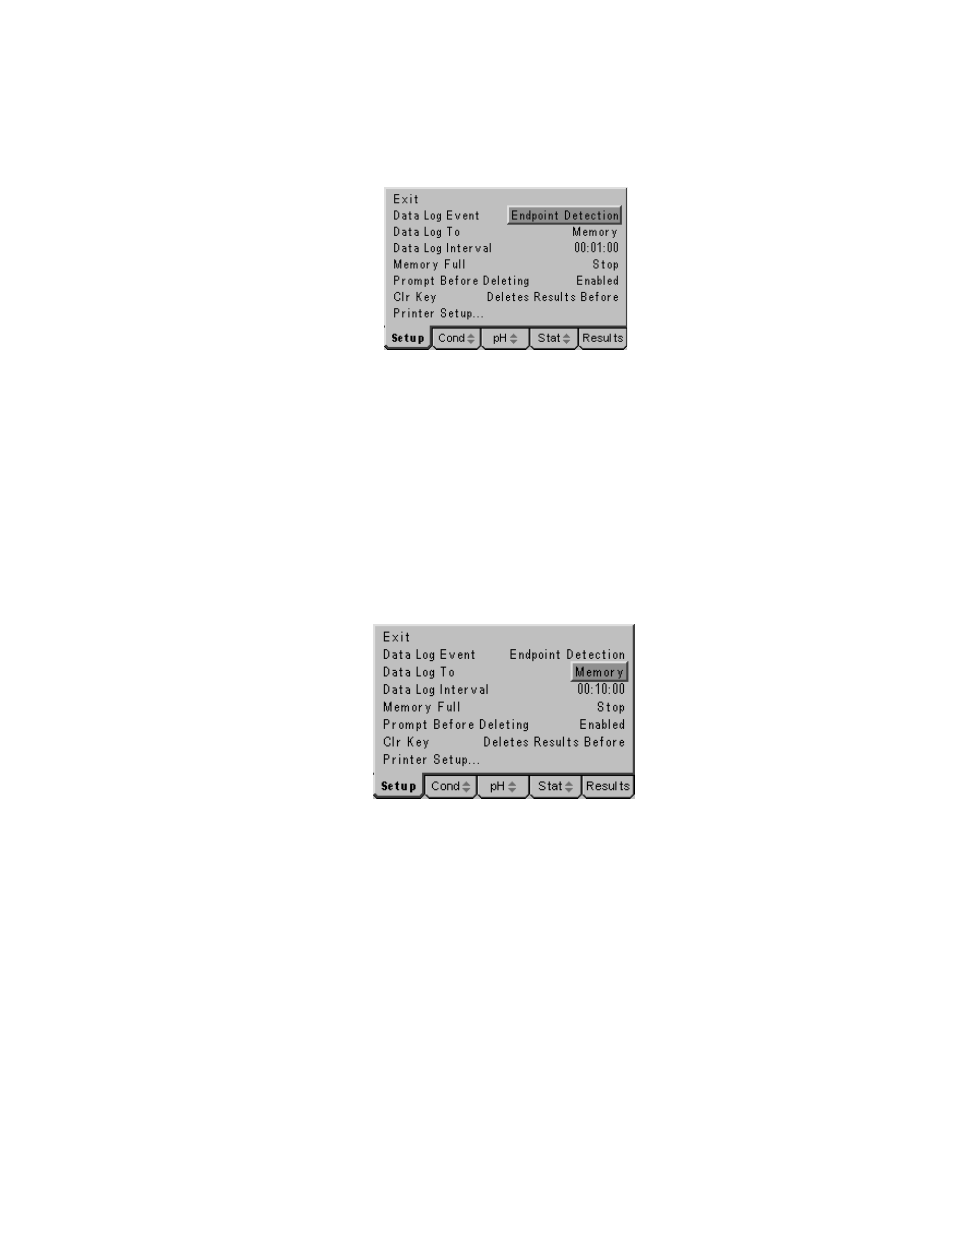
To change the data logging trigger press the down arrow to highlight Data Log Event
in the Data Logging Set Up screen, then press the Enter key. The highlight will move
across to the default setting of ‘Manual’ or an alternative from the above if this has
previously been changed. Use the up or down arrow keys to review the options and
Use the up or down keys to select required Data Log Event
press the Enter key to accept your preferred setting when this is highlighted on the
display. Use the Escape key to return to other menu levels or continue with setting
the other data logging options as follows.
3.32
Data Log To
Data logged on the event selected from the above can either be stored in internal
memory or sent via the serial port to a printer or PC. The Data Log To option allows
selection of either the internal memory or printer for this function.
To change the destination for logged data press the down arrow to highlight Data Log
To in the Data Logging Set Up screen, then press the Enter key. The highlight will
move across to the default setting of ‘Memory’ or ‘Printer’ if this has previously been
changed.
Select destination for logged data
Use the up or down arrow keys to toggle between the options and press the Enter
key to accept your preferred setting when this is highlighted on the display. Use the
Escape key to return to other menu levels or continue with setting the other data
logging options as below.
3.33
Data Log Interval
The data log interval is effective when timed data logging is selected and also sets
the time delay after the endpoint if this option is selected. Time periods from 1 second
to 24 hours (1 result stored per day) can be set.