Rice Lake Condec UMC600 User Manual
Page 61
58
UMC600 Installation Manual
Table 7-1. Setpoint Configuration Modes
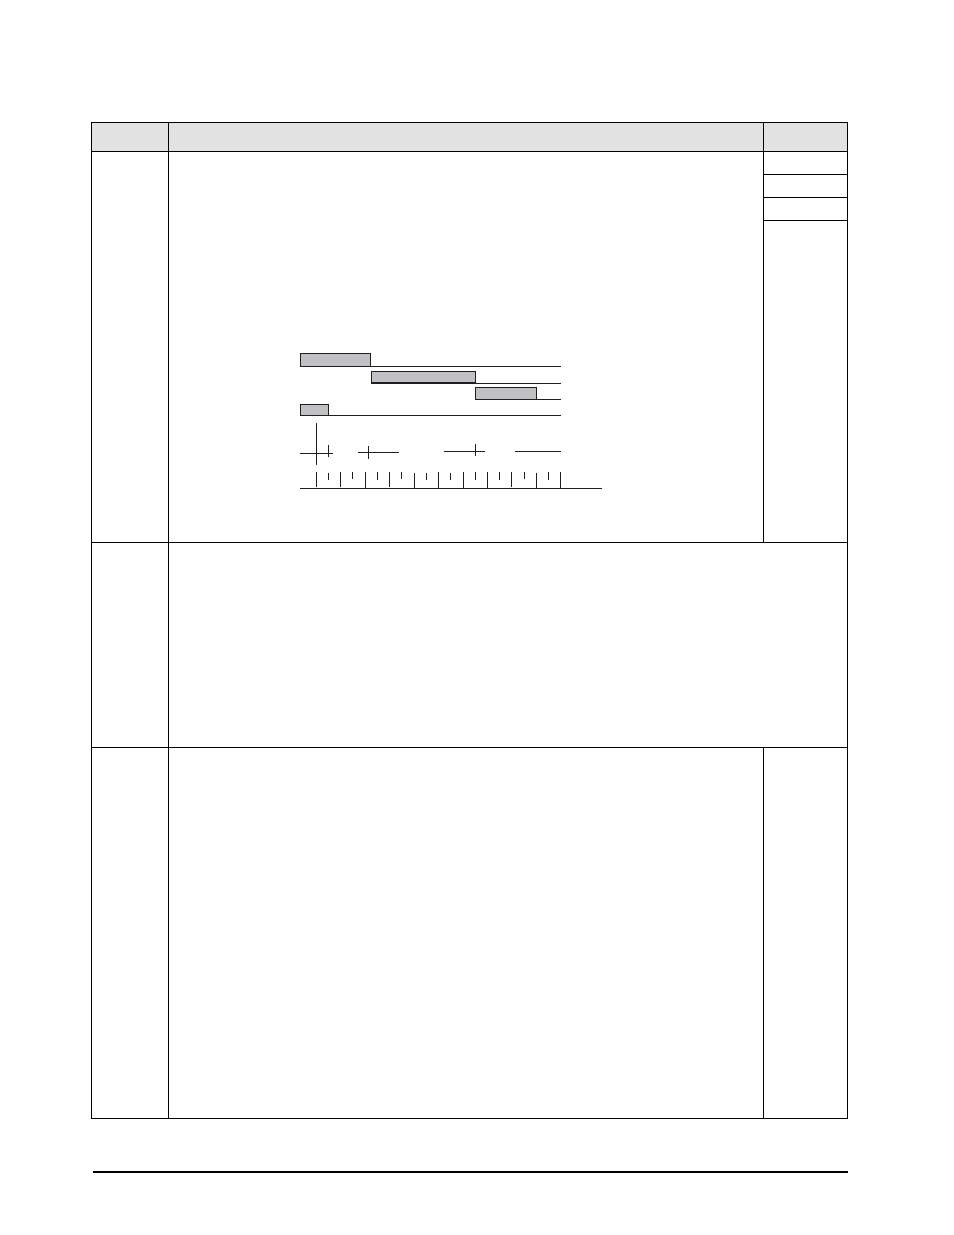
Mode G
Over/Under checkweigh control
Provides High, Low, and Accept outputs except a direct entry is made for a target weight and high/
low settings become dependent.
Use the following steps to set Mode G setpoint values.
1.
Press
SETPOINT 1
2.
Enter the desired target value; then press
ENT
.
3.
Press
SETPOINT 2
4.
Enter the desired high tolerance (HI) value and press
ENT
.
5.
Enter the desired low tolerance (L0) value and press
ENT
.
LOW
ACCEPT
HIGH
ZBD
Manual
Batching
Mode
The manual batching mode operates as follows:
1.
Press the
START
key located in the lower left corner of the front panel. The setpoint LED is on.
2.
Setpoint 1 is activated if enabled. If enabled, skip step D.
3.
When the displayed weight reaches or exceeds the setpoint value, the setpoint is deactivated.
4.
The unit enters a pause mode locking out zero, net/gross, and tare keys during run. During Pause, the
tare key is still functional.
5.
Press the
START
key again and setpoint 2 is activated.
6.
When the display weight reaches or exceeds the setpoint 2 value, the setpoint is deactivated.
7.
Press
START
and the unit returns to normal operation with all keys active.
If the
CE
key is pressed at any time during the batching process, the setpoints are deactivated and the unit
returns to the normal operating mode.
Automatic
Batching
Mode
The automatic batching mode operates as follows:
1.
Press the
START
key, and the setpoint LED light turns on.
2.
The unit is switched to the net weighing mode.
3.
An automatic auto tare operation takes place.
4.
Setpoint 1 is activated.
5.
When the displayed weight reaches or exceeds the setpoint value, the setpoint value is
deactivated.
6.
The setpoint indicator LED turns off
7.
Timer 1 phase begins. If timer 1 is turned off, the unit enters an indefinite pause mode and
the start key must be pressed to continue to setpoint 2. Otherwise the unit pauses for 1 to
10 seconds, depending on the timer 1 value.
8.
Upon timeout (or pressing the
START
key), the unit will do a demand printout (1 or 3 lines
depending upon configuration).
9.
An auto-tare operation takes place.
10. Setpoint 2 is activated until the displayed weight reaches or exceeds the setpoint value.
11. Timer 2 phase begins and the same conditions apply as in number 7.
12. Upon timeout, the unit does a demand printout.
13. The unit returns to normal operation in the gross mode.
If the
CE
key is pushed at any time during the batching process, the batch process is aborted, the
setpoints deactivated, and the unit returning to normal operating mode. During batch run mode,
front panel functions are disabled.
Mode
Description
Setpoint
MODE G
WIRE
PLACEMENT
TB3 - 5
TB3 - 4
TB3 - 3
TB3 - 2
100
90
80
70
60
50
40
30
20
10
0
WEIGHT
ZBD
LOW
ACCEPT
HIGH