Maintenance – Yokogawa digitalYEWFLO (DY) User Manual
Page 81
IM 1F2B4-01-YIA
Page 76
MAINTENANCE
5)
Completely loosen the three amplifier mounting screws and remove the amplifier as shown
in figure 4.2.1.
Caution:
To avoid damaging the connector pins, do not rotate the amplifier unit.
6)
When reinstalling the amplifier in the converter, match the connector pin positions with the
socket then gently push the amplifier back into position. Don't push too hard or you will
bend the pins.
7)
Tighten the amplifier mounting screws.
8)
Reconnect the leadwires to the amplifier. The sensor wires must be connected to the proper
terminals for the amplifier to work correctly.
9)
Set flowmeter parameters in the new amplifier.
4.3
V
ORTEX
S
HEDDER
A
SSEMBLY
R
EMOVAL
Disassemble the vortex flowmeter only if the it performs abnormally. First determine the problem. Is
buildup causing problems in the assembly or is it bad. You can check for buildup when you remove
the shedder from the meter. If it slides out freely, buildup is not the problem. If it sticks, you should
clean around the bottom socket and edges to remove residue. The following steps detail removal and
reassembly procedures.
4.3.1
Removal of shedder from remote converter type
1)
Remove the terminal box cover.
2)
Loosen the two terminal screws and disconnect the sensor
wires (A & B).
3)
Remove the bracket mounting bolts and remove the terminal box and bracket
simultaneously. Carefully remove the terminal box by first straightening the sensor wires. To
avoid damaging the wires, squeeze the wires as you slide the terminal out.
4)
Remove the vortex shedder assembly mounting bolts then remove the assembly. Check for
buildup around the shedder bar holes and inside the meter.
5)
When reassembling the vortex shedder bar assembly, reverse the above procedure making
sure the arrow on the plate is aligned with the flow on the meter body.
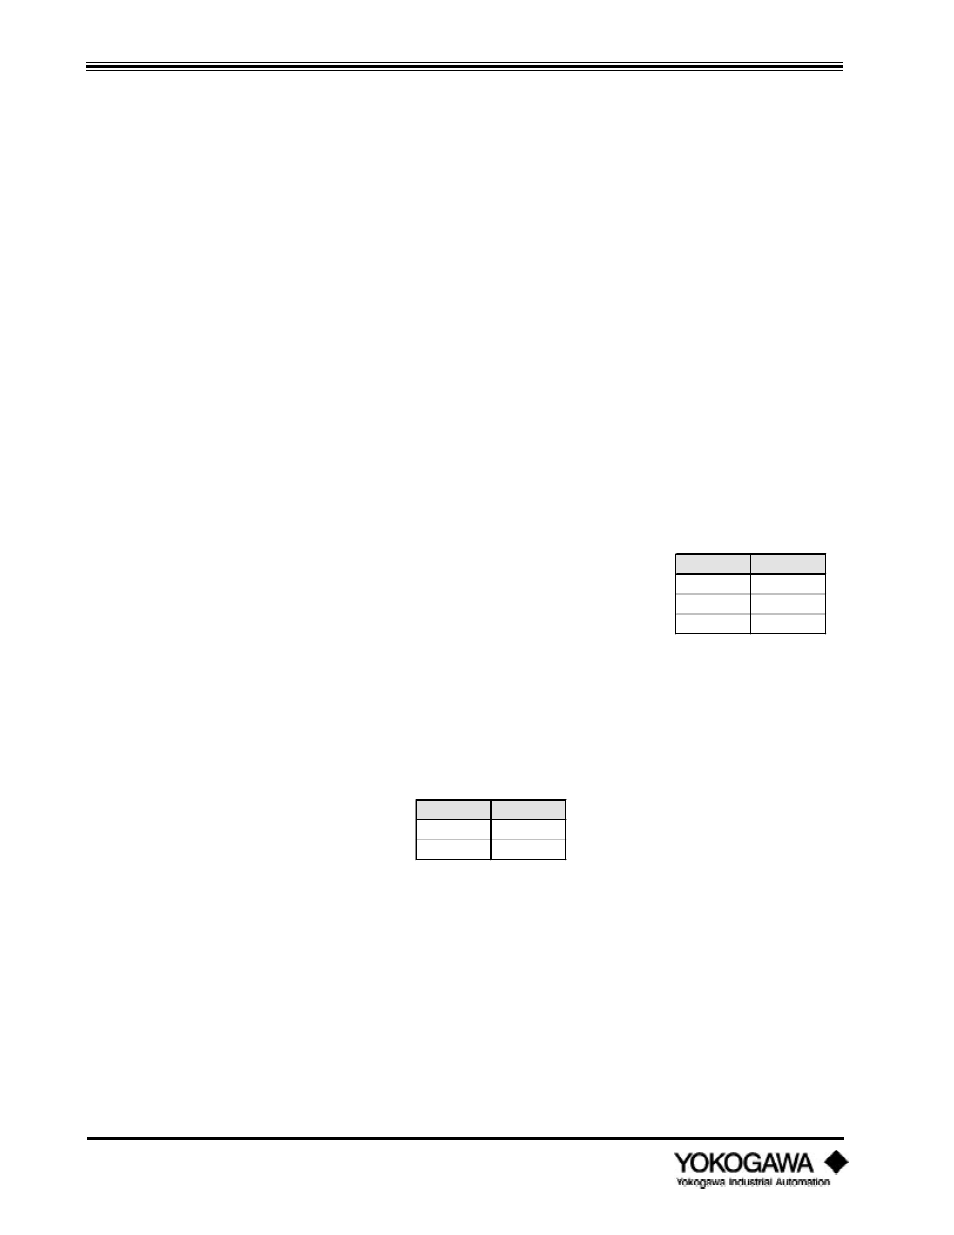
Color
Wire
Red
A
White
B
Table 4.3.1: Sensor Wire Color Code
Terminal
Wire
P
Black
+
Red
-
White