9 the search menu, 1 go to packet, 2 go to trigger – Teledyne LeCroy Inspector - Users Manual User Manual
Page 54: 3 go to marker, 4 find
CATC
CATC Inspector User’s Manual
Version 2.31
50
4.9 The Search Menu
The CATC Inspector software provides several options for searching through the recorded USB
traffic, allowing the user to find specific packets, based on triggering status, or packet number,
marking, or content. The three most common actions (Go to Packet, Find, and Next) also have
their own individual icons on the toolbar.
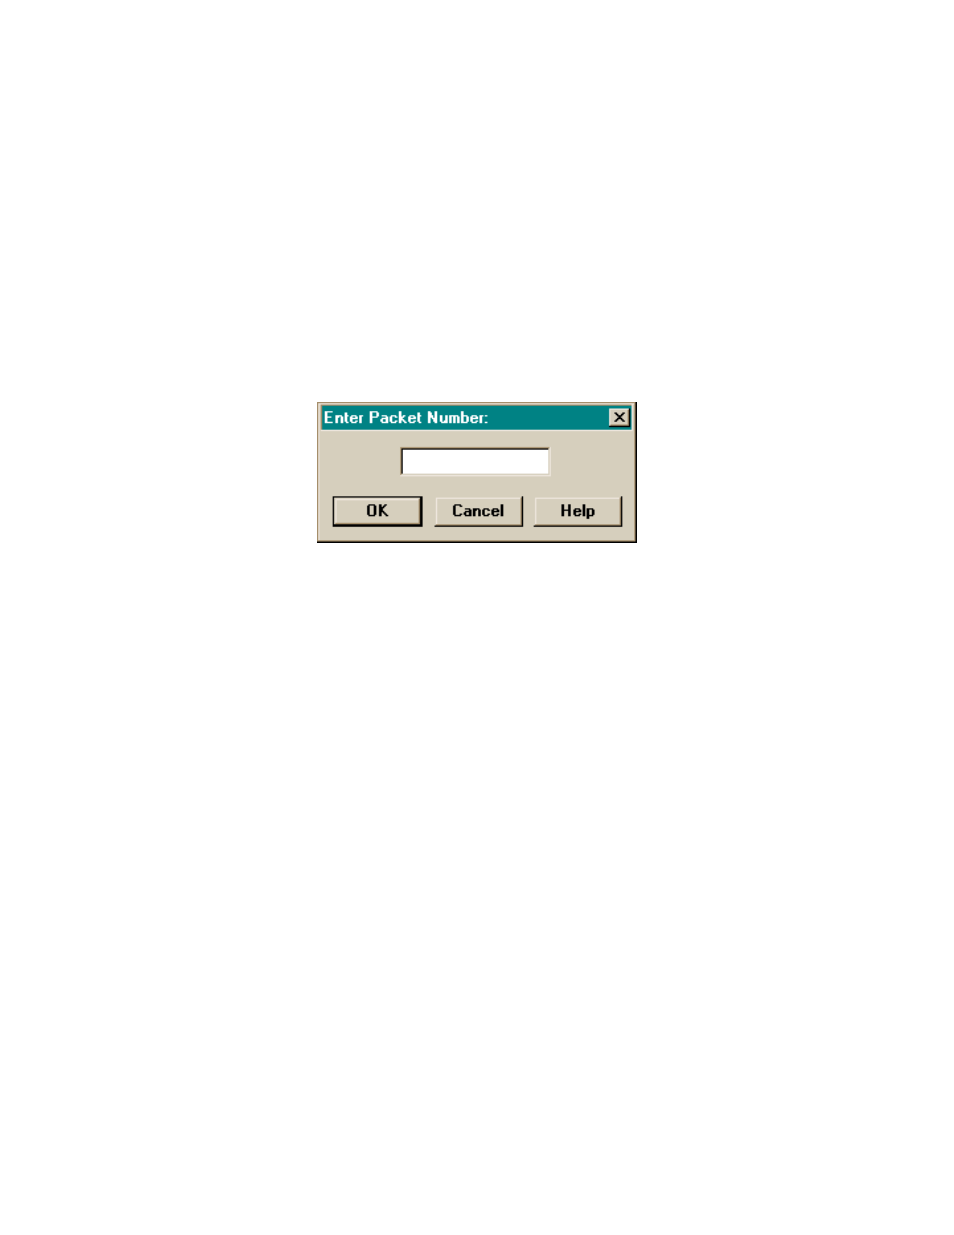
4.9.1 Go to Packet...
When the “Go to Packet...” menu item (or the associated toolbar icon) is selected, the following
dialog box opens. To move quickly to a view of a specific packet, enter the packet number and
select OK; the display will be repositioned with the specified packet at the top.
4.9.2 Go to Trigger
The “Go to Trigger” menu item is only enabled when the traffic file is the result of an Event
Trigger. When the item is selected, the display will be repositioned with the first packet
following the trigger event (or the packet that caused the trigger) at the top.
4.9.3 Go To Marker
The “Go to Marker” menu item is only enabled when one of the packets in the traffic data file
has been marked (using the Packet Marker & Timing pop-up menu, described below). When the
item is selected, the display will be repositioned with the marked packet at the top.
4.9.4 Find...
The “Find...” menu item enables searching for specific bus events within the recorded data file.
The CATC analyzer will search for:
1. protocol
violations:
•
bad PID (check field)
•
undefined PID
•
bad CRC5
•
bad CRC16
•
missing stuff bits
2. packets with specific PIDs (e.g., Setup)
3. bus transactions with specific device Ids