3 installing the main body – IAI America RCP2CR-SS8C User Manual
Page 41
33
5. Installation
5.3
Installing the Main Body
Mount the actuator to a machined surface or one of the flat surfaces of comparable precision.
The side faces and lower surface of the base run parallel with the guides. When traveling precision is required,
use these as the reference planes for mounting.
5.3.1
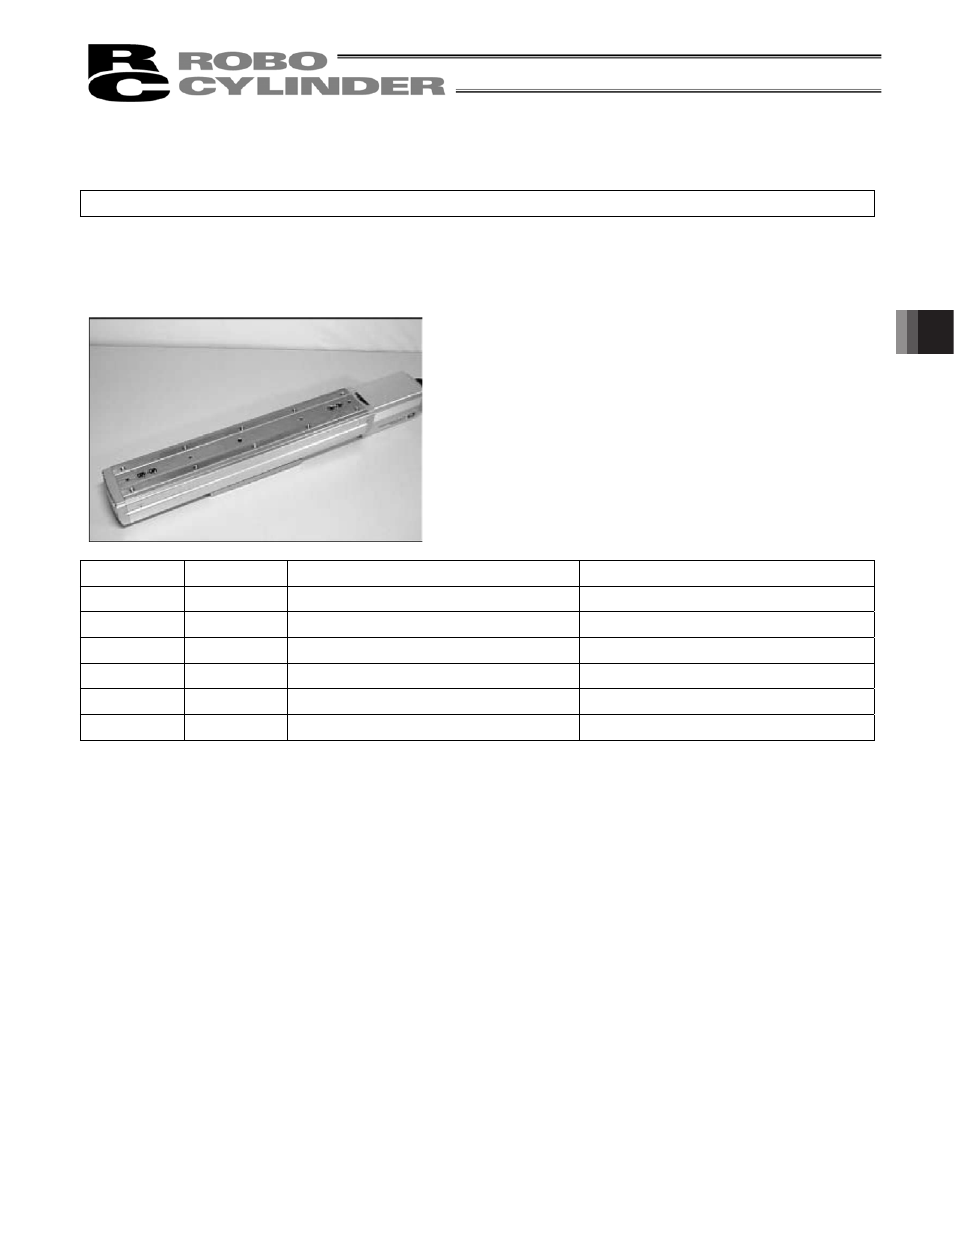
Using the Tapped Holes at Back of the Base (All Types)
Tapped holes are provided on the back of the base for
mounting the actuator. Install the actuator using these
tapped holes. The effective depths of base mounting screws
are listed below. Be careful not to let the ends of bolts project
from the holes. If necessary, use the additional reamed holes
that are provided for positioning purposes.
Type
Tap Size
Screw Effective Depth
Reamed Hole
SA5C
M4
4mm or more and 7mm or less
4H7, depth 5 mm or less
SA6C
M5
5mm or more and 9mm or less
4H7, depth 5 mm or less
SA7C
M5
5mm or more and 9mm or less
4H7, depth 5 mm or less
SS7C
M5
5mm or more and 8mm or less
4H7, depth 5 mm or less
SS8C
M8
8mm or more and 10mm or less
5H7, depth 5 mm or less
HS8C
M8
8mm or more and 10mm or less
5H7, depth 5 mm or less