SecurityMan LCDDVR4 User Manual
Page 34
28
RECORD SCHEDULE
In the
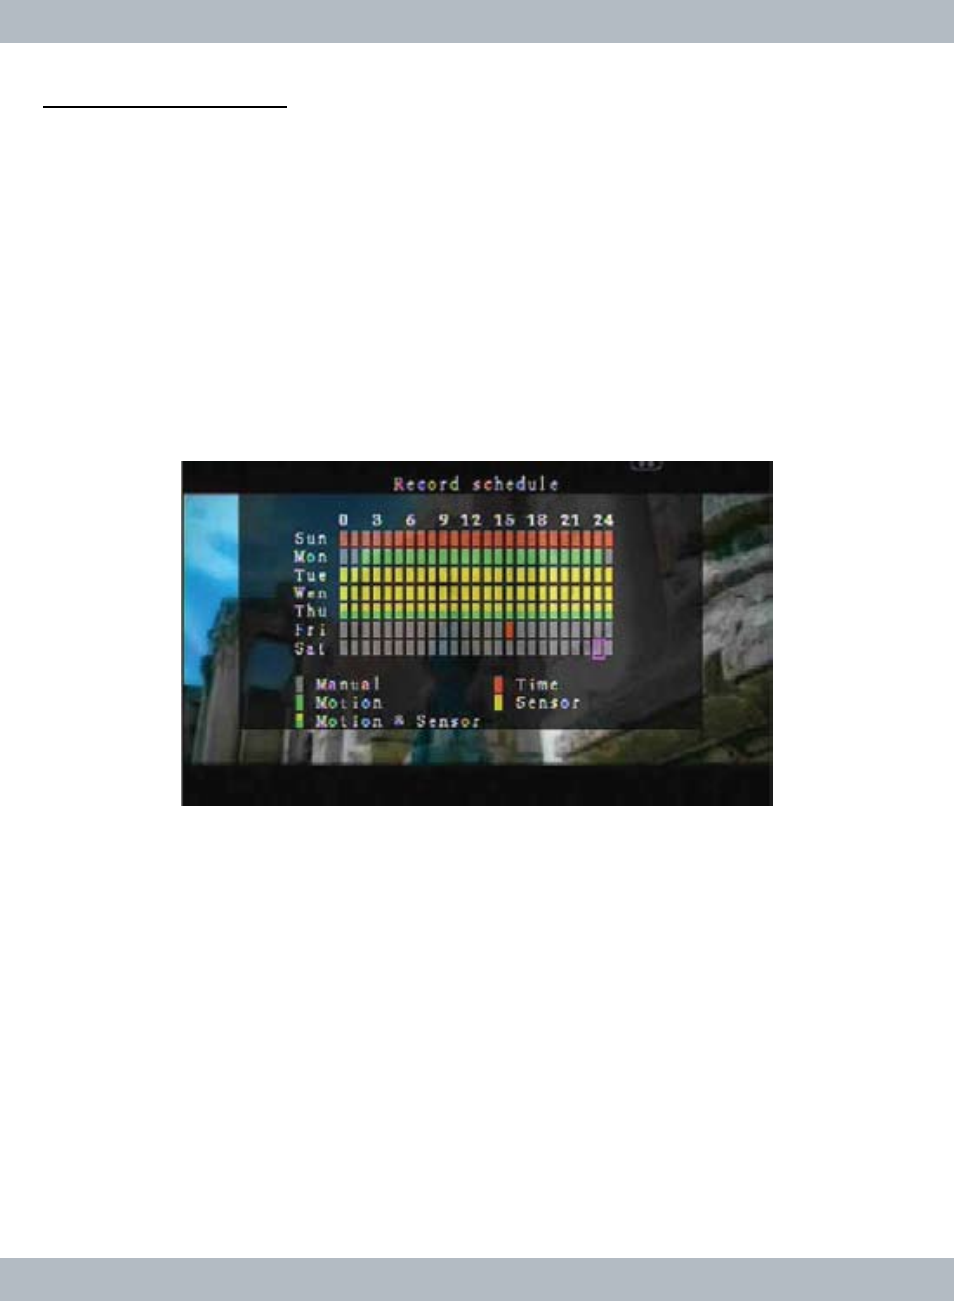
Record setup menu browse down to select Record Schedule, press the
Menu/ESC button on the front panel, RC (Remote Control) or left mouse click to
access the
Record Schedule window as illustrated below. Press the CH1↑/(UP),
CH2↓/(DOWN), CH3←, CH4→ buttons on the front panel, RC or mouse to move
around to the time and days of the week and then press the
Select/Enter button
on the front panel, RC or left mouse click to change value box.
Record Sched-
ule consist of time interval from 0 to 24 hours, Sunday to Saturday, Manual
record bar (gray), Time record bar (schedule, red), Motion record bar (green),
Sensor record bar (yellow), and Motion & Sensor record bar (yellow-green) set-
tings. The time interval from 0 to 24 hours and Sunday to Saturday setting is a
matrix designed for a full week of scheduling.
Manual record setting is the systems default setting in which the bars are color
coded gray in the schedule matrix.
Manual record mean to initiate recording; the
record button will have to be press on each time to start the recording process
and press on again to manually stop the recording process.
Time record; press the Select/Enter button or mouse click once on the gray bar
to toggle between gray bars to red bar which is
Time or schedule record. Time
record mean at the exact time of day scheduled, the DVR will automatically initi-
ate the recording and stops the recording when the time scheduled end.
Motion record; move the cursor to highlight the desire time/date of the week and
then press the
Select/Enter button on the front panel, RC (Remote Control) or