Agilent Technologies E8267D PSG User Manual
Page 119
Chapter 3
105
Basic Digital Operation
Using Waveform Markers
3.
Highlight the desired marker number:
Press
Marker 1 2 3 4
4.
Set the first sample point in the range (in this example, 10):
Press
Set Marker On Range Of Points
>
First Mkr Point
>
10
>
Enter
.
5.
Set the last marker point in the range to a value less than or equal to the number of points in
the waveform, and greater than or equal to the first marker point (in this example, 20):
Press
Last Mkr Point
>
20
>
Enter
.
6.
Press
Apply To Waveform
>
Return
.
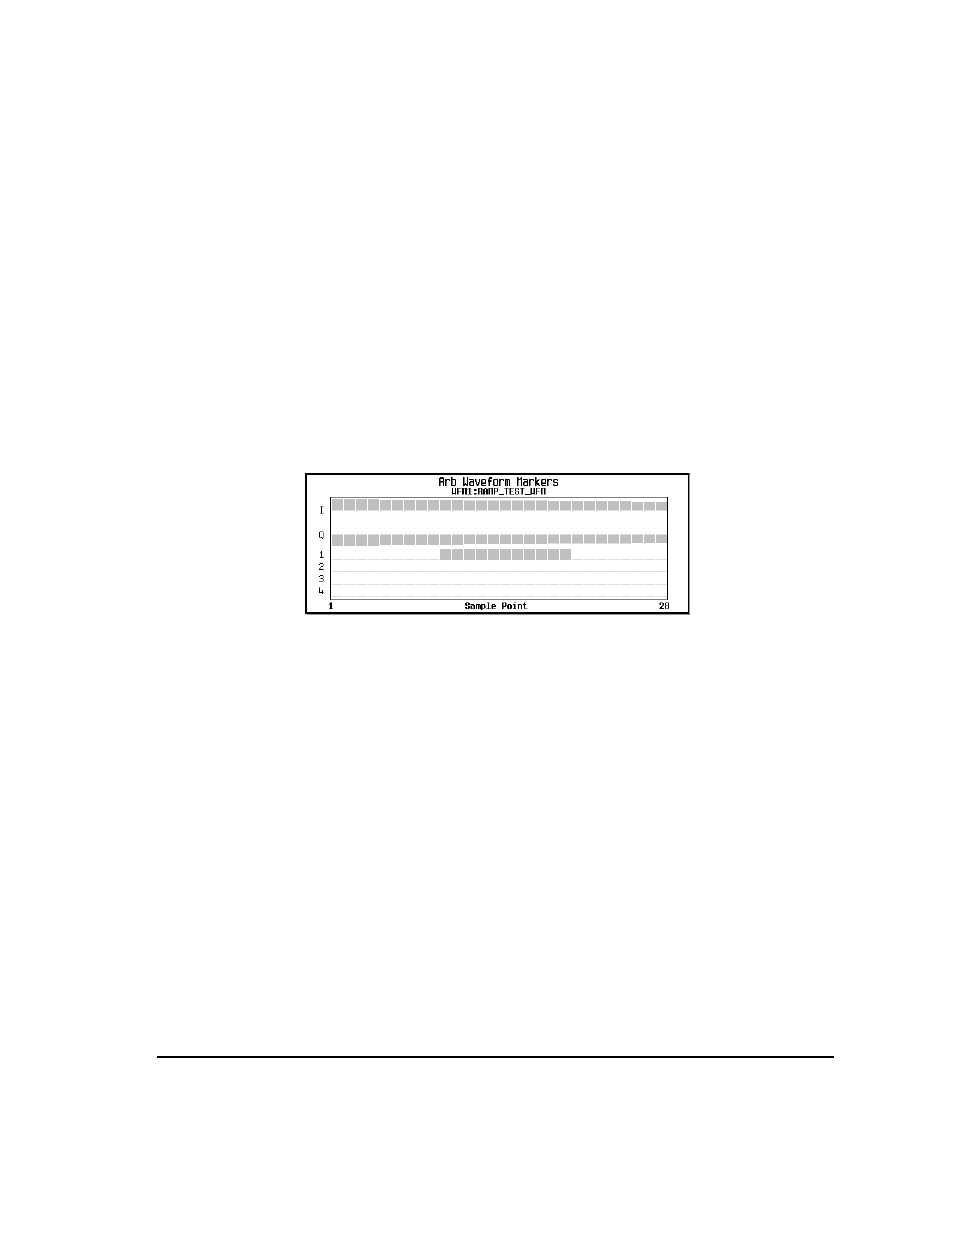
This sets a range of waveform marker points. The marker signal starts on sample point 10, and ends
on sample point 20, as shown in the following figure.
Placing a Marker on a Single Point
On the First Point
1.
In the
Marker Utilities
), press
Set Markers
.
2.
Highlight the desired waveform segment.
In an ARB format, there is only one file (AUTOGEN_WAVEFORM) and it is already highlighted.
3.
Highlight the desired marker number:
Press
Marker 1 2 3 4
4.
Press
Set Marker On First Point
.
This sets a marker on the first point in the segment for the marker number selected in
On Any Point
Placing a Marker Across a Range of Points
, but set both the first and last
marker point to the value of the point you want to set. For example, if you want to set a marker on
point 5, set both the first and last value to 5.
Placing Repetitively Spaced Markers
The following example sets markers across a range of points and specifies the spacing (skipped
points) between each marker. You must set the spacing before you apply the marker settings; you
cannot apply skipped points to a previously set range of points.
Viewing markers is described on