Detailed setup – CNB MDC4050VR User Manual
Page 36
36
Network Camera_ User manual
Stop any PTZ command
Auto PTZ Tracking
Setup
Enable Auto PTZ
Tracking
Check for using auto tracking function
Enable Zoom
Control
Check for zoom control
If no motion
If there is no motion, camera comes back preset position.
Select second and preset you set.
1.
Pattern Setting Procedure (Pattern is a recorded sequence of PTZ operation steps)
a.
Choose Number to be assigned as Pattern ID.
b.
Click “SET PTRN” button to start recording the pattern. The OSD menu will appear on the screen.
c.
Operate the camera using Pan/Tilt/Zoom Control.
d.
Click “SET PTRN” again to save the pattern.
2.
Tour Setting Procedure : (Tour is a series of Preset)
a.
Choose Number to be assigned as Tour ID.
b.
Click “SET TOUR” button to start tour setting. The OSD menu will appear on the screen.
c.
Choose preset number and Click “GOTO PRST”.
d.
Repeat procedure “c” to assign a series of preset positions to the tour.
e.
Click “SET TOUR” again to save the tour.
3.
Preset Setting Procedure
a.
Choose Number to be assigned as Preset ID.
b.
Pan/Tilt/Zoom Control.
c.
Click “SET PRST” button to save the preset position.
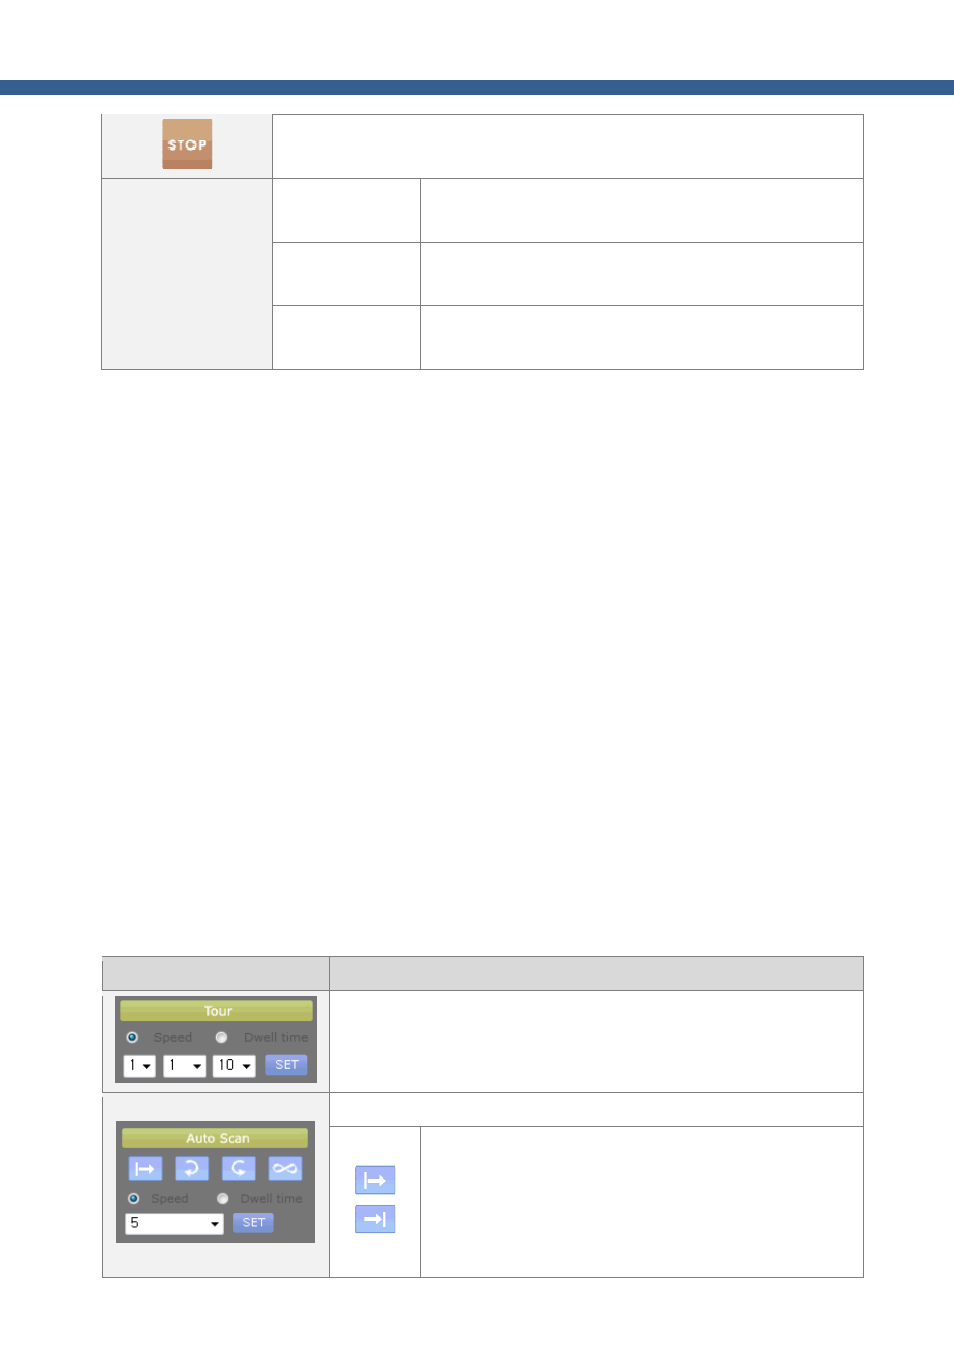
< Detailed Setup >
Item
Description
You can change the setup of configured Tour
After you select the setting value of “Tour No. / Step No. / Setting Value”
in sequence, click the SET button to set.
You can change the setting of configured Auto Scan in OSD Menu.
Set the Start/End Point of Scan mode. The coordinate value
is displayed at the bottom of the screen. Scan area is
changed in accordance with the rotational direction setting
of endless. Out of the two scanning regions (narrow region
defined by small angle and wide region defined by large