Installation, Series 6a operation & maintenance – installation – Bray 6A Series O&M Manual User Manual
Page 5
All information herein is proprietary and confidential and may not be copied or reproduced without the expressed written consent of BRAY INTERNATIONAL, Inc.
The technical data herein is for general information only. Product suitability should be based solely upon customer’s detailed knowledge and experience with their application.
Series 6A Operation & Maintenance – Installation
6A O & M : 5
InSTAllATIOn
Mounting to an Actuator
All Bray S6A positioners are suitable for mounting on Bray pneu-
matic actuators with the use of a standard mounting bracket. With
proper mounting hardware, the S6A positioner can be installed
onto other linear or quarter turn pneumatic actuators. The stan-
dard mounting position is to orient the unit directly over the
pneumatic actuator using the NAMUR mounting arrangement in
such a way that the LCD and pushbuttons are easily accessible.
If the positioner is to be mounted on a vertical pipe, it is recom-
mended that the unit be positioned with the conduit entries on the
bottom to prevent condensation from entering the positioner by
way of conduit. In all cases, the conduit should be positioned to
prevent drainage into the positioner.
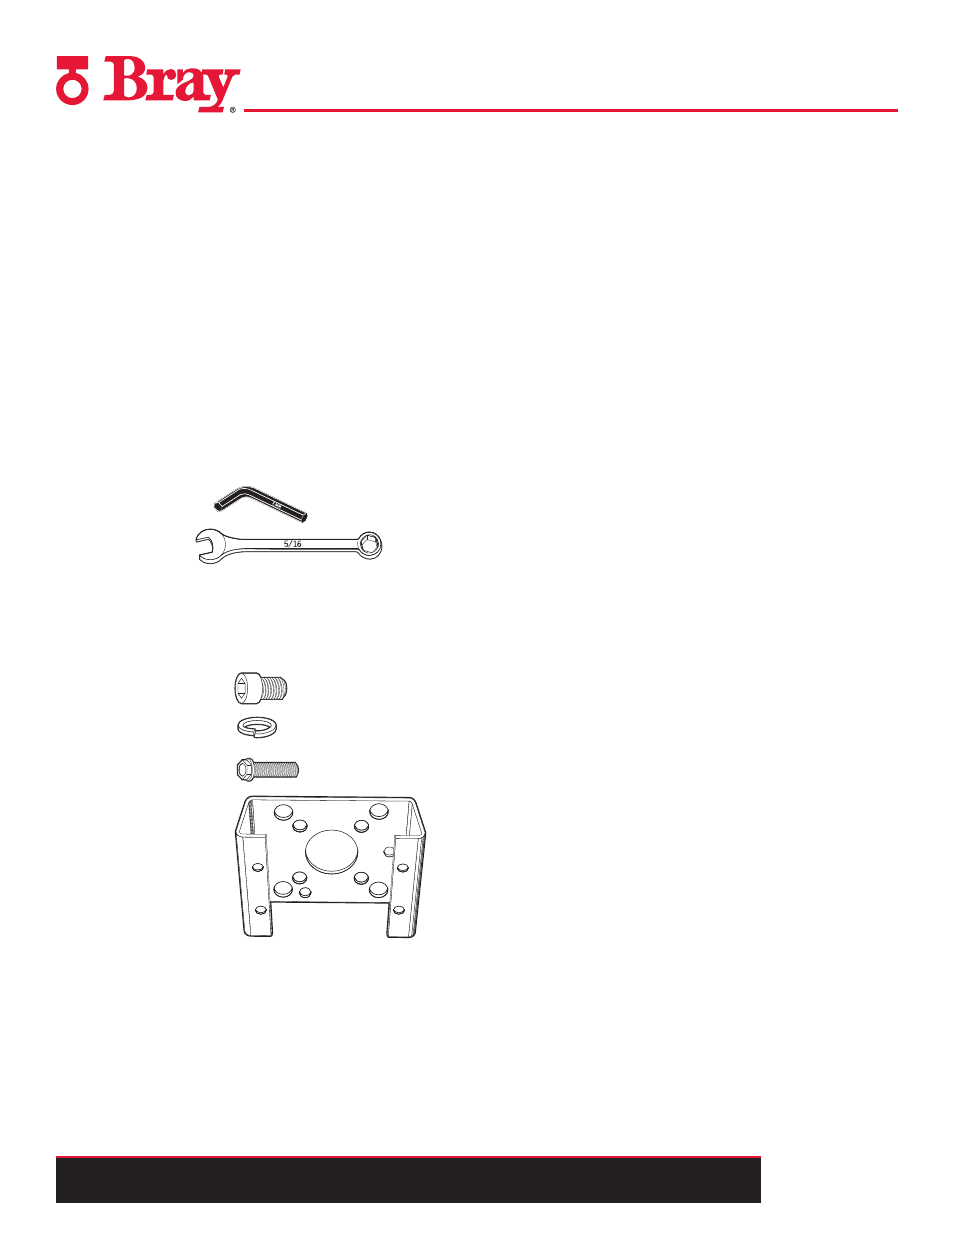
Tools Needed:
• 5mm Allen Key
• 5/16" Wrench
Parts Needed:
Item Qty
Mounting Bolts [A] (4)
Lockwashers
(4)
Mounting Bolts [B] (4)
Mounting Bracket
(1)
The positioner should be mounted to
the actuator as follows:
1. Turn the positioner upside down and align the provided mount-
ing bracket over the positioners output shaft. The bracket
should align with the four threaded holes around the output
shaft.
2. Using the 5mm allen key affix the mounting bracket to the
positioner using the four lockwashers and mounting bolts [A].
3. Turn the positioner right side up and position the output shaft
so that the flatted side is facing you.
4. Insert the coupler over the output shaft, ensuring that the
couplers set screw is in alignment with the flat of the shaft.
Tighten the couplers set screw.
5. Place the yellow indicator on the base of the coupler.
6. Mount the positioner on top of the actuator and tighten it using
the 5/16" wrench and the four mounting bolts [B].
Refer to the S6A Quick Start Guide for details