Routine maintenance, Console care, Lcd touch screen – Franklin Fueling Systems T5 Series Fuel Management System Operators Guide User Manual
Page 29: Internal printer
25
Routine Maintenance
As an end user/owner, there is a limited amount of maintenance that you may need to perform on the console. To keep
the unit in good, serviceable condition, follow the procedures outlined below.
Warning
Do not attempt to open the console unless you are a certified FFS technician. Electrical hazards
exist and injury or death may occur if the console interior is accessed by unauthorized personnel.
Console Care
Carefully wipe the outer areas of the console with a soft, damp cloth to remove any residue or build-up. Some chemicals
may damage the protective cover on the LCD display. Avoid spraying the console with anything directly. Cords and cables
routed from the inside and bottom of the console could contain electrical energy. Use caution in these areas to avoid
shock. Ensure that data communications and electrical energy lines are segregated so that electrical interference will not
be induced into data transmission lines, or erroneous data returns could result.
LCD Touch Screen
Contrast Adjustment
The contrast of the touch screen can be adjusted if needed, but should only be done so by a certified technician. Contact
your FFS distributor for assistance.
Calibration
If the touch screen does not appear to be accurately registering “touches,” it may need to be calibrated. To calibrate the
touch screen function of the display, you must first access the calibration application.
1. From the
Home Menu, go to Main Menu > Down > Tools > Touch Screen Calibration.
2. You will be asked if “you are sure,” answer
Yes.
3. Follow the on-screen instructions to complete the calibration process.
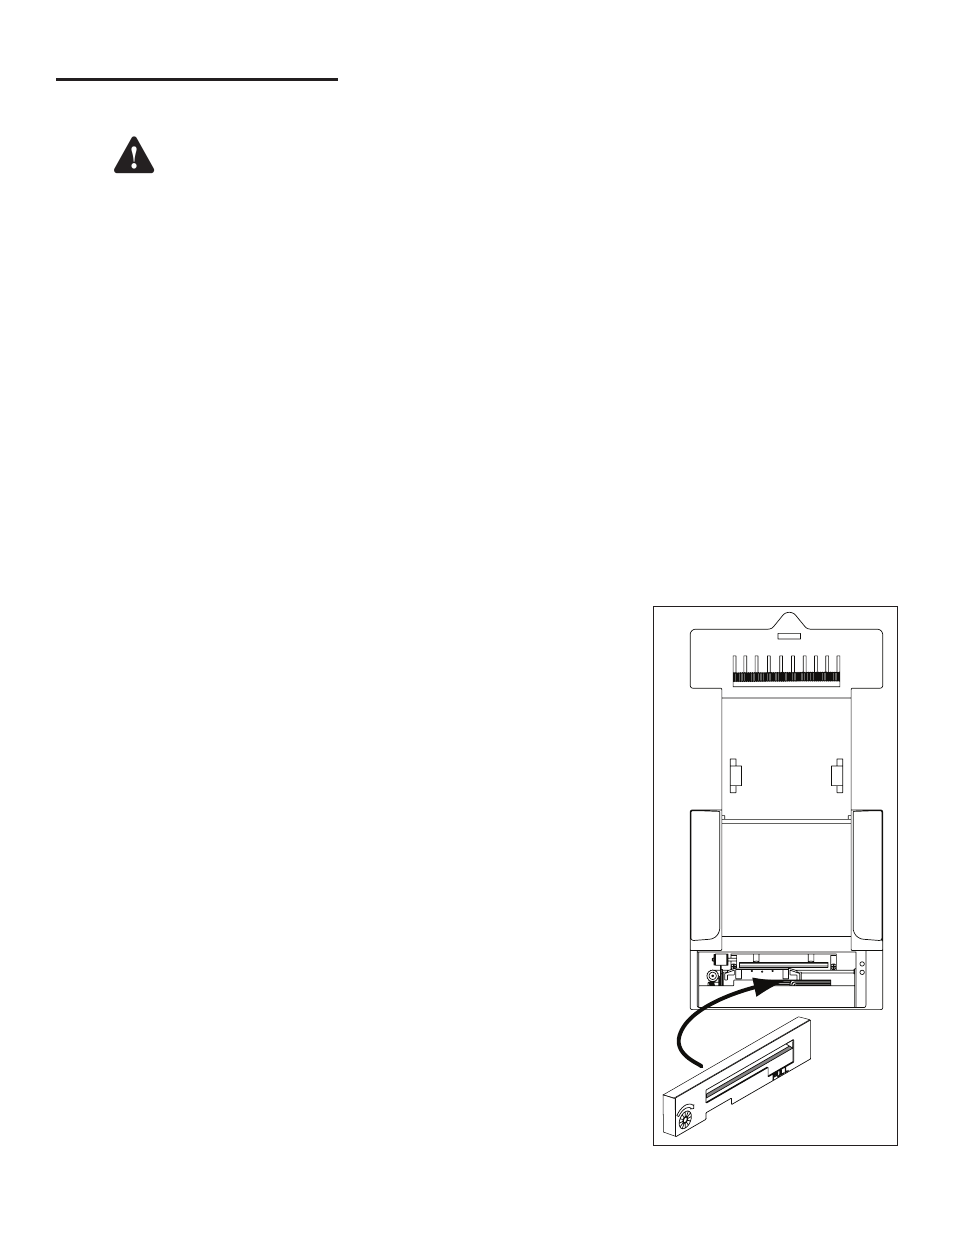
Internal Printer
Earlier consoles were provided with impact printers, and the instructions below apply.
Impact Printer
Changing Paper
1. Open the front of the printer door by pulling its lower tab towards you.
2. Lift the empty paper cartridge from the holder arms.
3. Place a new roll on the holder arms with the “tail” to the bottom and away on the roll.
4. Use scissors to cut a paper “tail” for a clean and square edge.
5. Using gentle pressure, feed the paper into the feed slot while pressing the Path
Bar on the display several times to advance the paper through the printer (or by
selecting the paper icon on the display).
6. Make sure the paper feeds straight into the printer. Misfed paper can jam the
printer and cause damage to the printer mechanism and printer ribbon.
7. Close the front printer door and let the paper feed through the output slot on the
door.
8. Rip the paper square and test the printer for proper operation.
Ink Ribbon Replacement
1. Open the front printer door by pulling its lower tab towards you.
2. Gently pull the paper out of the feed slot and place it out of the way.
3. Pull outward on the black ribbon cartridge to remove it from the assembly.
4. Place a new cartridge with ribbon above the print head, into position. Put the right
end in first, then snap it in place.
5. Feed the paper into the feed slot while pressing the Path Bar on the display
several times to advance the paper through.
6. Close the front printer door and let the paper feed through the output slot on door.
7. Rip the paper square and test the printer for proper operation.
Ink Ribbon Replacement