Creating your own styles, P. 77), 77 chapter 6. using arpeggiator (arpeggiator) – Roland SH-32 User Manual
Page 77
77
Chapter 6. Using Arpeggiator (ARPEGGIATOR)
Chapter 6
Creating Your Own Styles
Not only can you use the prepared internal
Arpeggio Styles
and
Rhythm Styles
that determine how arpeggios are played, but you
can also create them as well. This way, you can enjoy performing
your own original arpeggios.
• The SH-32 is shipped from the factory with 64 Arpeggio Styles
and 64 Rhythm Styles already programmed; all of these are
freely rewritable. However, note that since these Styles are used
in Preset Patches and factory-set User Performances as well,
when you make changes in the Styles, then the sounds of Preset
Patches and factory-set User Performances in which the
Arpeggiator is turned on change. By carrying out Factory Reset
(p. 94), you can get the SH-32 to once again sound exactly as it
did when you first took it out of the box.
• If you
switch to something else
or
carry out the write
procedure
before saving an Arpeggio Style or Rhythm Style
that you’ve created, the newly created Style will be lost. Be sure
to
save the Style first
if you want to keep it.
Creating Styles by Playing the
Notes as They Are to Be Performed
(REALTIME)
This creates styles in a similar manner to using a sequencer’s
Realtime Recording function. Record the performance just the way it
is played using the note-entry buttons or an external MIDI keyboard.
1.
Set the grid type (GRID: p. 75), duration (DURATION: p. 76),
and tempo (BPM: p. 74) for the Arpeggio Style that is to be
created.
2.
Hold down ARPEGGIATOR [ON] and press [VALUE
▼
(REALTIME)].
[ON] lights up while [WRITE] and [VALUE ▼] blink, indicating
that the SH-32 is in Realtime Input standby. Additionally, the
Preview (note-entry) function is turned on.
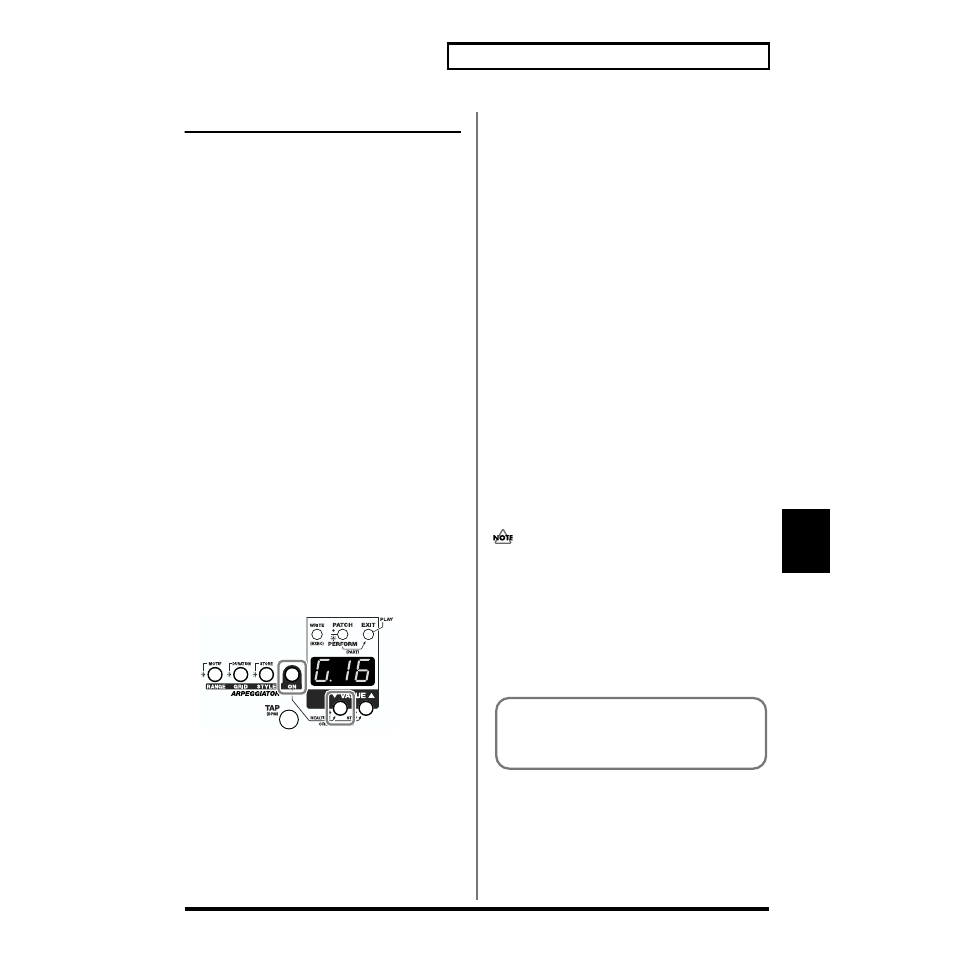
fig.06-07
3.
“G.**” appears in the display (** indicates the number of
grids). Press [VALUE
▼
/
▲
] to specify the Style length in
terms of the number of grids (1–32).
This completes the preparations for Realtime Input.
4.
Press [WRITE (EXEC)].
[WRITE (EXEC)] changes from a blinking to a constant light, the
metronome guide sound plays, and a countdown “-3, -2, -1, 0” is
displayed. Once the countdown has finished, the SH-32 is ready
for Realtime Input. Input by pressing the SH-32’s note-entry
buttons or playing an external MIDI keyboard along with the
progression “G.01, G.02, G.03, ...” that appears in the display.
• The metronome’s accent plays once each beat, and a different
click sound plays at the shortest interval that can be recorded in
the Style. You cannot record at shorter intervals than that
indicated by the click sound.
• A maximum of sixteen notes (specifying the sound pitch) can be
used within one Style. The pitches are no longer recorded once
you input the seventeenth and any other further notes that have
new pitches. Although in this case, the grid continues, but note
that the data is blank.
• With Realtime Input, recording for the length of the grid set in
Step 3 (when set to “G.08,” this would be “G.01”–”G.08”) is
repeated. You can layer further input of new notes with each
new pass. However, when you layer input in the same grid,
notes that have already been input to that grid are overwritten
and erased.
5.
When you have finished recording with Realtime Input,
press [EXIT].
The metronome guide sound stops, and the SH-32 returns to the
original mode.
6.
Confirm that Arpeggiator is on ([ON] is lit), and press the SH-
32’s note-entry buttons or play the external MIDI keyboard to
check the results of the Realtime Input.
You cannot do partial edits of Styles. If a mistake is made, re-
input the Style.
7.
Remake the setting for the grid type (GRID: p. 75), duration
(DURATION: p. 76), octave range (RANGE: p. 76), motif
(MOTIF: p. 76), and tempo (BPM: p. 74) as needed.
8.
If satisfied with the results of Realtime Input, save the
created Style (p. 79). Additionally, if you also want to save
parameters changed in a previous step, carry out the write
procedure for the Patch or Performance.
You can create Rhythm Styles using the same procedure
described above when selecting a Rhythm Set in Patch
mode, or when selecting a Part (4/R) to which a Rhythm Set
is assigned while in Performance mode.