Smart Technologies 3000i User Manual
Page 24
3000i Installation Guide
16
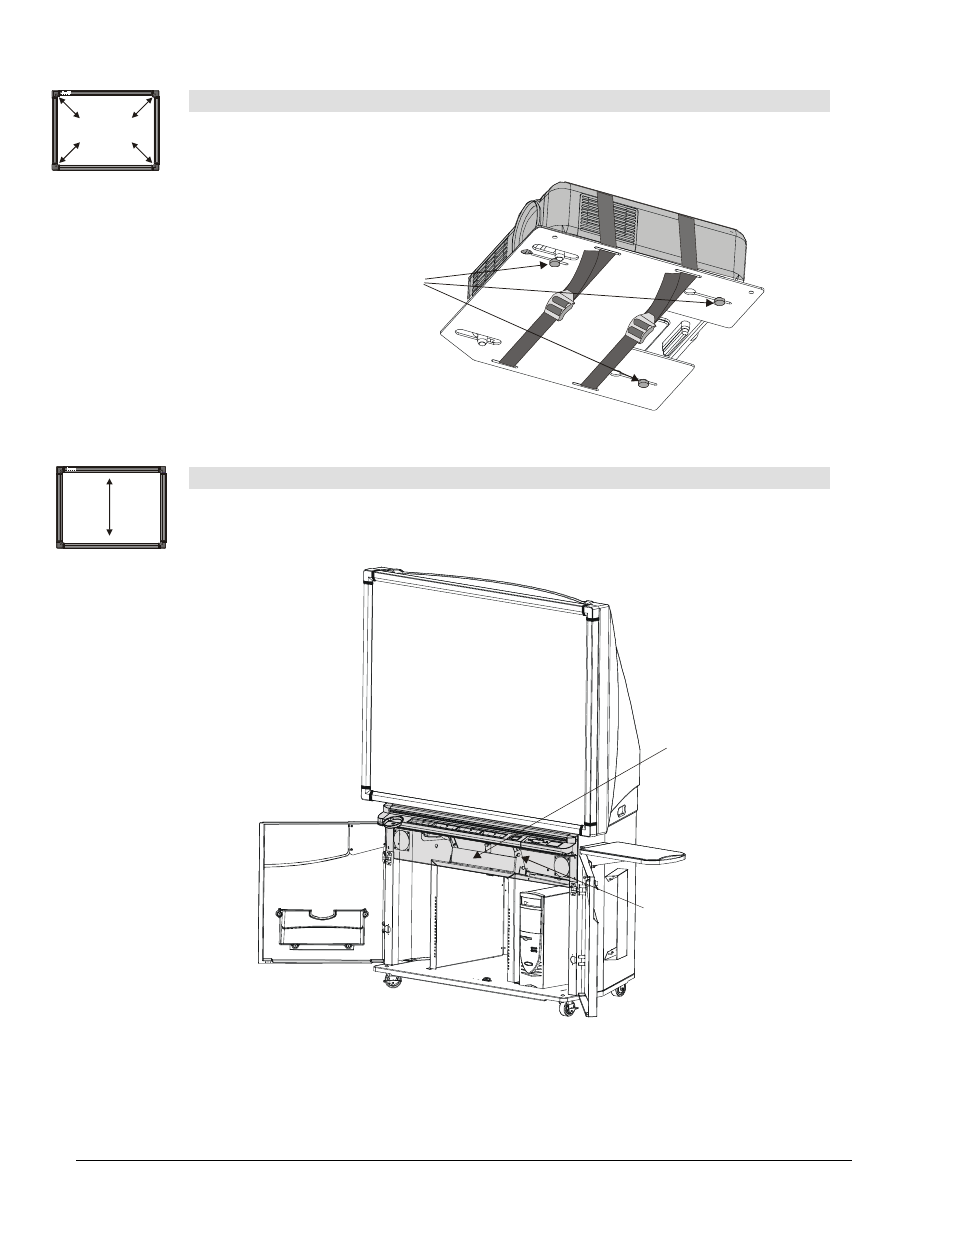
To change the image size
To enlarge or shrink the image, loosen the three front-to-back adjustment screws and then
slide the projector backward or forward inside the slots. Once your image is a good size,
tighten the three front-to-back adjustment screws.
NOTE: Remember to tighten the three front-to-back adjustment screws when you're
finished.
To move the image up or down
1 Open the front doors, and locate the two thumbscrews at the side of the small mirror
assembly (see figure below).
2 Loosen the upper thumbscrews on both sides of the small mirror.
Move Image Up or Down
Image-Size Adjustment
Loosen and then slide the
projector backward and
forward inside the three slots
Speaker Panel
(Transparent for Clarity)
Thumbscrew (x 2)