Installation, Setting up the 3000i, Lock unlock – Smart Technologies 3000i User Manual
Page 17
3000i Installation Guide
9
Installation
This section of the manual describes how to:
• set up the 3000i cabinet (p. 9)
• install the guest laptop shelf (p. 10)
• remove the rear access panel in preparation for computer installation (p. 11)
• install, connect and configure the internal computer (p. 12)
• adjusting the projected image (p.15)
• connect a guest laptop (p. 21)
• install and connect a VCR or DVD (p. 23)
• connect a printer (p. 25)
• connect a network (p. 26)
• connect an external sound system (p. 27)
• connect an external projector or monitor (p. 28)
Setting Up the 3000i
1 Remove the cabinet from its shipping carton (following the Unpacking Instructions).
2 Unpack the contents of the shipping carton and wheel the system to an appropriate
location within reach of a power source.
NOTE: Leave sufficient space around the entire cabinet so you can comfortably access
it as you perform the following assembly and connection procedures.
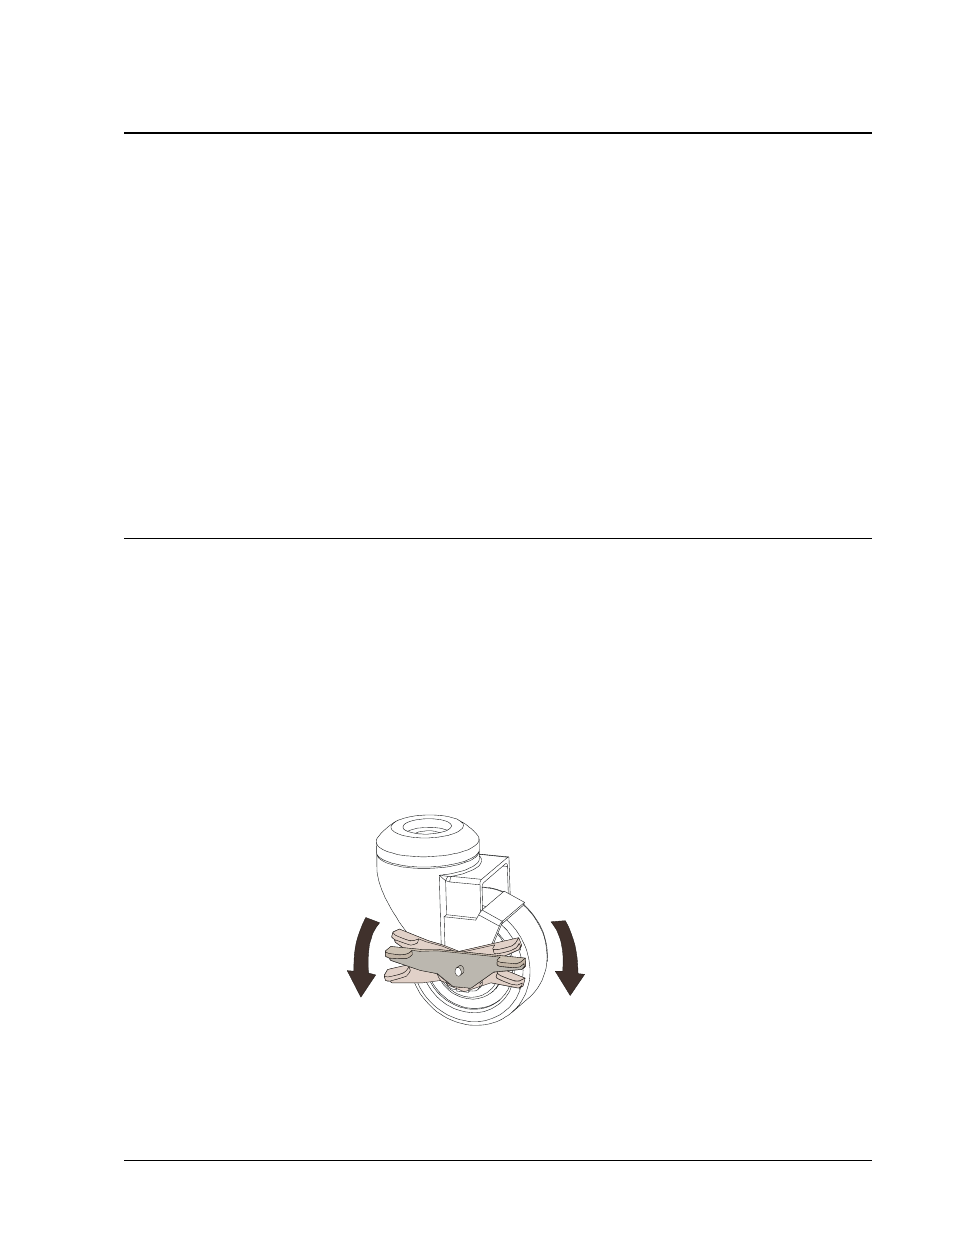
3 Lock the casters by pressing down on the caster tab locks on the wheel exterior; unlock
the casters by pressing down on the caster tab locks on the wheel interior, as shown in
the figure below.
NOTE: As a safety precaution, and for greater ease of use, the casters should remain locked
while the 3000i is in use.
Locking and Unlocking Casters
Lock
Unlock