Savin 2045 User Manual
Page 62
Using the Network Delivery Scanner Function
56
5
Checking selected destinations
A Use the destination field at the
top of the scre en to check
which destinations are select-
ed.
Note
❒ When multiple destinations
are selected, the selected des-
tinations are displayed in the
order they were selected by
pressing [
U
U
U
UPrev.] or [T
T
T
TNext].
❒ Pressing the {{{{Check Modes}}}}
key on the control panel lets
you check the list of selected
destinations.
GGGG
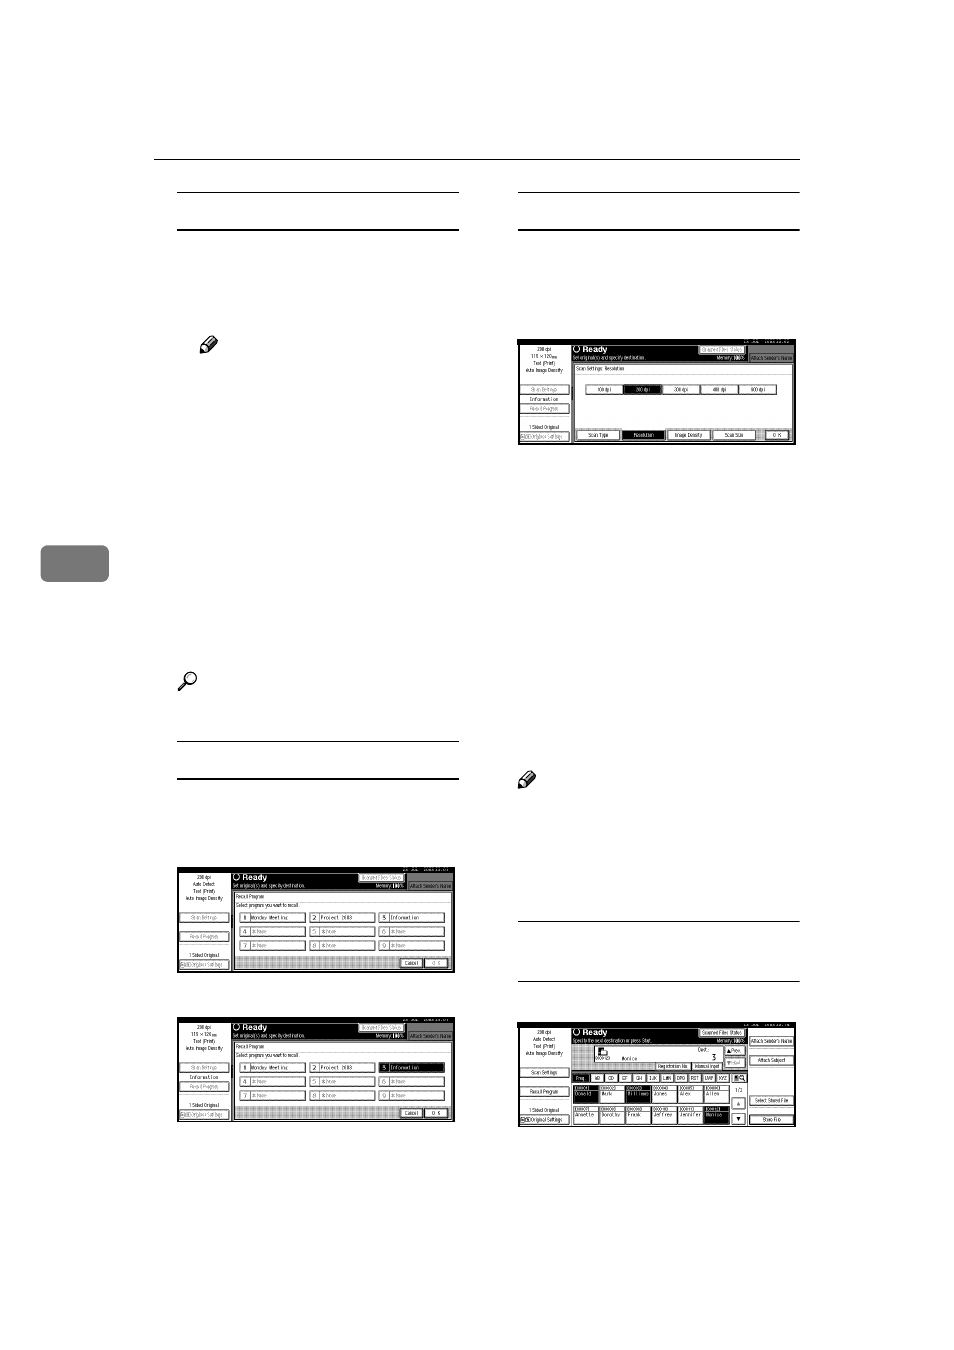
Make the basic settings.
To make the basic settings, recall
stored settings or make the settings
individually.
Reference
Recalling stored scan settings
A Press [Recall Program].
B Select a user program of scan
settings.
C Press [OK].
The selected user program set-
tings are applied.
Making the settings individually
A Press [Scan Settings].
B Select items such as resolution
and original size, and then
change their settings.
Scan settings can be made in the
same way as basic settings. See
p.13 “Basic Settings”.
C Press [OK].
HHHH
Specify the sender (scan data file
delivery source) if necessary.
Three methods are available for se-
lecting a sender: selecting the
sender from the list, entering the
five-digit short ID number of the
sender with the number keys, and
searching for the sender and select-
ing it.
Note
❒ When a sender has been speci-
fied, this information is added
to the scan data file. Select a
sender from the senders pro-
grammed in the delivery server.
When selecting a sender from the
list
A Press [Attach Sender's Name].