Filling empty drive bays, Installing the optional diskette drive – Gateway Server E-9520T User Manual
Page 41
Installing and removing drives
www.gateway.com
35
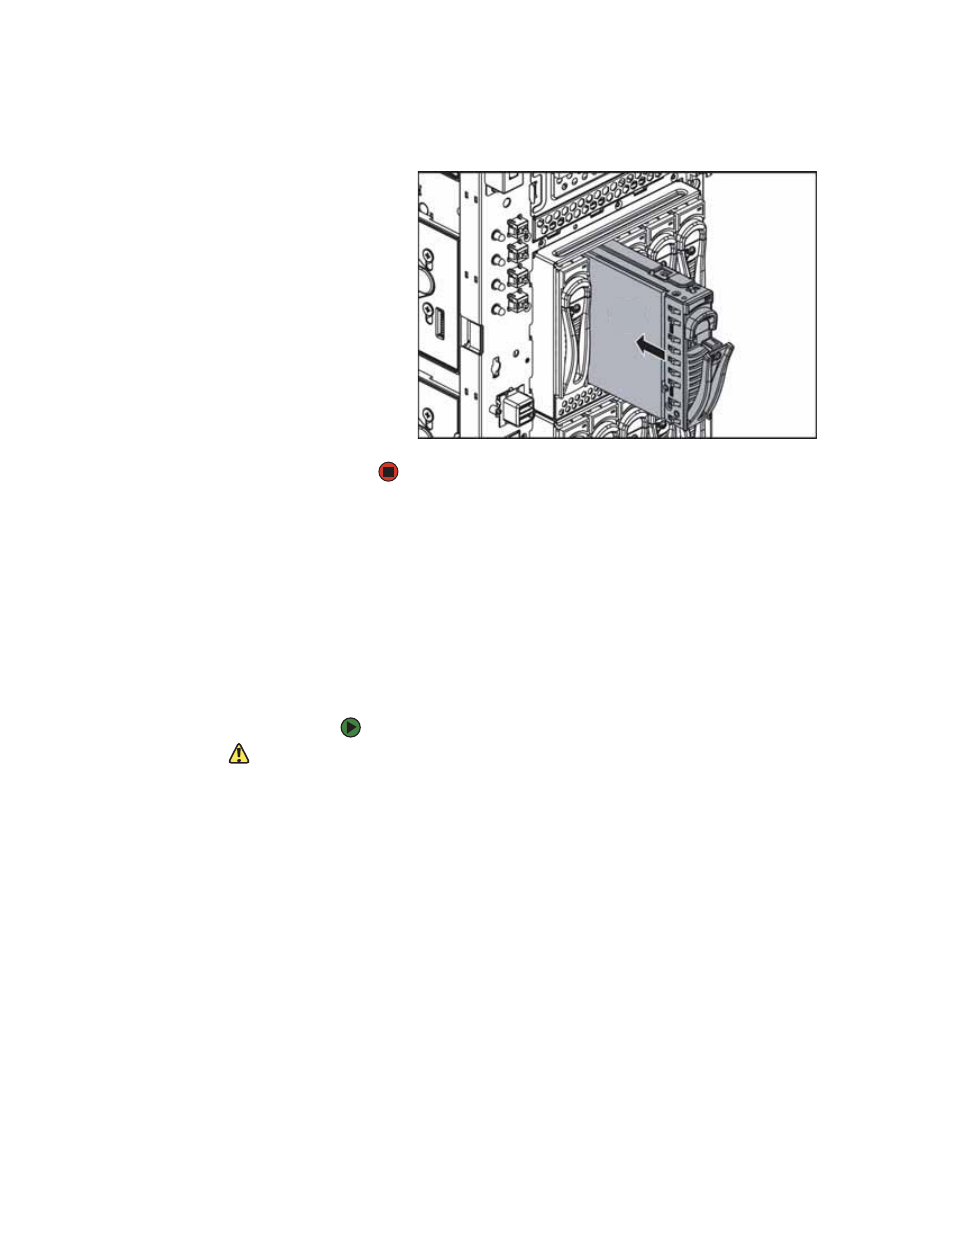
4
Make sure that the tray’s release lever is open, then slide the new drive
fully into the empty hot-swap drive bay and push the lever back into place.
Filling empty drive bays
Empty drive bays in the server must be filled by drive trays with dummy hard
drives installed. With the bezel removed, install the appropriate carrier, then
replace the bezel by snapping it into place on the front of the server. Dummy
hard drives are included with your server and are installed in unused drive bays.
Installing the optional diskette drive
To install the optional diskette drive:
Caution
The diskette drive is not hot-swappable.
Before installing or removing the drive,
make sure that power is turned off and
the power cord(s) is unplugged.
1
Follow the instructions in
“Preventing static electricity discharge” on
. Make sure that you turn off the server, then unplug the power
cord(s) and all other cables connected to the server.
2
Follow the instructions in
“Opening the server case” on page 29
.
3
Unlock the bezel (if necessary) and remove it by pulling it from the chassis.
4
Push the diskette drive bay cover (EMI shield) (1) in from the front of the
server