Dust collection – Grizzly G0696X User Manual
Page 29
-26-
g0605X1-6X1, g0696X-97X (mfg. 8/11+)
10. Follow the instructions in Dust collection,
power connection and Test Run, then pro-
ceed to
Final Setup to complete the remain-
ing assembly steps.
6. install the fence knob as shown in Figure 41,
and mount the fence on the front rail, to the
right of the blade.
Figure 41. Fence knob installed.
Fence
Knob
9. slide the miter gauge into the t-slot on the
left side of the blade; or store it on the brack-
ets near the blade angle handwheel.
Figure 42. Fence resting brackets installed.
Brackets
x2
8. install the handle wth 8mm flat washer onto
the miter gauge, as shown in
Figure 43.
Figure 43. miter gauge installed.
handle
Washer
7. install the fence resting brackets (Figure
42) onto the back of the cabinet with the two
m8-1.25 x 12 flange bolts.
Dust collection
DO NOT operate the Model G0605X1/
G0606X1/G0696X/G0697X without an ade-
quate dust collection system. This saw cre-
ates substantial amounts of wood dust while
operating. Failure to use a dust collection
system can result in short and long-term
respiratory injury.
Recommended cFM at Dust port: 400 cFM
Do not confuse this CFM recommendation with
the rating of the dust collector. To determine the
CFM at the dust port, you must consider these
variables: (1) CFM rating of the dust collector,
(2) hose type and length between the dust col-
lector and the machine, (3) number of branches
or wyes, and (4) amount of other open lines
throughout the system. Explaining how to cal-
culate these variables is beyond the scope of
this manual. Consult an expert or purchase a
good dust collection "how-to" book.
components and hardware Needed:
Qty
dust hose 4 " (not included) ...............................1
hose Clamps 4" (not included) ..........................2
dust Collection system (not included) ...............1
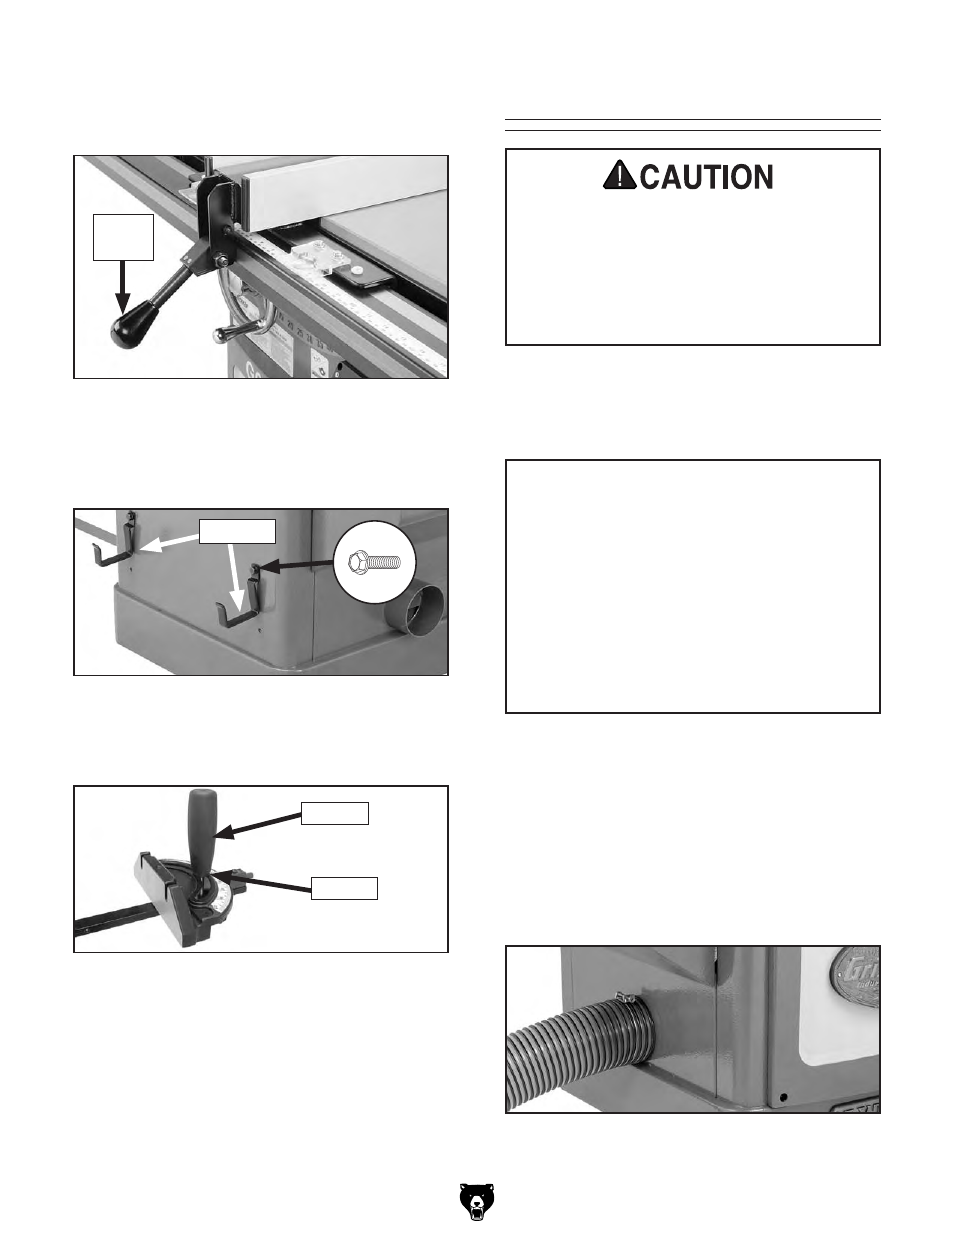
To connect a dust collection hose:
1. Fit a 4" dust hose over the dust port, as
shown in
Figure 44, and tightly secure it in
place with a hose clamp.
2. tug the hose to make sure it does not come
off.
Note: A tight fit is necessary for proper
performance.
Figure 44. dust hose attached to dust port.