HT instruments GEO416 User Manual
Page 14
GEO416
-
GEO416GS
EN - 13
3.
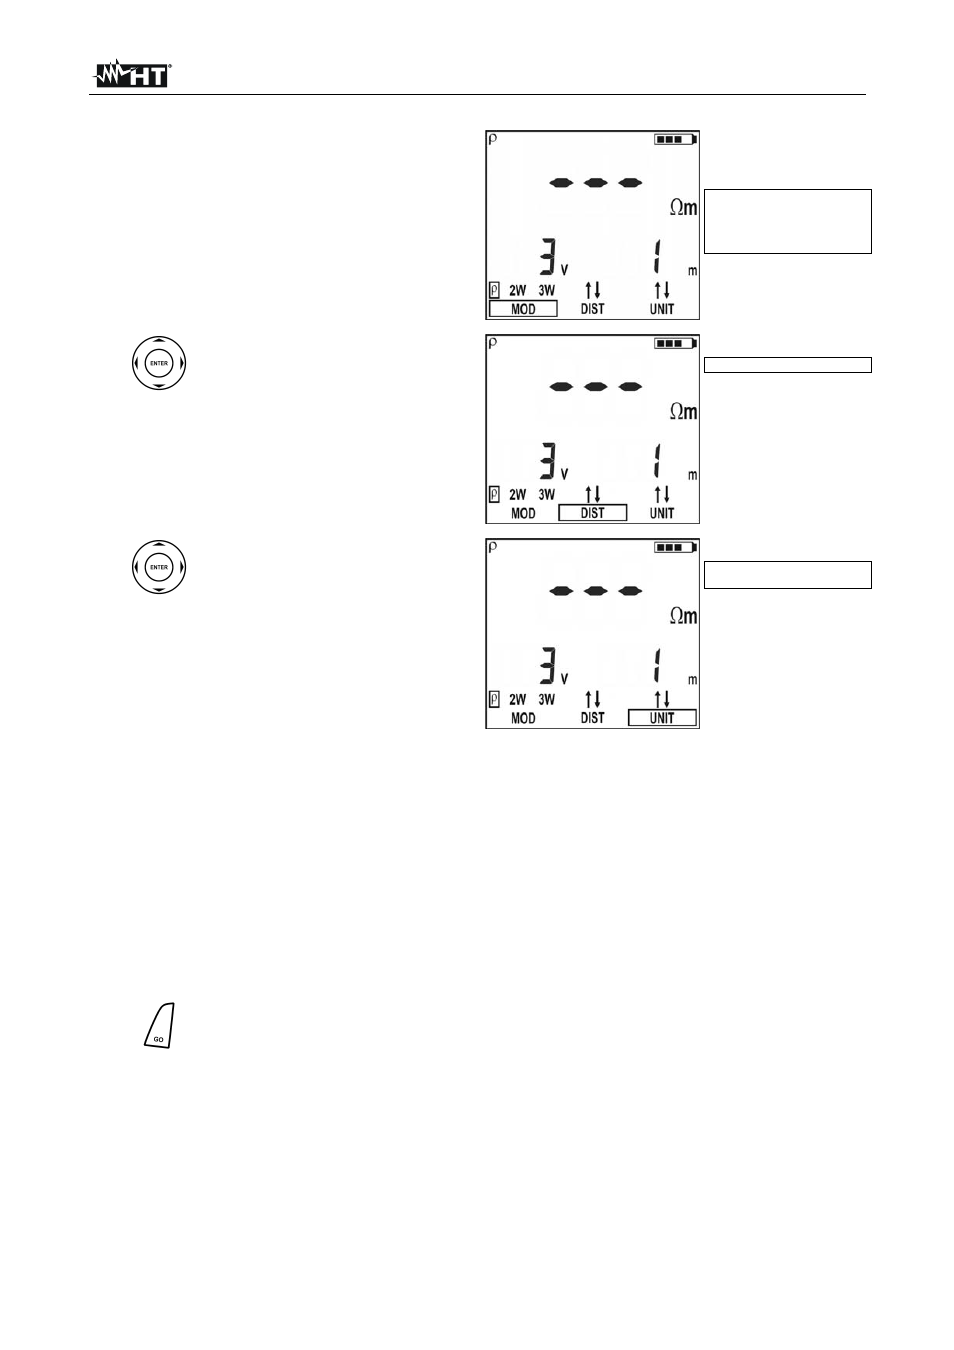
A screen similar to the one beside
appears where both the input interfering
voltage of the instrument and the rods’
distance value are displayed
Value of input interfering
voltage and rods' distance
set
4.
Should you need to modify the
rods’ distance press the arrow
keys , and select DIST,
then pressing the arrow keys
, set the desired distance
(ranging from 1 up to 10 metres,
by steps of one or from 3 up to
30 feet by steps of three)
Value of rods' distance set
5.
To set the distance measuring
unit press the arrow keys ,
and select UNIT, then pressing
the arrow keys , set the
desired measuring unit (m or ft)
Measuring unit selected
6.
Connect the blue, red, green and black cables to the corresponding instrument’s input
terminals H, S, ES, E then adding crocodiles if necessary
7.
Extend, if necessary, the blue and red measuring cables separately using cables with
proper section. Adding any extension does not require calibration and does not affect
the measured ground resistivity value
8.
Drive the auxiliary rods into the ground placing them on a line at a mutual distance
equal to that selected on the instrument. Setting a distance other than the actual
distance between the earth rods may affect the measurement (§11.3)
9.
Connect crocodiles to the auxiliary rods (see Fig. 6)
10.
Press GO key, the instrument starts carrying out measurement