Setting up your balance, Setting date and time, Setting up your balance 4.1 setting date and time – Ohaus NBF1A2 Navigator Balances User Manual
Page 79: Time, Procedure, Date, Zero tare
16
TM
®
Mode
Setup
Units
TM
Enter
On/Off
G/N/T
Zero
Tare
®
Mode
Setup
Units
TM
Enter
On/Off
G/N/T
Zero
Tare
4.
SETTING UP YOUR BALANCE
4.1 Setting Date and Time
Your Navigator
TM
balance provides date and time data which can be viewed on a computer or printed out on an
external printer. When you put your new instrument into operation for the first time, you should enter the current date
and the time. These settings are retained as long as the balance remains connected to an AC power source using
the AC Adapter. Date and time are not retained with battery operation.
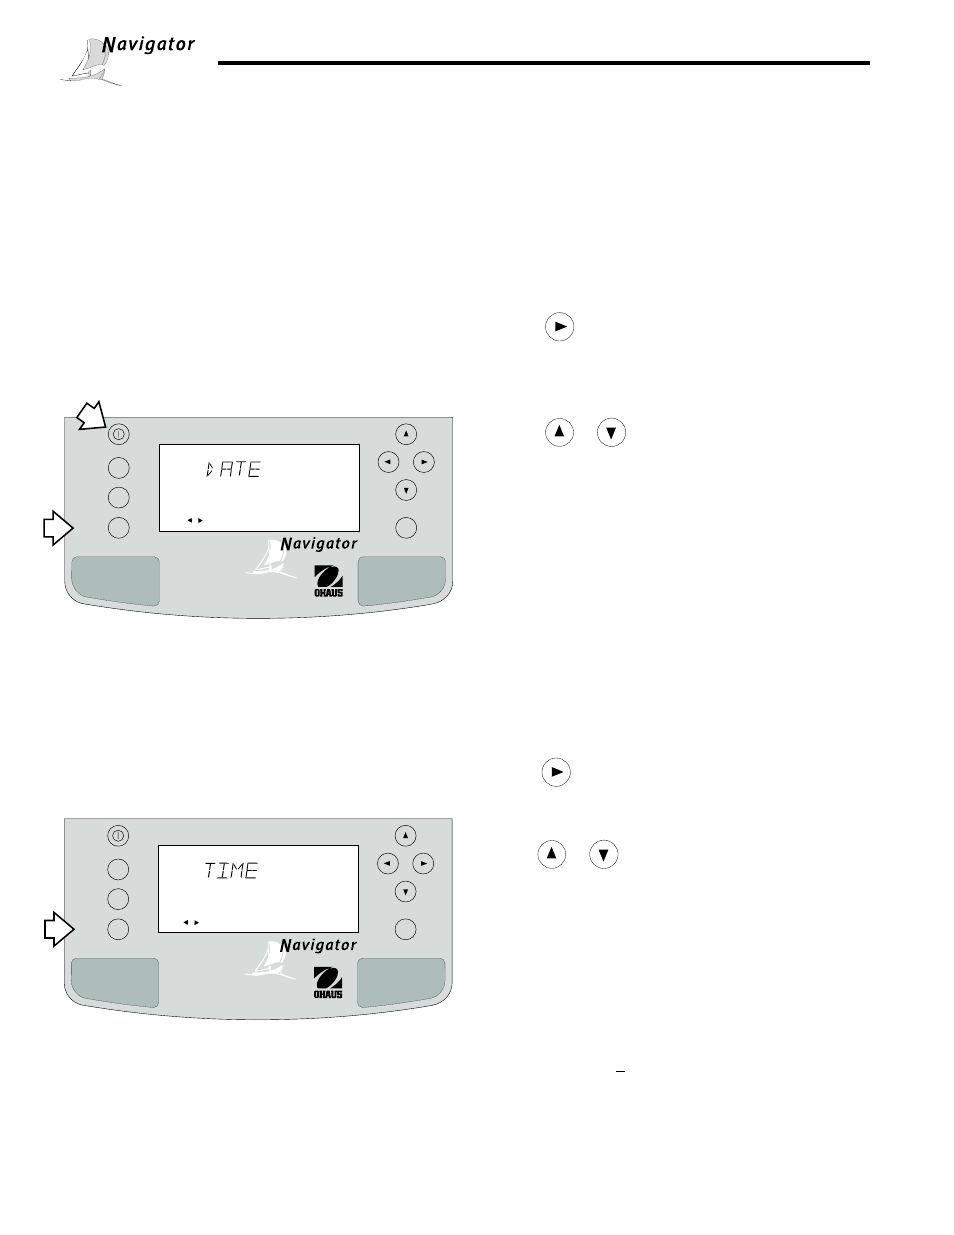
Time
Time is a feature which enables the balance to be set to
the current time in either 12 hour or 24 hour periods. The
default setting is 12 hour.
Procedure
• Press the Setup button, CAL is displayed.
• Press
button and select Time from the menu.
• Press Enter button, TYPE is displayed.
• Press Enter button, TYPE 12 hr is displayed.
• Press
or
button and select 12 hr or 24 hr.
• Press Enter button, SAVED is displayed momentarily
then SET is displayed.
• Press Enter button, SET with time is displayed.
• Using arrow buttons, enter the correct time.
• When the correct time is entered, press Enter button,
SAVED displays momentarily and ADJUST appears.
• Press Enter button, 0 appears.
Adjustments up to +60 seconds per day can be made
to the balance internal clock. Using arrow buttons,
enter time correction and press Enter button. SAVED
displays momentarily and EXIT appears. Press Enter
button, balance returns to a weighing mode.
Date
Date is a feature which enables the balance to be set to a
U.S. date standard or European date standard. U.S.
standard has the month, day, followed by the year, each
separated by (/) in the printout. The European date
standard has the day first, followed by the month and
then the year; each separated by a period. The default
setting is Mdy.
Procedure
• Press the Setup button, CAL is displayed.
• Press
button and select Date from the menu.
• Press Enter button, TYPE is displayed.
• Press Enter button, SET M d y, d M y, y M d, M y d,
y d M, or d y M is displayed.
• Press
or
button and select type of date.
• Press Enter button, SAVED is displayed, then SET is
displayed.
• Press Enter button, date is displayed.
• Using arrow buttons, enter the correct date.
• When the correct date is entered, press Enter button,
SAVED displays momentarily and EXIT appears.
• Press Enter button, balance returns to a weighing
mode.
Setup
Use keys to change, press Enter
Change
Setup
Use keys to change, press Enter
Change