Replacing the main tray assembly – HP B180L User Manual
Page 126
112
Changing Your Workstation’s Hardware Configuration
Replacing the Main Tray Assembly
Replacing the Main Tray Assembly
Perform the following steps to replace the main tray assembly:
1
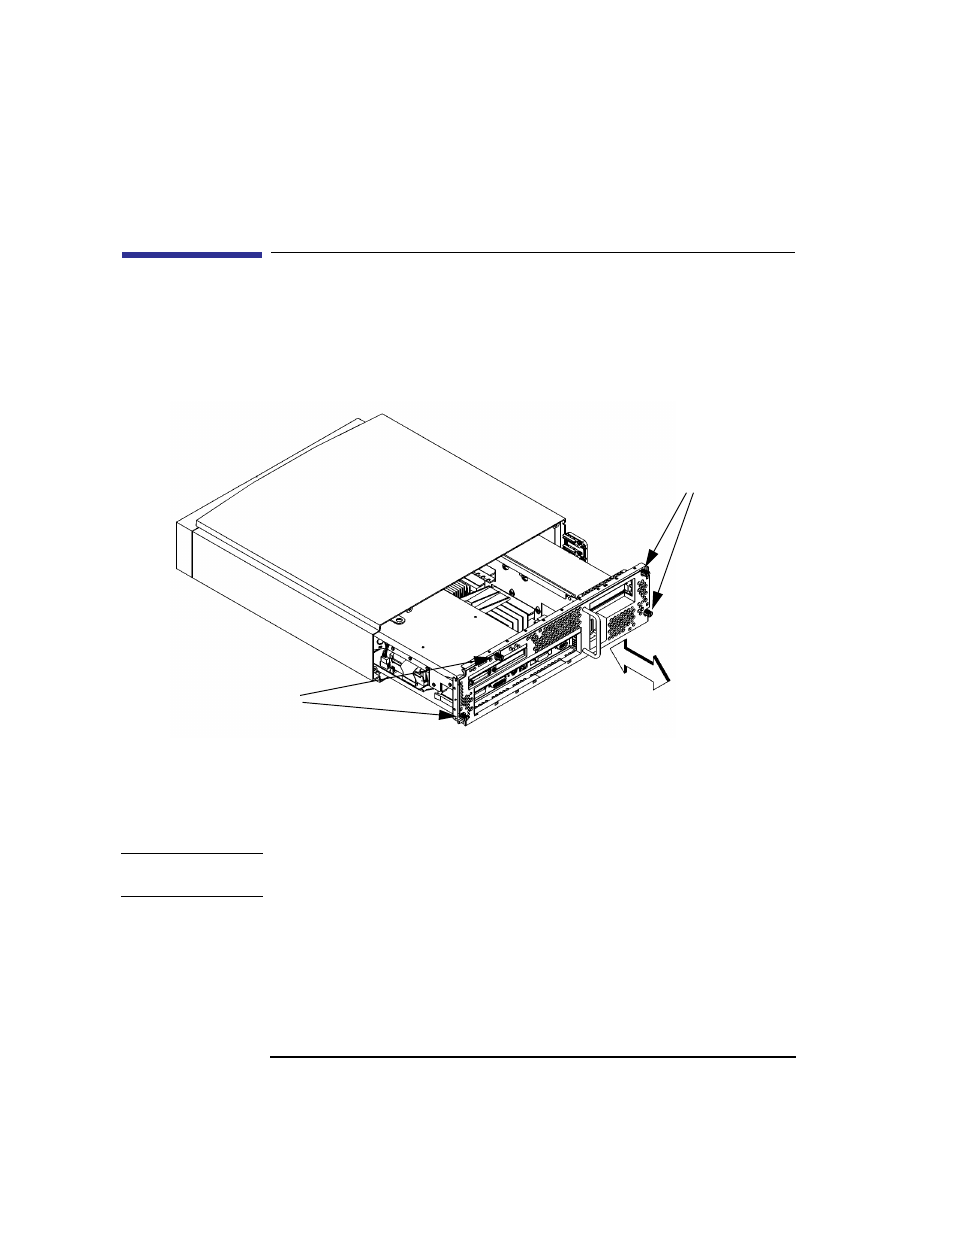
Align the main tray assembly with the chassis, aligning the tray with the ridges
on the bottom of the case, and slide it into place, as shown in Figure 22.
Figure 22
Replacing the Main Tray Assembly
2
Slide the main tray in until it is fully seated in the chassis.
3
Tighten the four thumbscrews, as shown in Figure 22.
NOTICE:
To maintain regulatory agency compliance, verify that the main tray is
fully seated and all four thumb screws are completely tightened.
Thumbscrews
Thumbscrews