Installing an internal hard disk – Hitachi 8450H/R User Manual
Page 67
Ch 3: Installing Optional Devices
Hitachi PC VisionBase 8450H/R Server
63
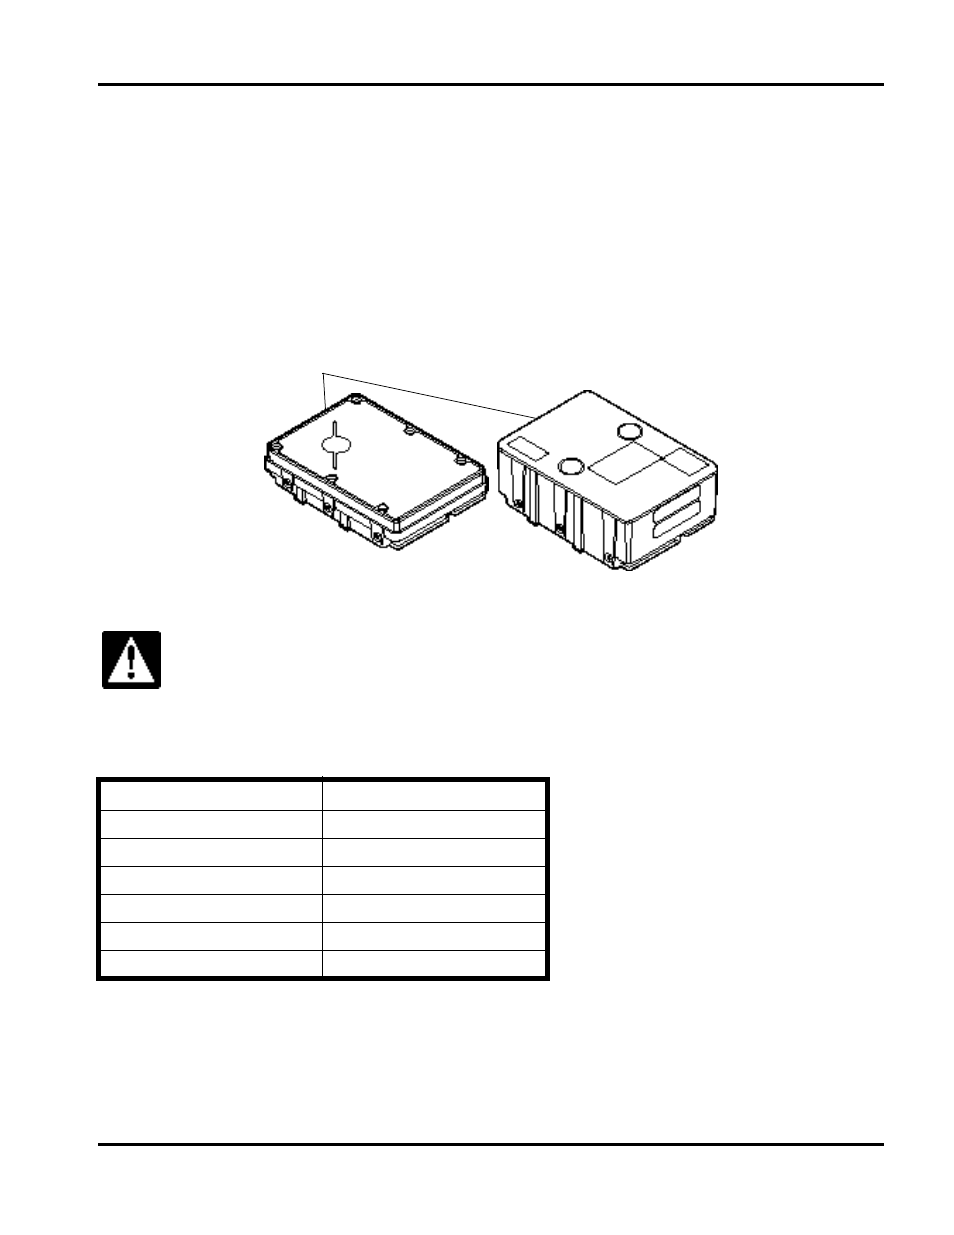
Installing an Internal Hard Disk
The following example explains how to install internal hard disk 9GB and internal hard disk 18GB onto an extended
storage bay.
Extended storage bays 1 to 6 are usable.
Because Hitachi PC VisionBase 8450H/R Server only supports disk array configuration, the starter disk (boot disk)
is set by software.
NOTE: For the purpose of system administration, internal hard disks to be set as boot disk (array) must be installed
starting in extended storage bay 1.
See the attached “Disk Array Maintenance Utility Handbook” for details.
The SCSI ID for an internal hard disk is automatically set according to the extended storage bay onto which it is
installed, as shown in the following table:
NOTE: You need not set a terminating resistor for internal hard disks; a terminating resistor is mounted on the
platter board to be connected.
Use extreme care to protect internal hard disks from shock (hitting or falling on hard material).
Being precision devices, internal hard disks are very susceptible to shock.
Extended storage bay
SCSI ID to be set
1
0
2
1
3
2
4
3
5
4
6
5
Connector
9GB
18GB