Adjusting image quality, Sided scan settings – Canon imageCLASS MF264dw II Multifunction Monochrome Laser Printer User Manual
Page 268
Adjusting Image Quality
You can adjust the image quality such as when the scanned data image is not clear or the text is difficult to read.
[Color Mode]
Select the scanning color mode (Black & White/Color).
[Density]
Adjust the density to suit the original.
Press [+] to increase the density and [-] to lower it.
[Original Type]
Select the original type.
Scanning is performed using the image quality to suit the content of the original.
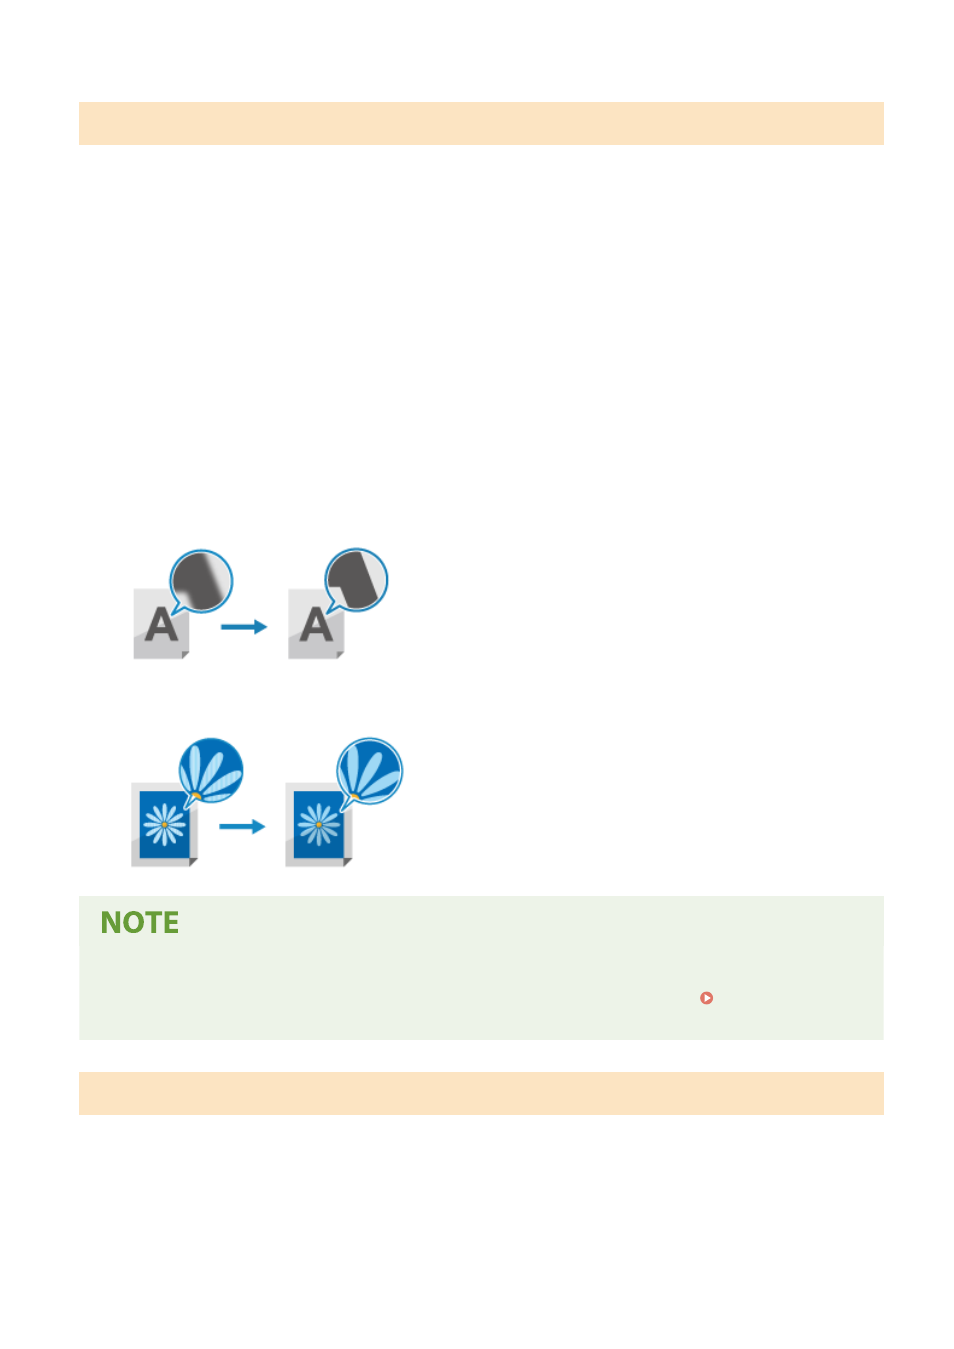
[Sharpness]
Adjust the sharpness.
Emphasize the contours and lines to make them clearer, or weaken them to make them softer.
Adjustment example:
●
To make blurry text or shapes clearer
Press [+].
●
To reduce moire (vertical pattern noise) in pictures
Press [-].
When the File Format of the Scanned Data Is JPEG
●
The image quality varies depending on the compression ratio selected in [Data Size]. Setting File /
Division(P. 260)
2-Sided Scan Settings
When scanning a 2-sided original, place the original on the feeder, and set [2-Sided Original].
* This setting is available only for MF269dw II / MF269dw VP II.
[2-Sided Original]
When scanning a 2-sided original, select [Book Type] or [Calendar Type]. Select this according to the top and bottom
orientation of the front and back sides of the placed original.
[Book Type]
[Calendar Type]
Scanning
259