Input search – Panasonic TH-55VF2HW 54.6" Full HD Video Wall Display User Manual
Page 58

English
58
■
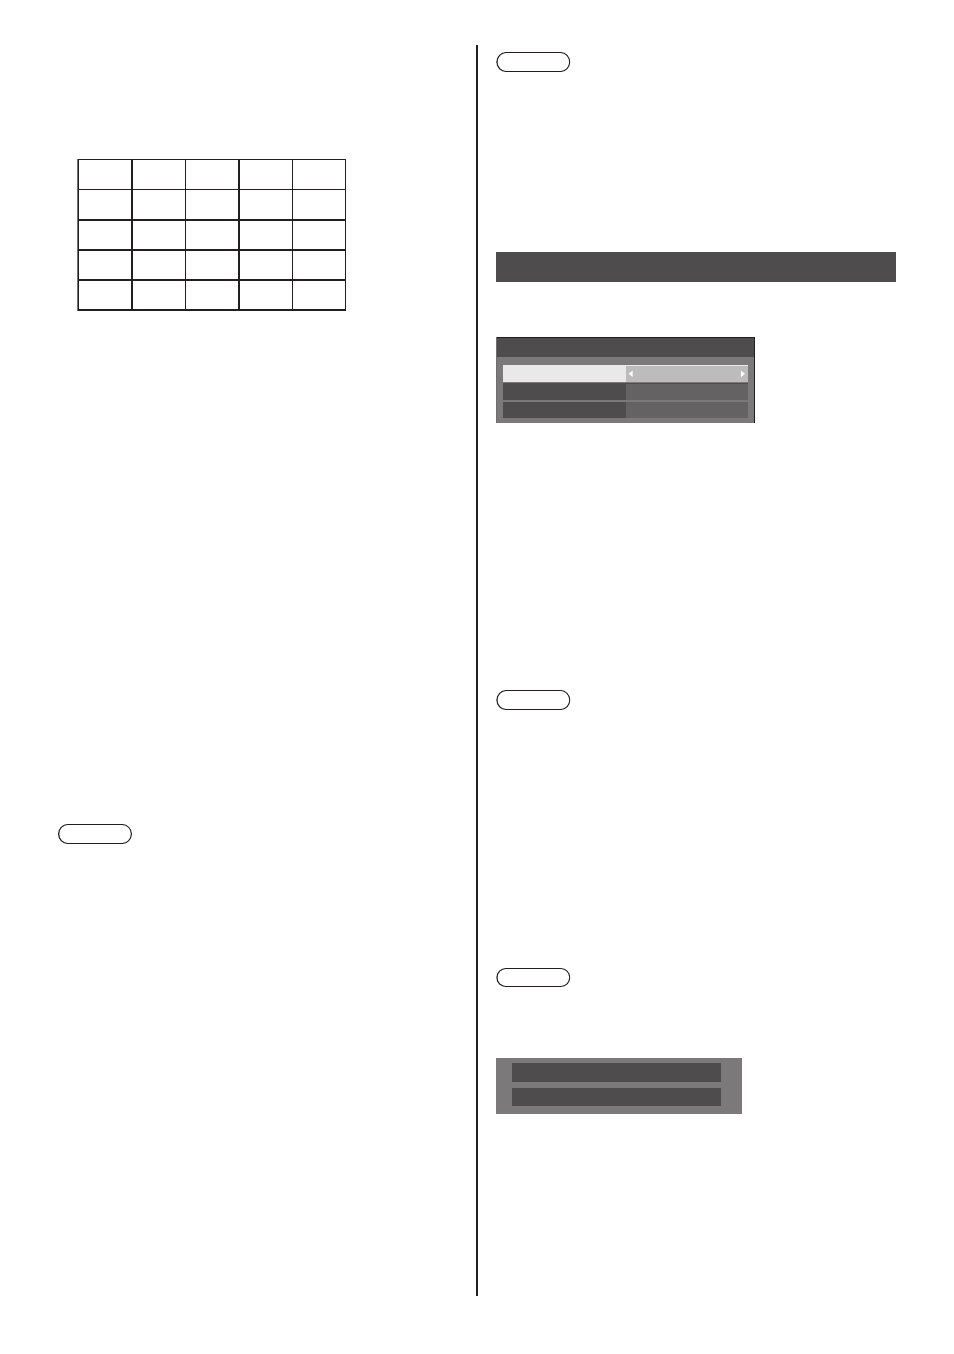
[Location]
Assign the multi display position.
Example:
[Horizontal scale] [10], [Vertical scale] [10]
A1 A2 ....
....
....
....
....
B1 B2
.... ....
A9
B9
....
J1
J2
J9
I1
I2
I9
A10
B10
....
I10
J10
Select from A1 to J10.
●
The displayed content for setting changes
according to the settings for the [Horizontal scale]
and [Vertical scale].
●
By setting [Multi display setting] to [Off], it is
possible to check the location on the screen while
the setting menu is displayed.
■
[Frame control]
Adjusts the image display timing to display motion
pictures more naturally in one screen composed of
multiple screens.
[Auto]:
When [Multi display setting] is set to [On], the image
display timing is automatically set in accordance with
[Location] of vertical direction.
However, when [Multi display setting] is set to [Off],
the image display timing adjustment value is fixed to
[0] (not adjusted).
1 to 5:
Image display timing adjusted value (manual setting)
This function is operated regardless of the setting in
[Multi display setting] ([On] / [Off]).
Note
●
When any of [1] to [5] is set, and signals over a
vertical frequency of 60Hz are input, the unit may not
perform control operation as intended.
Also, if signals over 1080 dots in a longitudinal
direction are input, a screen error may occur.
●
When changing the setting of this function, picture
disturbance may occur. This is not a malfunction.
■
[Reverse scan]
Reverses the image scan direction to display motion
pictures more naturally in one screen composed of
multiple screens.
[Off]:
Normal scan (Top to bottom)
[On]:
Reversed scan (Bottom to top)
Note
●
This function can only be set when [Frame control] is
set to [1] to [5].
●
This function is operated regardless of the setting in
[Multi display setting] ([On] / [Off]).
●
Displayed picture will be interrupted while changing
setting of this function.
Input search
When a signal is not detected, another input with a
signal is automatically selected.
Input search
Input search
1st search input
2nd search input
Custom
(None)
(None)
[Input search]
[Off]:
When there is no signal, the input is not
switched automatically.
[All inputs]:
Searches all inputs and switches to an
input with a signal.
Input search is executed in the following
order.
Example: When the current input is
HDMI
[DisplayPort] → [DIGITAL LINK] →
[DVI-D1] → [DVI-D2] → [PC] →
[USB] → [HDMI]
Note
●
The inputs set to [(Skip)] in [Input label] (see page 65)
are skipped when searching.
[Custom]:
Repeatedly searches [Current input],
[1st search input] and [2nd search input]
in order, and switches to an input with
a signal.
[Input
detection]:
Monitors the following inputs set to [On],
detect the status change from no signal
to signal present, and switches to the
input.
[HDMI], [DIGITAL LINK], [DVI-D1],
[DVI-D2], [PC]
Note
●
If the DIGITAL LINK terminal receives output from
another unit, [Input detection] may not operate
normally.
PC
Searching...
[Searching...] is displayed during the input search.
[1st search input], [2nd search input]
Set the input to search when [Custom] is selected.
[HDMI] / [DisplayPort] / [DIGITAL LINK] / [DVI-D1] /
[DVI-D2] / [PC] / [USB] / [(None)]
