Setting monitored printers, Setting up the usb connection – Epson EPL-N7000 User Manual
Page 97
86
Using the Standard Printer Driver
❏ You can find out the current printer status by clicking the EPSON
Status Monitor 3 icon in the printer driver’s Utility menu.
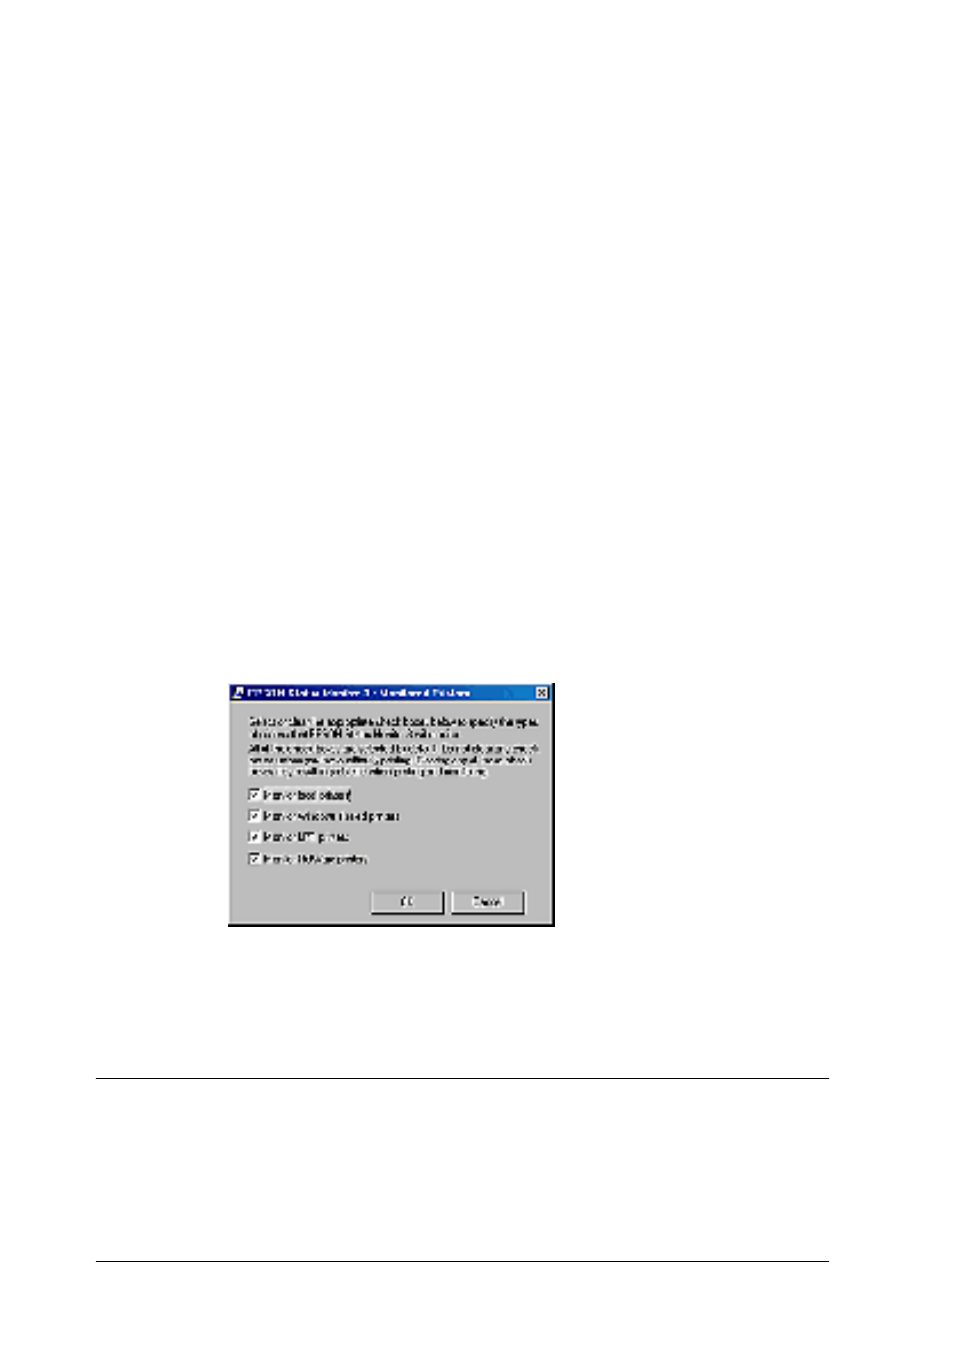
Setting monitored printers
You can use the Monitored Printers utility to change the types of
printers that EPSON Status Monitor 3 will monitor. When you
install EPSON Status Monitor 3, this utility is also installed.
Usually, it is not necessary to change the setup.
Follow these steps to select the printers to monitor using EPSON
Status Monitor 3:
1. Click Start, point to Programs, point to EPSON Printers, and
then click Monitored printers.
2. Clear the check box for the printers that you do not want to
monitor.
3. Click OK to accept the setting.
Setting Up the USB Connection
The USB interface that comes with your printer complies with
Microsoft Plug and Play (PnP) USB specifications.
- Stylus Pro 7800 (11 pages)
- Stylus Pro 4000 (49 pages)
- Stylus Photo R300 (2 pages)
- Stylus Pro 7000 (147 pages)
- AcuLaser C3000 (316 pages)
- Stylus Pro 7900 (24 pages)
- Stylus Pro 4450 (21 pages)
- 1000 (272 pages)
- T034120 (4 pages)
- T580300 (4 pages)
- 300 (91 pages)
- B 510DN (190 pages)
- B 510DN (218 pages)
- Stylus NX510 (8 pages)
- Stylus Photo RX580 (95 pages)
- T549300 (4 pages)
- B 500DN (168 pages)
- AculaserCX11NF (5 pages)
- 480SXU (24 pages)
- 4500 (317 pages)
- STYLUS RX500 (99 pages)
- 2100 (13 pages)
- Stylus NX215 (2 pages)
- T098320 (4 pages)
- T041020 (4 pages)
- R210 (8 pages)
- All-In-One Stylus Photo RX600 (164 pages)
- 777I (53 pages)
- T033120 (4 pages)
- Stylus CX7000F (8 pages)
- 60 (113 pages)
- T034220 (4 pages)
- WorkForce 40 Series (36 pages)
- T054220 (4 pages)
- Stylus CX3200 (11 pages)
- Stylus CX7800 (18 pages)
- T060220 (4 pages)
- 2500 (180 pages)
- AcuLaser CX11N (4 pages)
- AcuLaser CX11N (32 pages)
- 2000P (16 pages)
- T606600 (4 pages)
- Stylus CX6000 (18 pages)
- FS-4000DN (2 pages)
- MSDS T544700 (4 pages)