2 center of gravity of the sunny central, 4 installing the sunny central, 1 removing the kick plates from the sunny central – SMA SC 500U Installation User Manual
Page 26
SMA Solar Technology AG
26
SC500U-IUS093411
Installation Guide
5.3.2 Center of Gravity of the Sunny Central
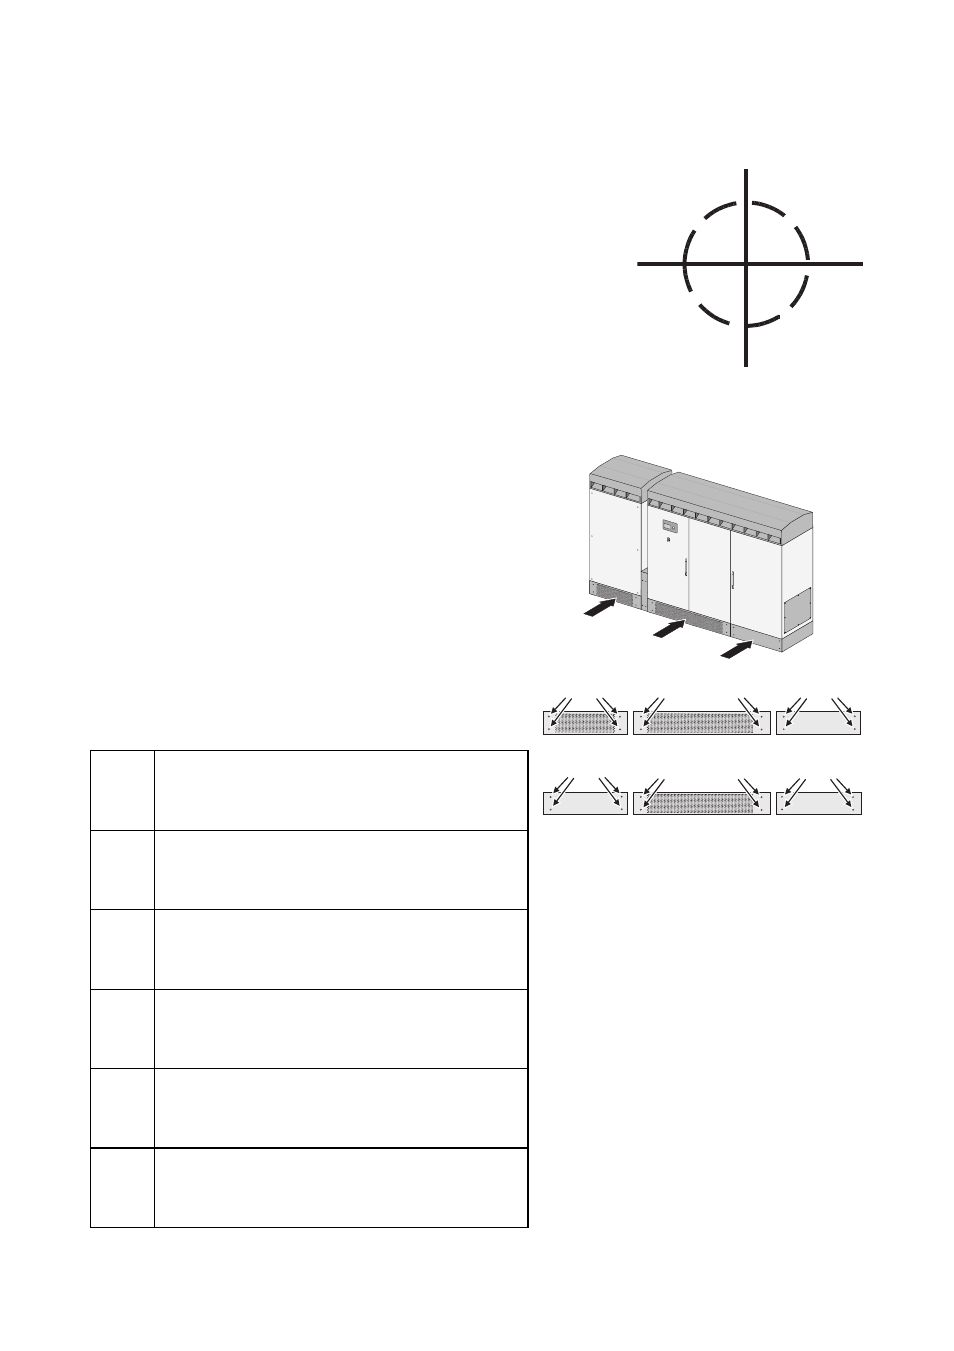
The center of gravity of the Sunny Central is marked on the packaging
with the symbol on the right.
The center of gravity is not in the middle of the Sunny Central.
5.4 Installing the Sunny Central
5.4.1 Removing the Kick Plates from the Sunny Central
The kick plates are mounted on the cabinets of the Sunny
Central with screws.
Kick plates are located on the front and back of the Sunny
Central. The position of the kick plates is shown in the
figure to the right.
A
Magnetics Cabinet front side
4 screws in total. 2 screws on the right and 2
screws on the left.
B
Control Cabinet front side
4 screws in total. 2 screws on the right, 2 screws
on the left.
C
Interface Cabinet front side
4 screws in total. 2 screws on the right, 2 screws
on the left.
D
Interface Cabinet rear side
4 screws in total. 2 screws on the right, 2 screws
on the left.
E
Control Cabinet rear side
4 screws in total. 2 screws on the right, 2 screws
on the left.
F
Magnetics Cabinet rear side
4 screws in total. 2 screws on the right and 2
screws on the left.
Stop S
tart
A
C
B
D
E
F