Projection in 3 planes, 1 gr ap hics – HEIDENHAIN iTNC 530 (340 49x-03) ISO programming User Manual
Page 553

HEIDENHAIN iTNC 530
553
12.1 Gr
ap
hics
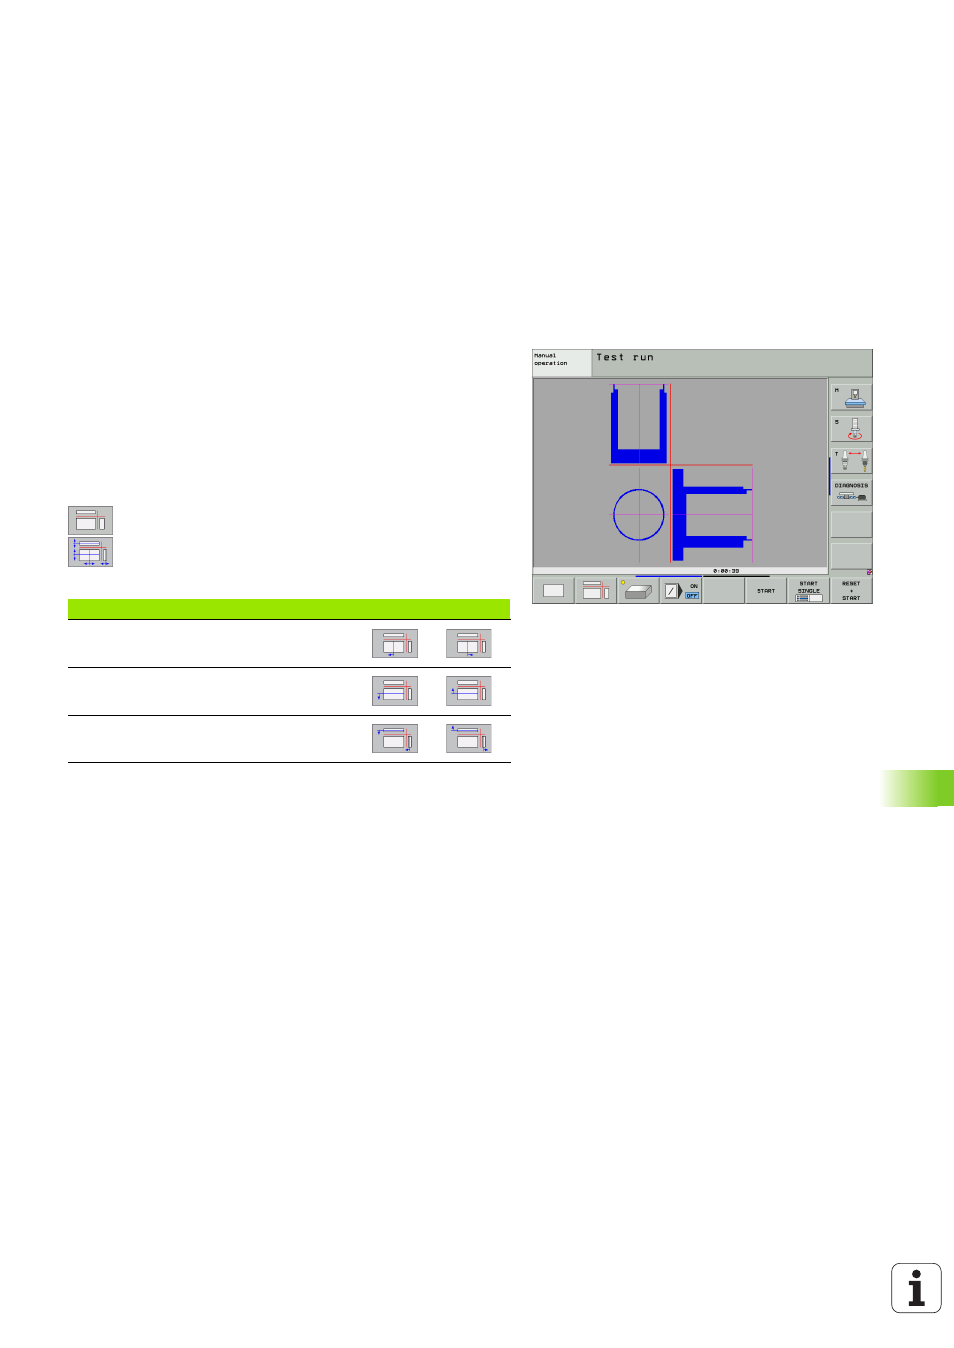
Projection in 3 planes
Similar to a workpiece drawing, the part is displayed with a plan view
and two sectional planes. A symbol to the lower left indicates whether
the display is in first angle or third angle projection according to ISO
6433 (selected with MP7310).
Details can be isolated in this display mode for magnification (see
“Magnifying details,” page 556).
In addition, you can shift the sectional planes with the corresponding
soft keys:
8
Select the soft key for projection in three planes.
8
Shift the soft-key row and select the soft key for
sectional planes.
8
The TNC then displays the following soft keys:
The positions of the sectional planes are visible during shifting.
The default setting of the sectional plane is selected such that it lies in
the working plane in the workpiece center and in the tool axis on the
top surface.
Coordinates of the line of intersection
At the bottom of the graphics window, the TNC displays the
coordinates of the line of intersection, referenced to the workpiece
datum. Only the coordinates of the working plane are shown. This
function is activated with MP7310.
Function
Soft keys
Shift the vertical sectional plane to the right
or left
Shift the vertical sectional plane forward or
backward
Shift the horizontal sectional plane upwards
or downwards
